
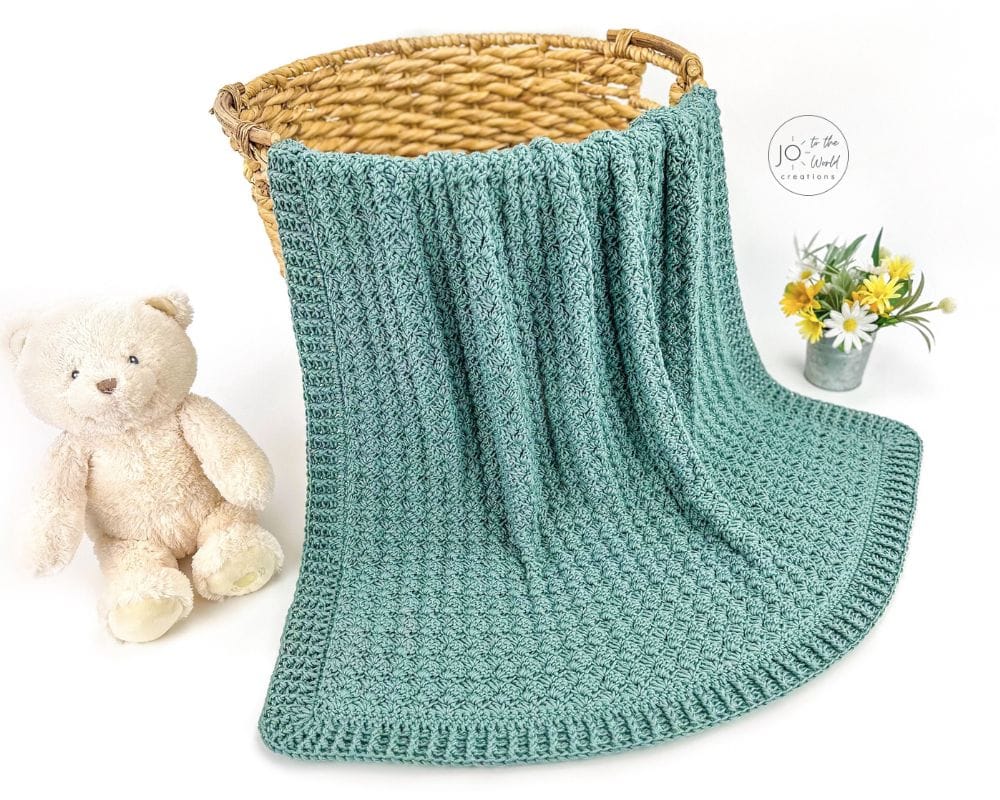
Serene Baby Blanket – Free Crochet Pattern
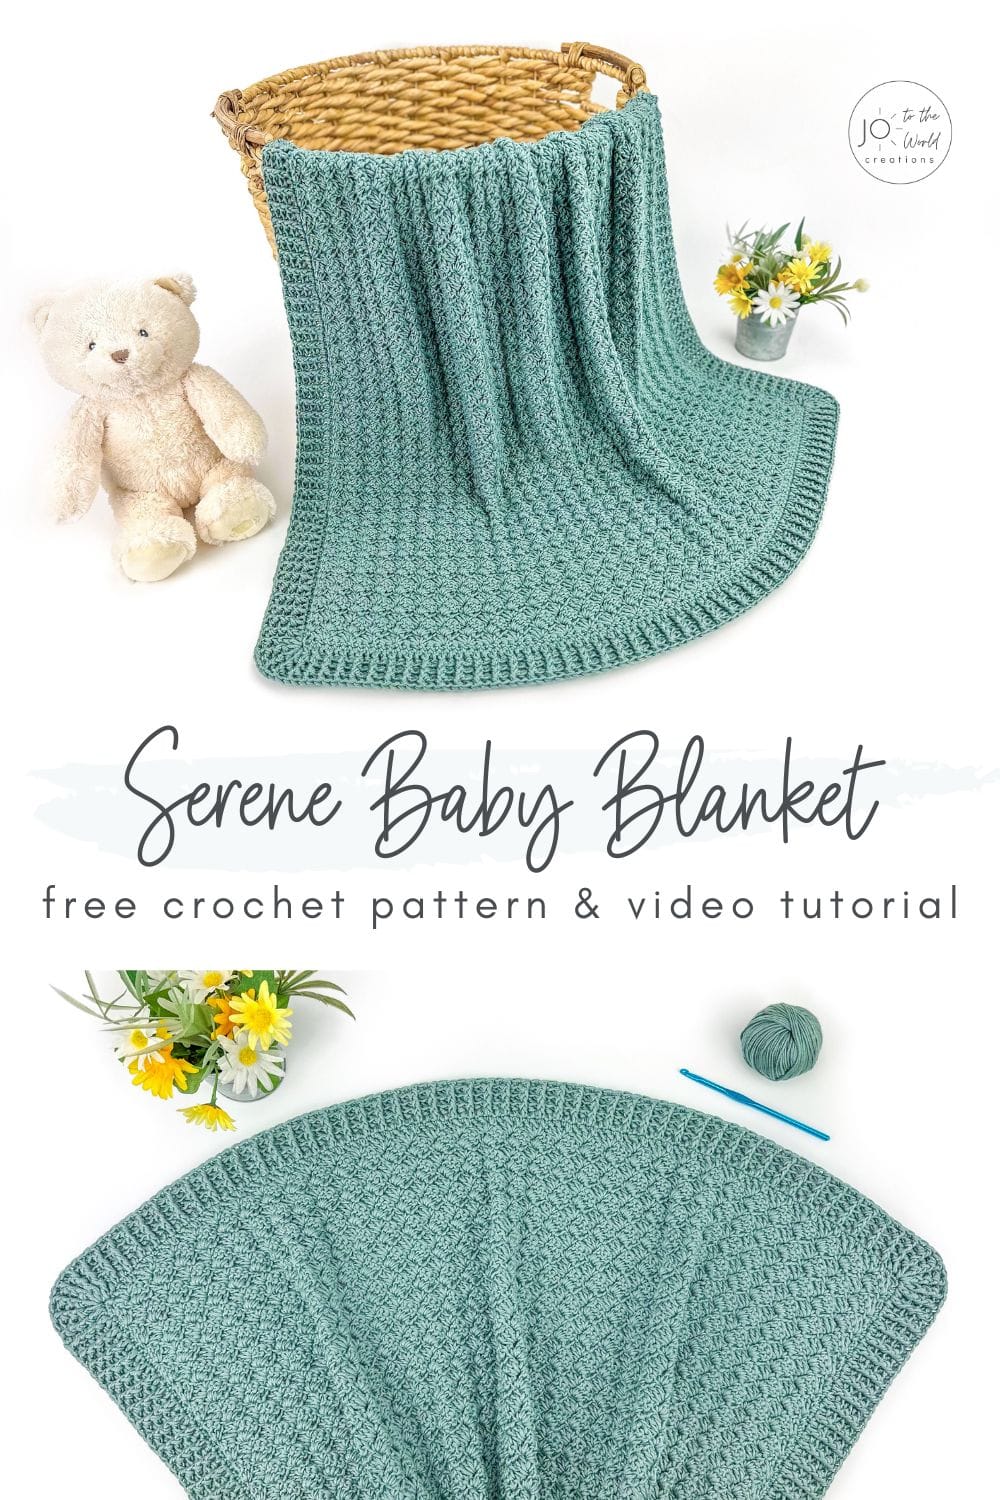
Learn how to crochet this Serene Baby Blanket (with easy-to-follow instructions and a video tutorial) and create a soft, gorgeous textured blanket with a complimentary ribbed border. It’s a peaceful and cozy project that’s perfect for gifting or a nursery!
Before we begin, I would like to thank you for visiting Jo to the World Creations, a site dedicated to helping you give the gift of crochet.
More free patterns (that make incredible crochet gifts) are on the way! Sign up for my emails using the form below and never wonder “What should I make for…” again!
Free Email Series
GET 3 FREE PDF CROCHET PATTERNS
Subscribe to my emails and get a free printable PDF crochet pattern emailed to you every day for the next 3 days!
You’ll also receive new crochet patterns and helpful resources to help you make the best crochet gifts for everyone in your life.

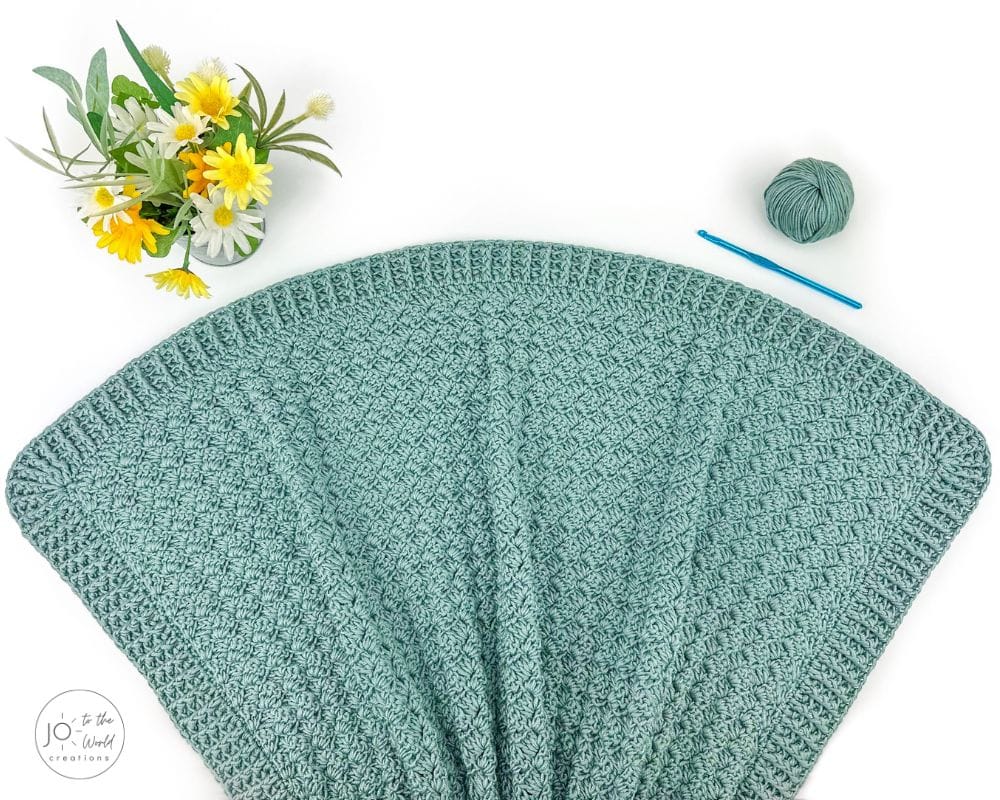
Serene Crochet Baby Blanket
Find serenity in every stitch with this Serene Baby Blanket Crochet Pattern! Designed with a beautiful texture and a soft, ribbed border, this blanket brings a peaceful elegance to any nursery.
This cozy yet lightweight blanket is perfect for little ones. Whether you’re making it as a heartfelt gift or for your own bundle of joy, this soothing pattern is a joy to create and cherish.
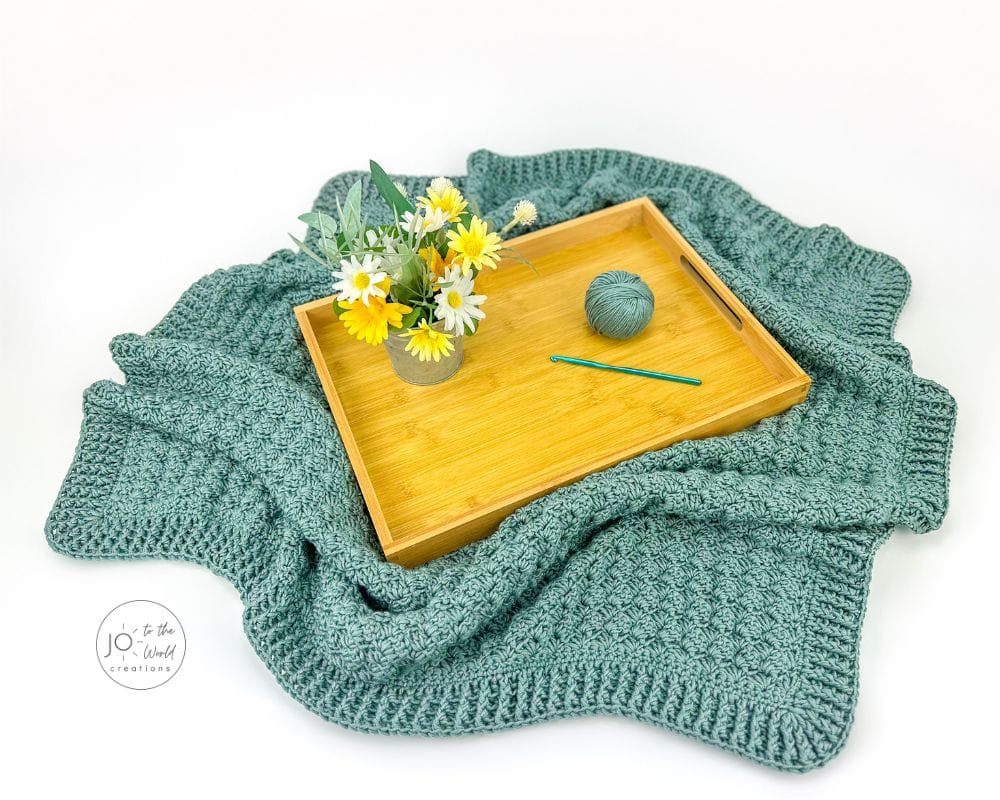
Use the Table of Contents below to jump to any section of the pattern or keep scrolling down to view all the details, the step-by-step video tutorial and the free written instructions.
Get the PDF!
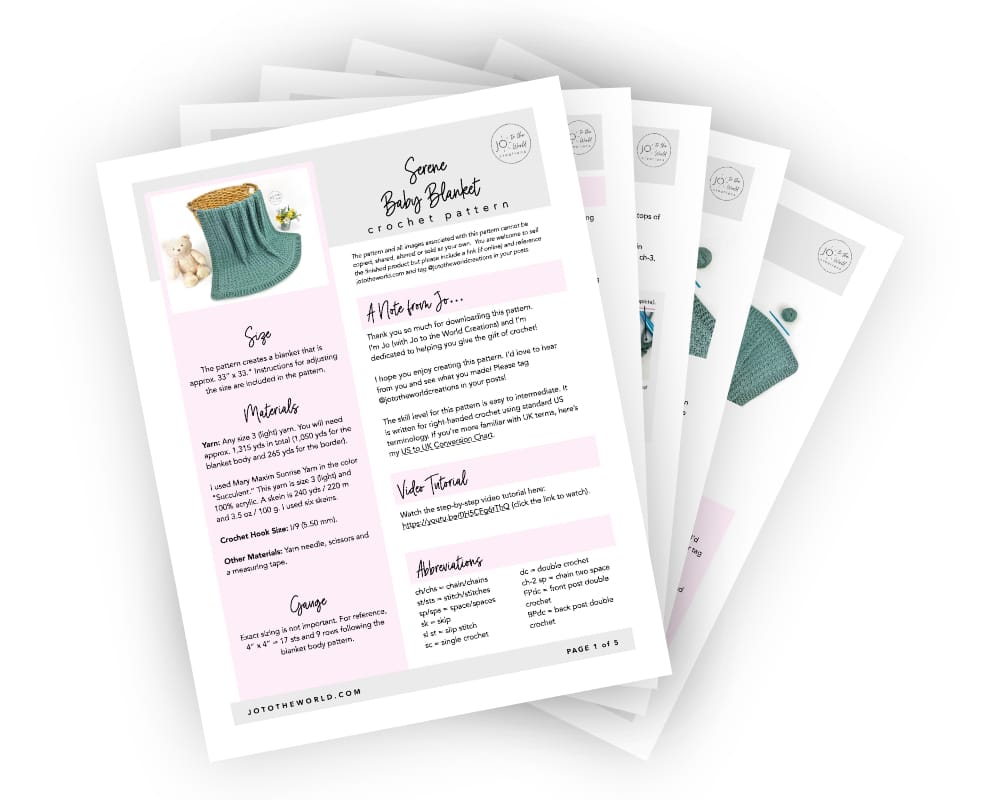
Purchase the printer-friendly, ad-free PDF of this pattern that you can instantly download! It includes everything from this free pattern but you can easily save, print and access it anytime!
All-Access Membership
For only $0.14 a day, you can get this pattern as a PDF and my entire library of 180+ print-ready, ad-free PDF crochet patterns!
Pattern Details
Skill Level
Easy to intermediate
Size
The pattern creates a blanket that is approx. 33” x 33.” Instructions for adjusting the size are included in the pattern.
Materials
Yarn: Any size 3 (light) yarn. You will need approx. 1,315 yds in total (1,050 yds for the blanket body and 265 yds for the border).
I used Mary Maxim Sunrise Yarn in the color “Succulent.” This yarn is size 3 (light) and 100% acrylic. A skein is 240 yds / 220 m and 3.5 oz / 100 g. I used six skeins.
Crochet Hook Size: I/9 (5.50 mm).
Other Materials: Yarn needle, scissors and a measuring tape.
Terminology
This pattern is written for right-handed crochet using standard US terminology. If you’re more familiar with UK terms, here’s my US to UK Conversion Chart.
Abbreviations
- ch/chs = chain/chains
- st/sts = stitch/stitches
- sp/sps = space/spaces
- sk = skip
- sl st = slip stitch
- sc = single crochet
- dc = double crochet
- ch-2 sp = chain two space
- FPdc = front post double crochet
- BPdc = back post double crochet
Gauge
Exact sizing is not important. For reference, 4” x 4” = 17 sts and 9 rows following the blanket body pattern.
Pattern Notes
- Chains never count as stitches.
- Your work may curl at the start and it may take several rows before the width is what it will be for the rest of the pattern. If after several rows, you are not happy with the width, you can start again with a different number of starting chains (refer to the How to Adjust the Size section).
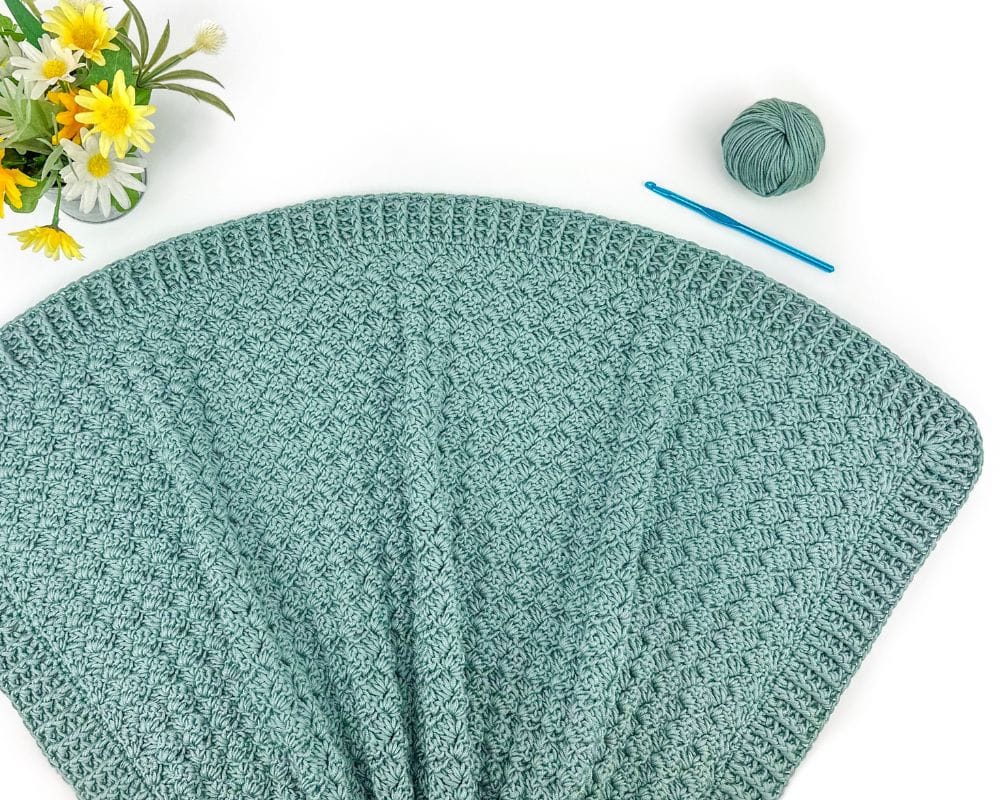
- The blanket is completely reversible and looks the same on the front and the back.
How to Adjust the Size
The pattern creates a blanket that is approx. 33” x 33” with the border (30” x 30” without the border).
The number of starting chains determines the width and the number of rows determines the height. To adjust the width, make more or less starting chains in multiples of 3 + 2 (meaning to take any number that you can divide by 3 and add 2 to that number i.e. 90 + 2 = 92 starting chains required). To adjust the height, make more or less rows.
How many starting chains are required to make the blanket a specific width?
- A) Take the width you want the blanket to be (in inches) and multiply that number by 4.4, which is the number of sts per inch (i.e. if you wanted a blanket that is 45” wide: 45 x 4.4 = 198).
- B) Round up A) to the nearest multiple of 4 (i.e. 200).
- C) Divide B) by 4 (i.e. 200/4 = 50).
- D) Multiply C) by 3 (i.e. 50 * 3 = 150).
- E) Add 2 to D) (i.e. 150 + 2 = 152). This is how many starting chains are required (i.e. to make the blanket 45” wide, you would need 152 starting chains). (This is a guideline and has not been tested but should give you a width that is close to what you want it to be).
Stitch Explanations
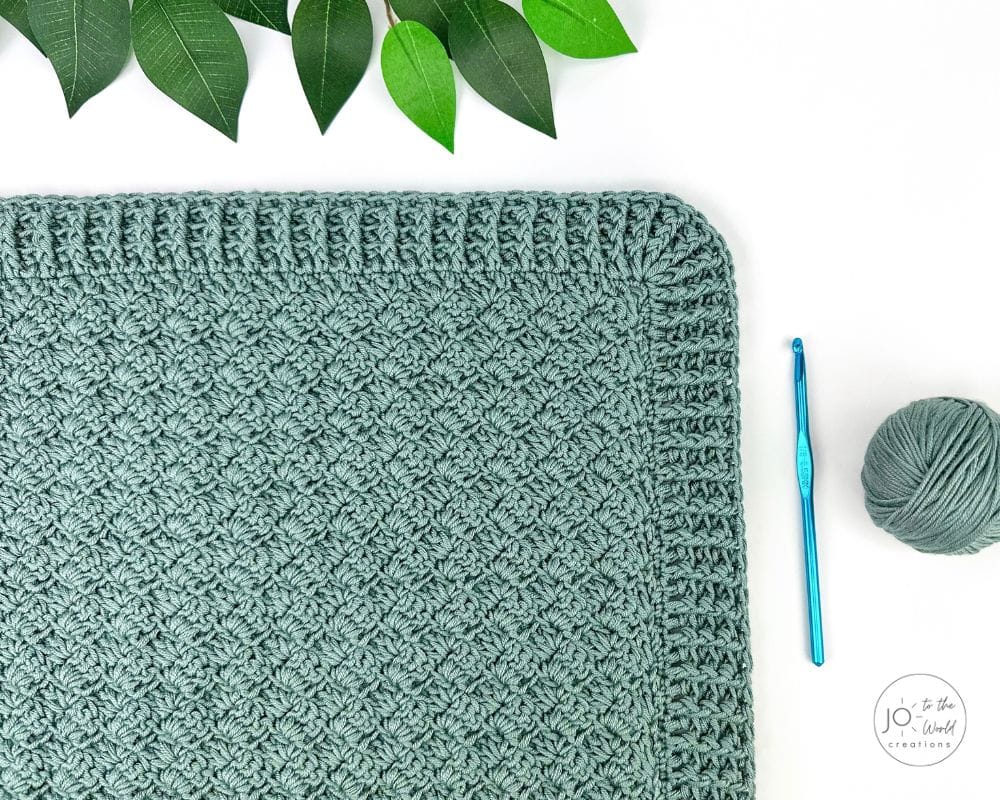
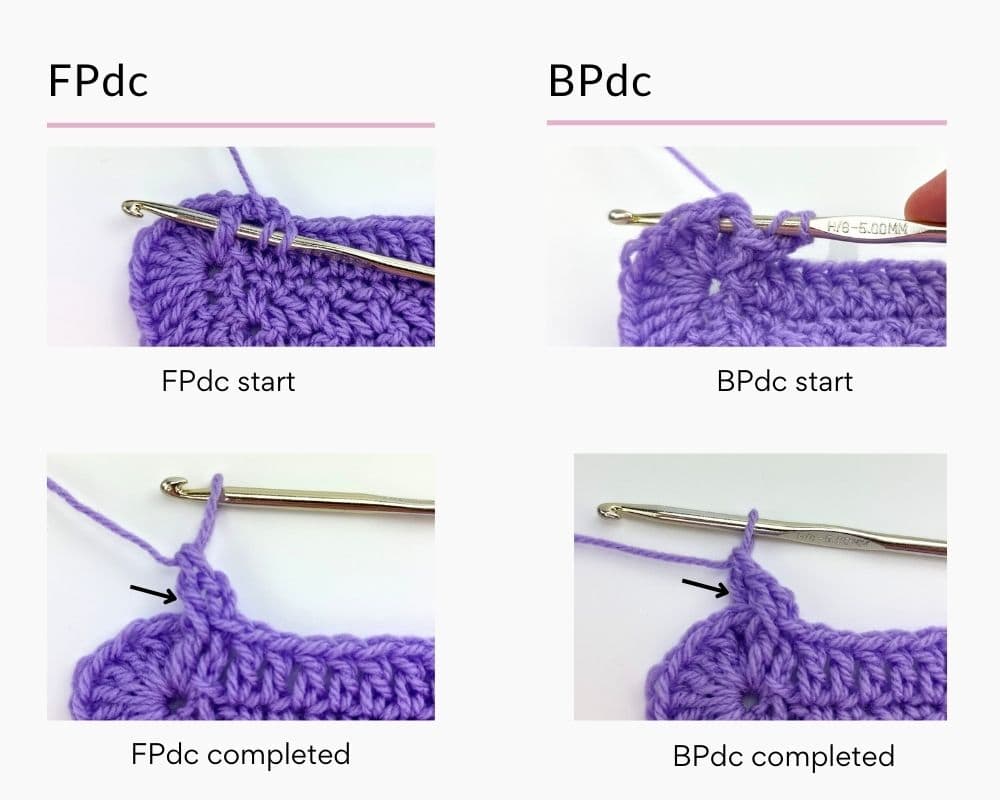
For Rounds 3 – 5 of the border, you will be making front and back post stitches. If these stitches are new to you, here’s how to make them:
Front Post Double Crochet (FPdc):
Yarn over, insert your hook from the front to the back at the right of the designated stitch and bring your hook out at the left of the same stitch. Then finish your double crochet stitch as you normally would: yarn over and pull through a loop (3 loops on hook). Yarn over and pull the yarn through the first two loops on your hook (2 loops on hook). Yarn over and pull the yarn through the last two loops on your hook.
Back Post Double Crochet (BPdc):
Yarn over, insert your hook from the back to the front at the right of the designated stitch and bring your hook out at the left of the same stitch. Then finish your double crochet stitch as you normally would: yarn over and pull through a loop (3 loops on hook). Yarn over and pull the yarn through the first two loops on your hook (2 loops on hook). Yarn over and pull the yarn through the last two loops on your hook.
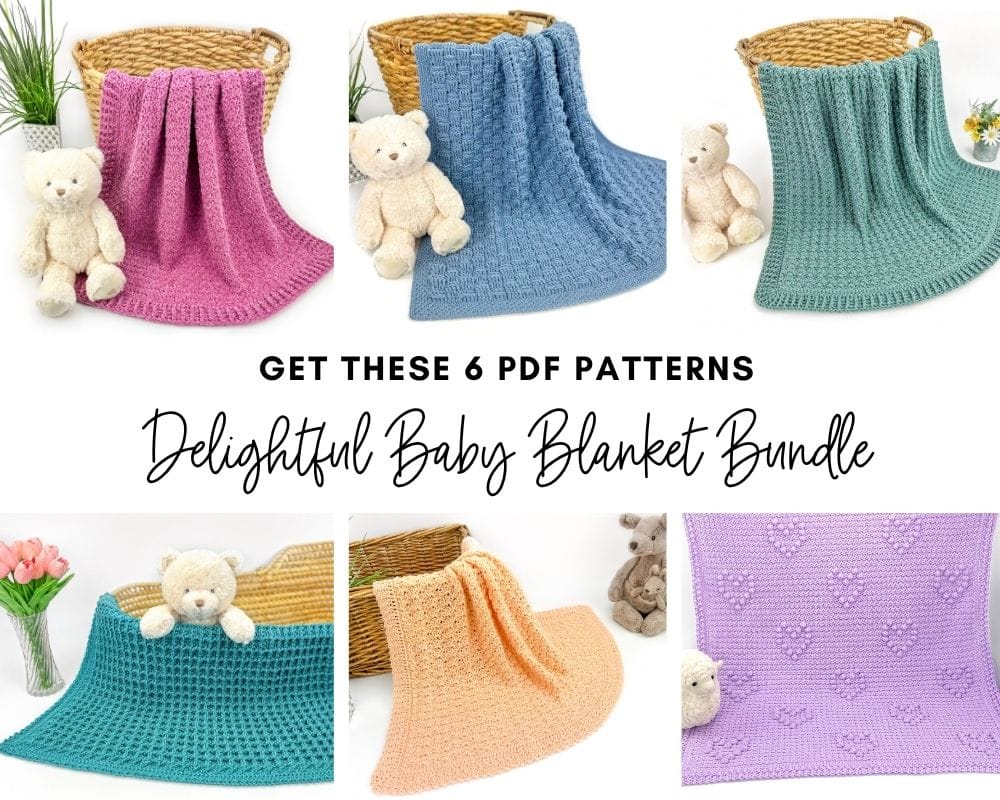
This pattern is included in the Delightful Baby Blanket Bundle. For a limited time, get SIX delightful PDF blanket patterns that you can download, print and keep forever — all for only $9.97!
Get the Delightful Baby Blanket Bundle Today!
Video Tutorial
Watch the step-by-step video tutorial below or keeping scrolling down for the written instructions.

Just a Reminder!
This pattern is also available as a PDF, which includes everything listed here but as a printer-friendly, ad-free PDF that you can instantly download, save, print, make notes on and keep forever.
Get ALL my PDF Patterns!
Only $0.14 a day!
Join the All-Access Membership and instantly download the printable version of this pattern and ALL my 180+ easy-to-follow PDF crochet patterns.
How to Crochet the Serene Baby Blanket
Blanket Body Instructions
Start: Ch 101.
For Row 1 (only) work into the back ridge loops.
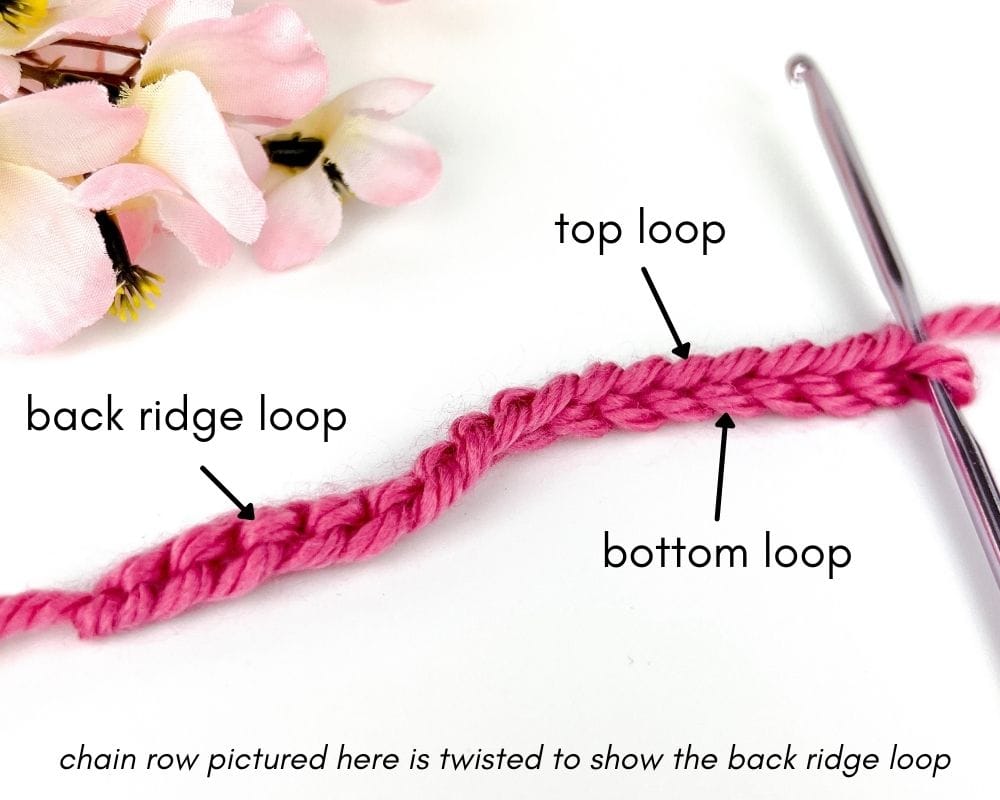
Row 1: In the second ch from the hook, sc.
Sc in each ch across.
(100 sc sts).
Row 2: Ch 3 and turn.
In the first st (the st attached to the chs), dc.
*Sk the next 2 sts.
In the next st, (sc, ch 2, 3 dc).*
Repeat from * to * across until there are 3 sts left.
Sk the next 2 sts.
In the last st, sc.
Stitch count: 130 sts (reminder: chs never count as sts) and 32 ch-2 sps.
Note: every time you ch 2, you create a “ch-2 sp” that you will work into on the next row. This ch-2 sp is under the two chs and between the sc and dc sts.
Row 3: Ch 3 and turn.
In the first st (the st attached to the ch), 2 dc.
Work in each ch-2 sp across the row (not into tops of sts):
In each ch-2 sp, (sc, ch 2, 3 dc).
After working in the last ch-2 sp of the row, sc in between the post of the last st and the starting ch-3.
Stitch count: 131 sts and 32 ch-2 sps.
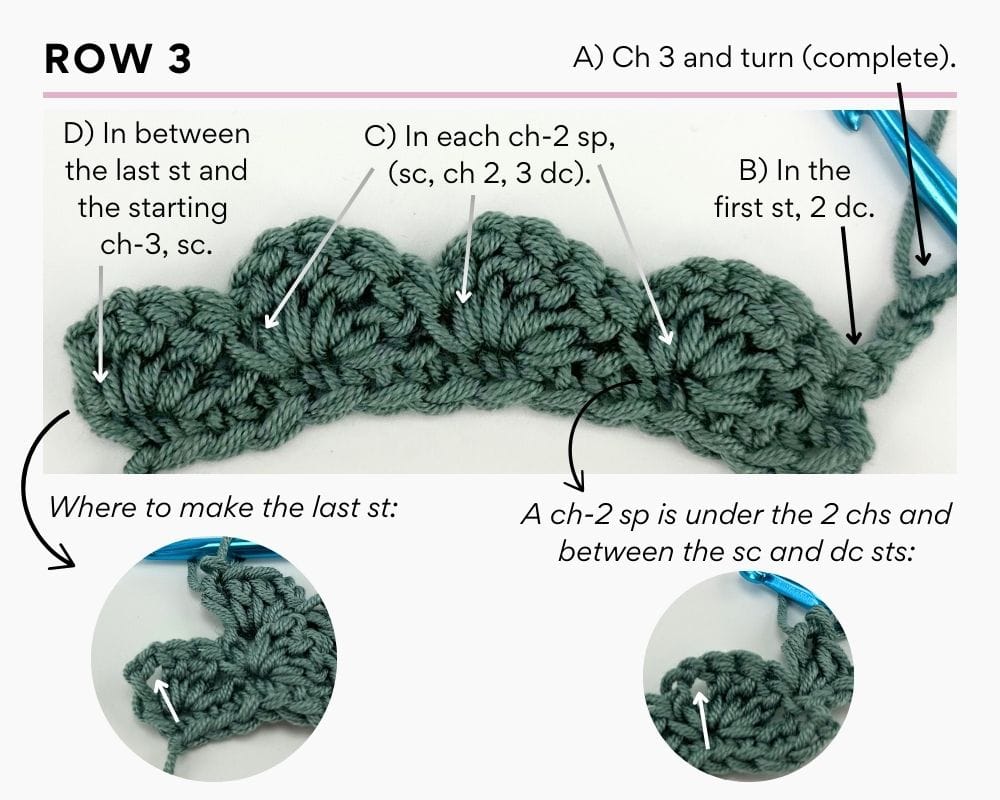
Row 4 and on: Repeat Row 3 until the height of your blanket body matches the width (for a square blanket) or your desired height. You can end after any row. My blanket body measured 30” high, which was 66 rows.
After reaching your desired height, do not fasten off. Begin the blanket border.
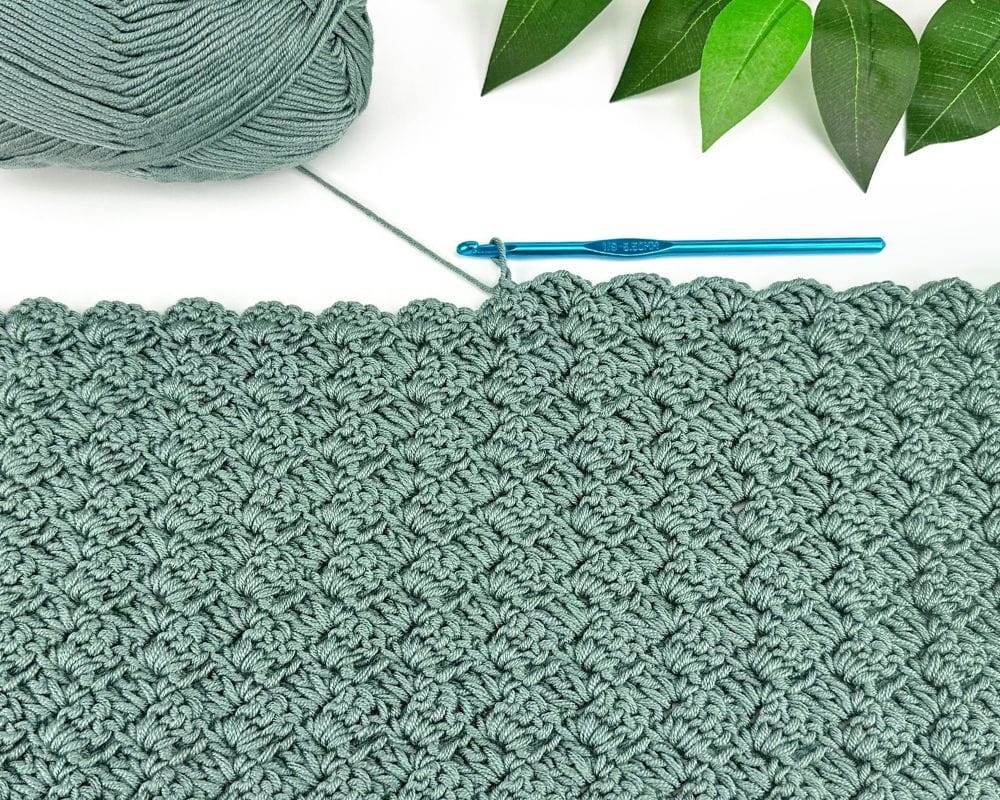
Blanket Border Instructions
Border Round 1: Ch 1. Do not turn.
SIDE (DOWN): Working into sts at the end of each row, sc evenly down the side.
Need help with where to work into? At the end of each row, there is either a sc or a ch-3 that you will work into (you can work into 1 loop or 2, just not into the sps around the sts). In each sc at the end of a row, I made 1 sc into that sc. In each ch-3, I made 1 sc into the bottom of that ch-3 and 1 sc into the top of that same ch-3. The exact st count and st placement are not important – the goal is to have evenly-placed sc sts all the way down (and up) the side.
BOTTOM: In the first ch across the bottom, make 3 sc (first corner made).
Sc in each ch across the bottom until there is 1 ch left.
In the last ch, make 3 sc (second corner made).
SIDE (UP): Working into sts at the end of each row, sc evenly up the side (same as working down the side).
TOP – In the first st across the top, make 3 sc (third corner made).
In the next st, sc.
*Sk the next st. In the ch-2 sp, sc.
Sk the next st. Sc in the next 2 sts.*
Repeat from * to * across until there is 1 st left.
In the last st, make 3 sc (fourth corner made).
Note: the top may look misshaped – that will be fixed as the border grows.
Sl st into the top of the first sc made in the round to join.
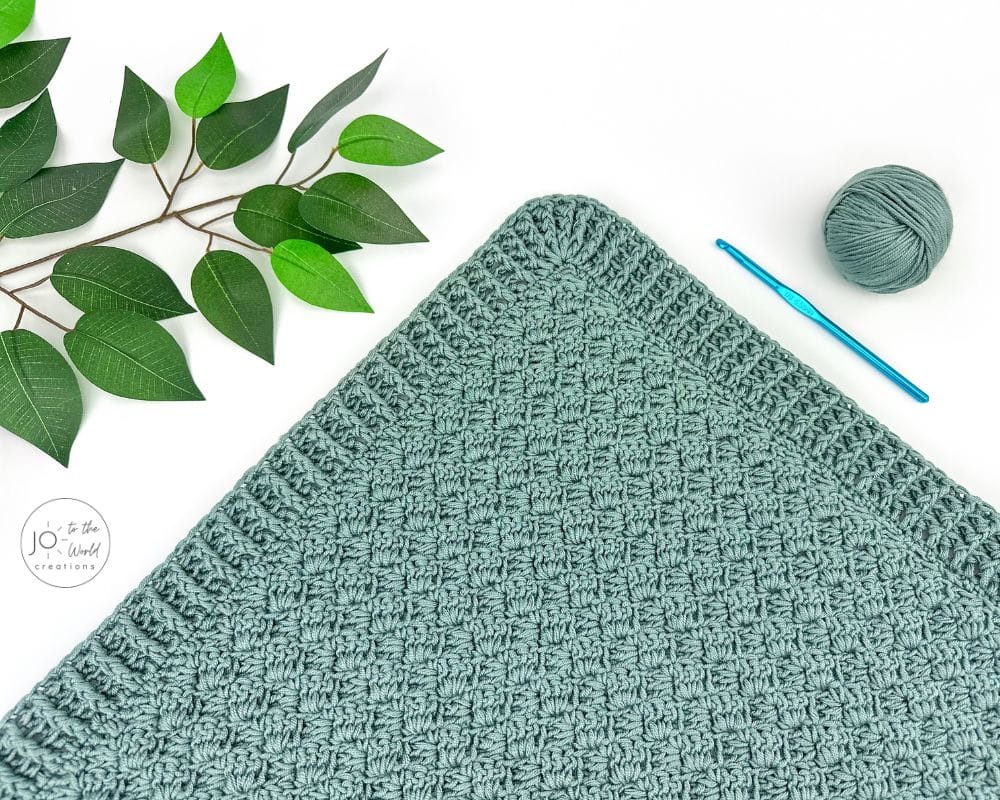
Border Round 2: Ch 2. Do not turn.
In the first st (the st attached to the ch-2), dc.
Dc in each st around except at the corners.
At each corner (the middle st of the 3 sc sts made in each corner in the previous round), make 9 dc in the same st. (It’s okay for the corners to “balloon” out – that will be fixed as the border grows).
After working all the way around, before joining the round, count your sts (the ch-2 that started the round does not count as a stitch). You need to have an odd number of sts in total at the end of Round 2.
If you have an odd number of sts, proceed to join.
If you have an even number of sts, make another dc in the last st, then proceed to join.
Join: sl st into the top of the first dc made in the round.
Border Round 3: Ch 2. Do not turn.
FPdc around the first st from the round below (not the ch-2 from below. The ch-2 from below is never worked around).
*BPdc around the next st from the round below.
FPdc around the next st from the round below.*
Repeat from * to * around.
Nothing special happens at the corners. Your last st is a FPdc around the last dc from the round below.
Sl st into the top of the first FPdc to join.
Border Round 4: Ch 2. Do not turn.
FPdc around the first st below (the FPdc from the round below. The ch-2 from below is not worked around).
*BPdc around the next st below (the next BPdc from the round below).
FPdc around the next st below (the next FPdc from the round below).*
Repeat from * to * around.
Nothing special happens at the corners. Your last st is a FPdc around the last FPdc from the round below.
Sl st into the top of the first FPdc to join.
Border Round 5: Repeat Round 4.
After finishing Border Round 5, fasten off and weave in all loose ends.
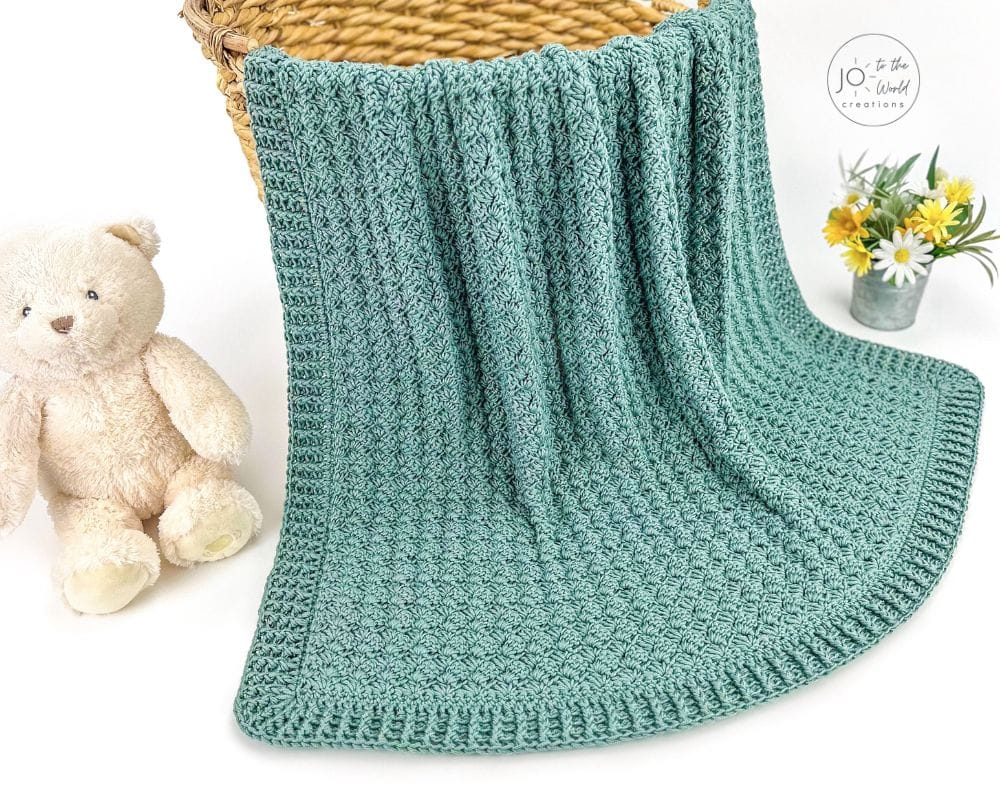
And now you have a new blanket!
More Crochet Baby Blanket Patterns

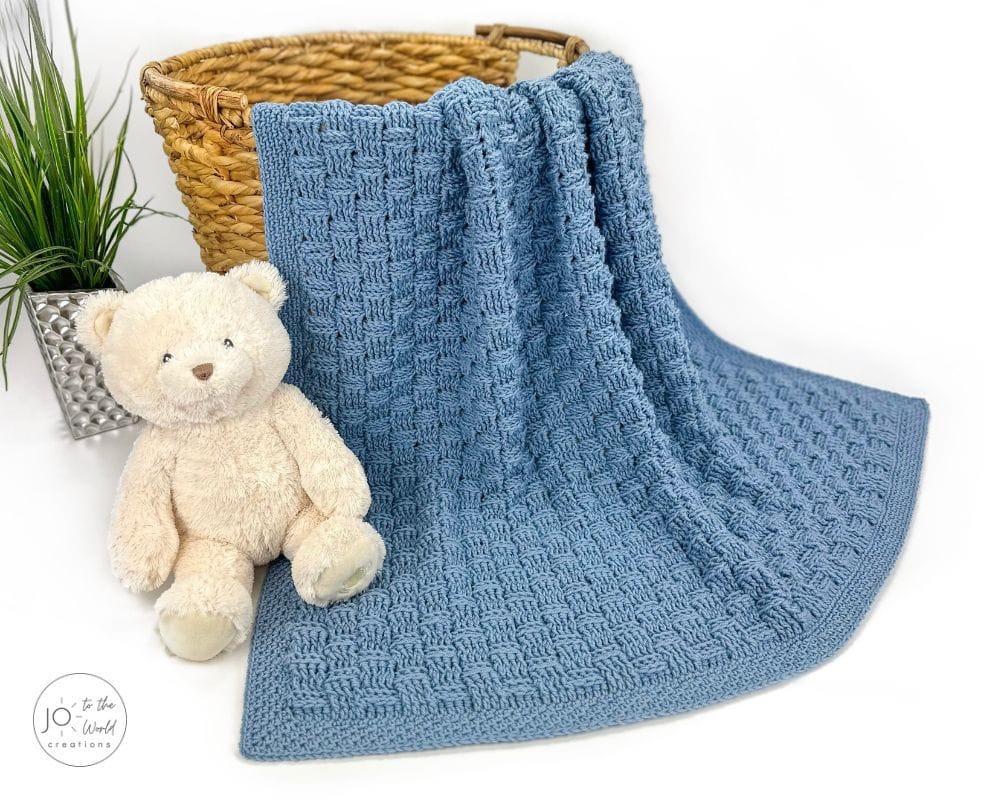

View more crochet baby blanket patterns

I’m Jo, the designer behind Jo to the World Creations, and I’m dedicated to helping you make the perfect crochet gift! I love designing and sharing free crochet patterns that you can make for every gift occasion.
About →Let’s Connect
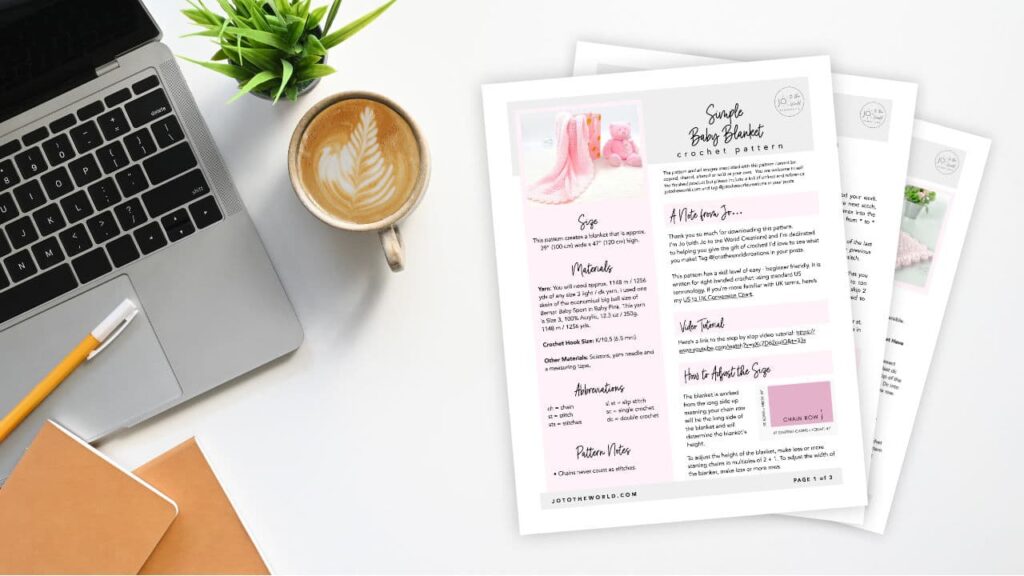
Download. Print. Keep.
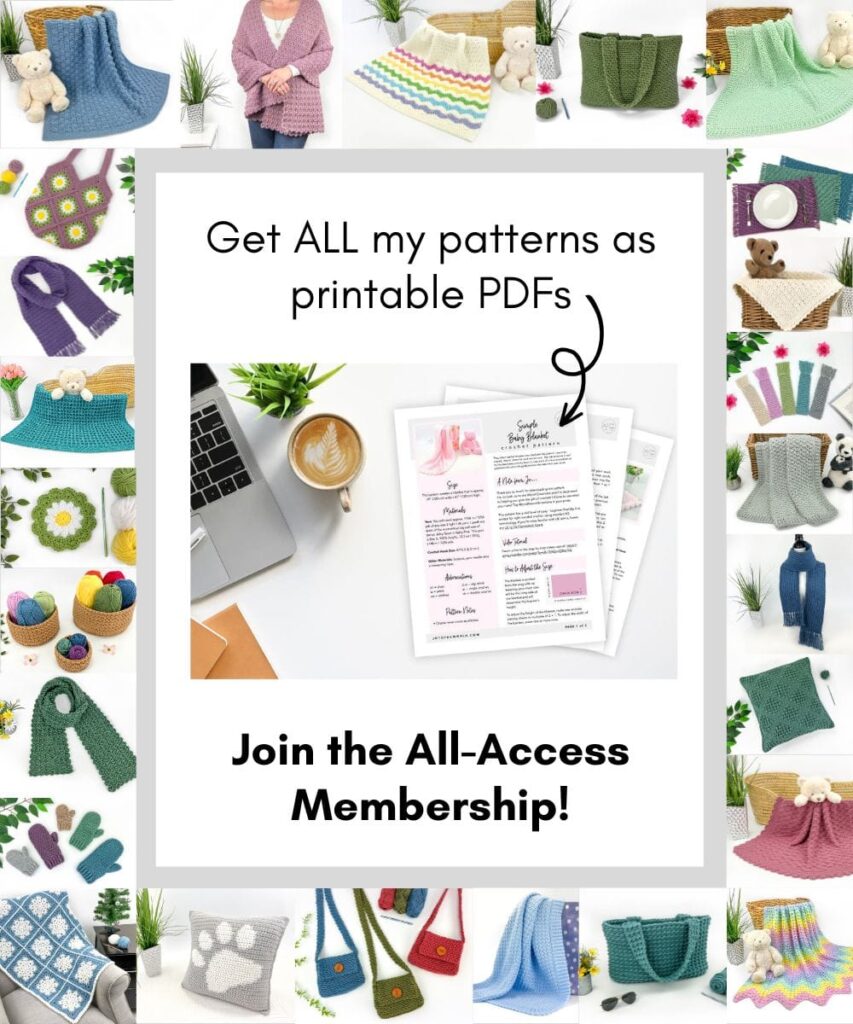
Get Instant Access to ALL Printable Patterns
Make your crocheting more enjoyable, relaxing and productive with printable PDF patterns.
- 180+ premium crochet patterns.
- Download, save and print from any device.
- No ads or popups!
Not sure yet? Take a look at the Pattern Library and see all the patterns you can download once you’re a member.
Save with Pattern Bundles
For a limited time, I’ve grouped some of my most popular crochet patterns and I’m offering them as pattern bundles where you can get the printable versions for one low, discounted price. Check out these incredible Crochet Pattern Bundles.
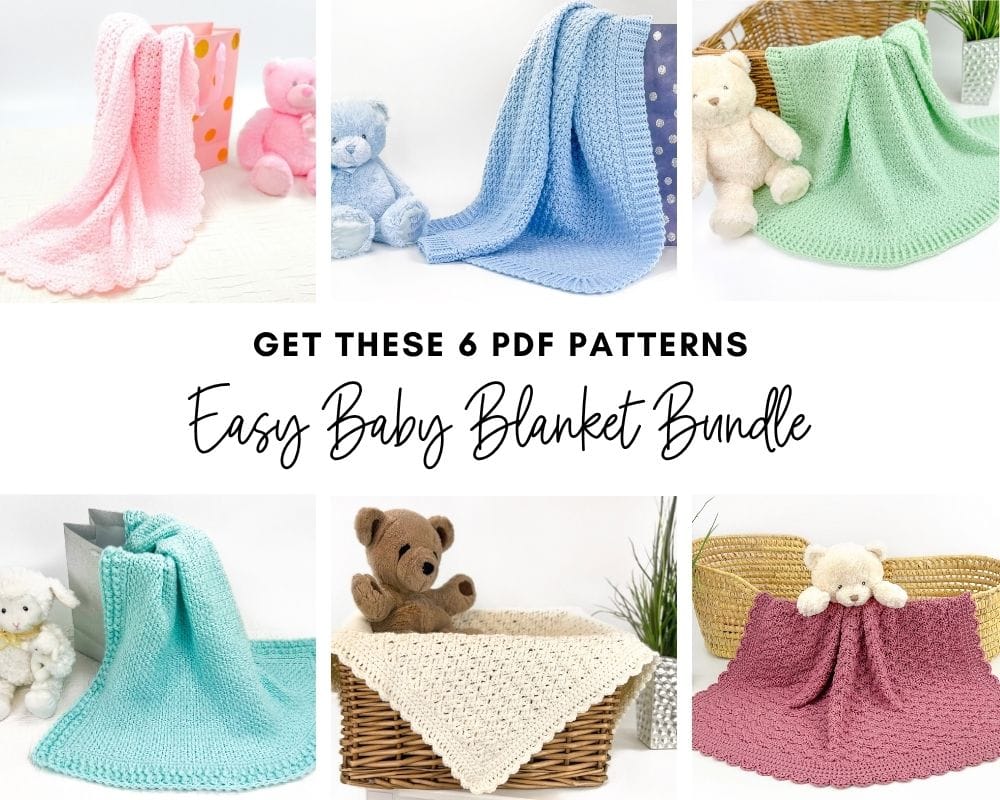
Easy Baby Blanket Bundle
With this Easy Baby Blanket Bundle, you’ll get SIX easy crochet baby blankets as printable downloads. Each pattern includes step-by-step instructions and a full video tutorial.
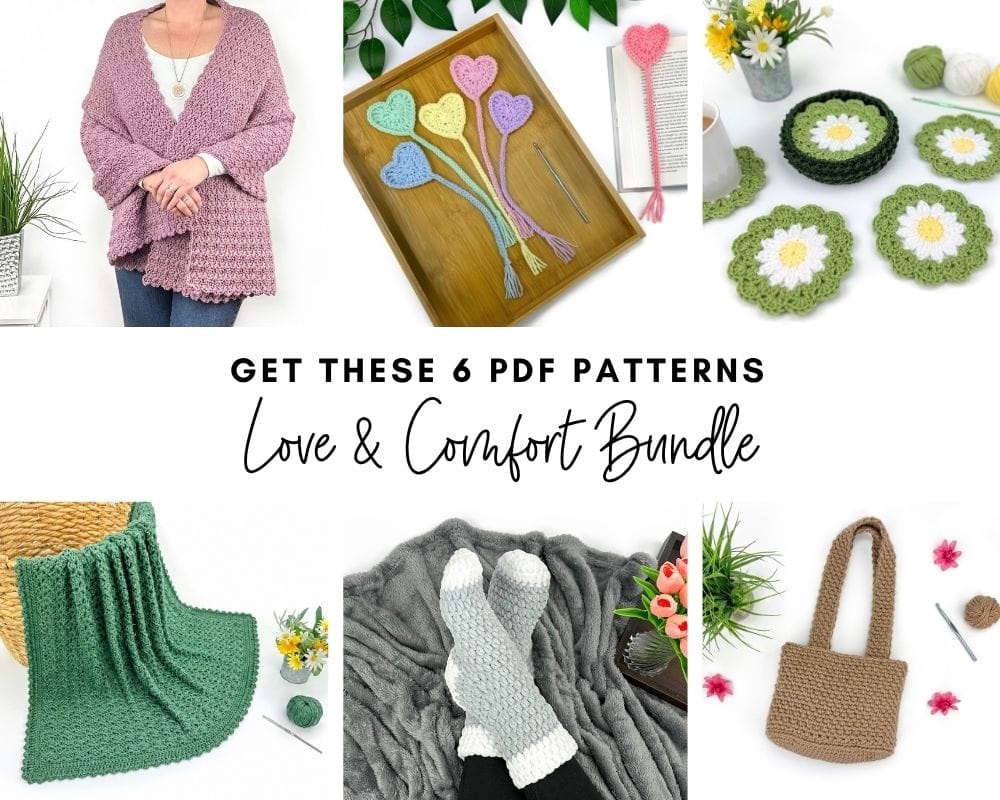
Love and Comfort Bundle
The Love and Comfort Bundle includes SIX meaningful patterns designed to comfort a loved one, brighten someone’s day or simply remind someone they’re loved.
Delightful baby blanket Bundle
All your favorite baby blanket patterns in one bundle! This collection features SIX blankets (all with video tutorials) that are a delight to crochet and will be cherished forever.
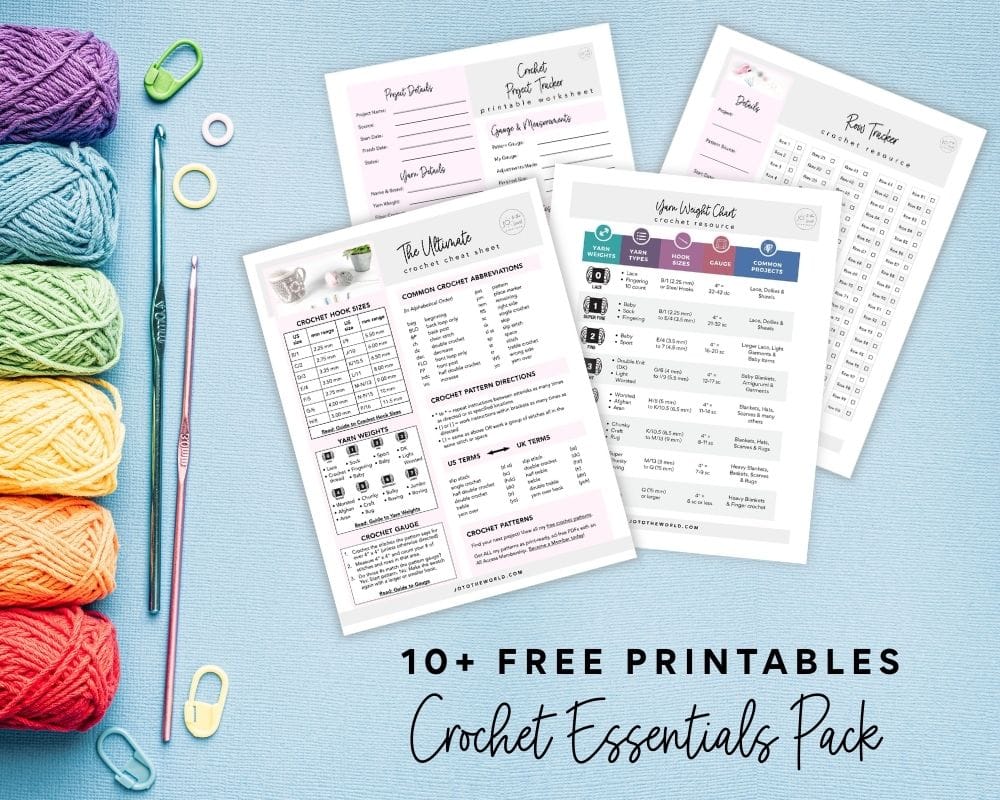
Free Crochet Printables
Subscribe to my emails and get 3 free printable crochet patterns as well as 10+ free printable crochet cheat sheets, guides and progress trackers.
Plus, you’ll receive free patterns for crochet gifts delivered right to your inbox!
Featured Crochet Patterns
Pattern Collections

Free Patterns for Crochet Gifts
Never miss a pattern! Get all my secrets to making incredible crochet gifts as well as new free crochet patterns and exclusive deals when you sign up for my newsletter (it’s free!).