
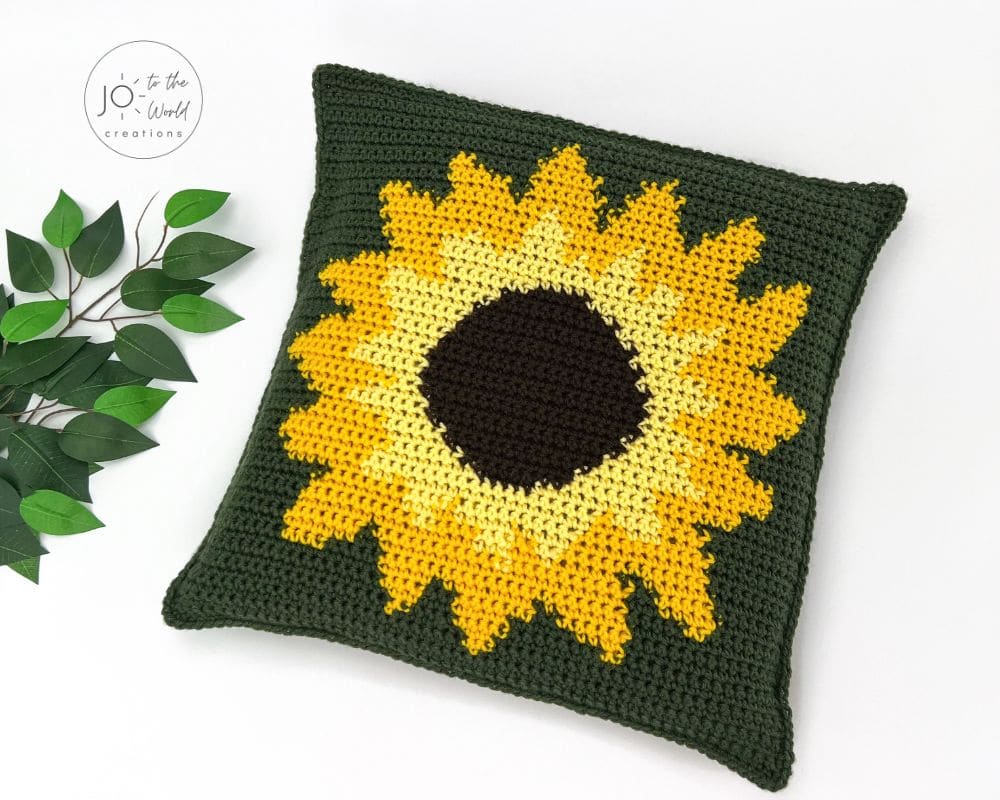
Sunflower Pillow – Free Crochet Pattern
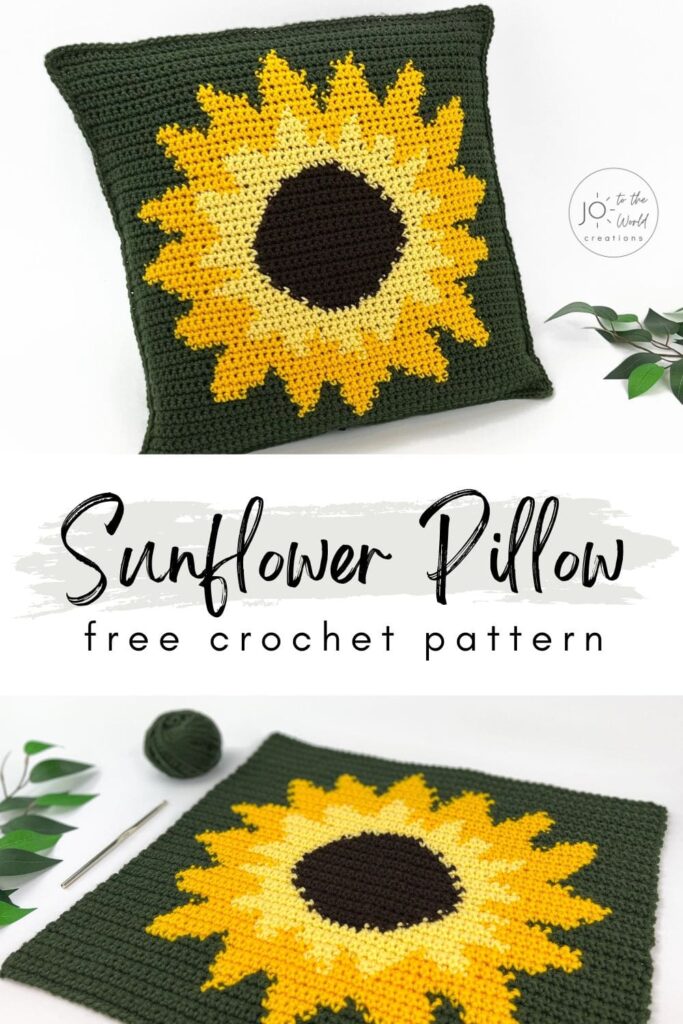
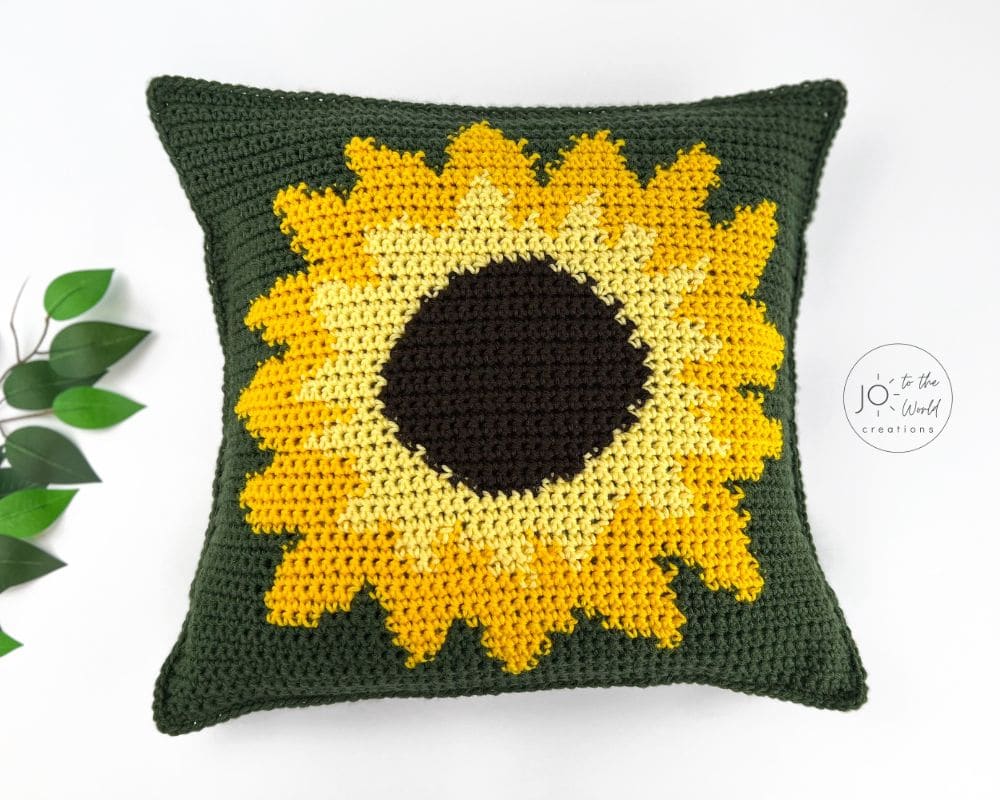
This free crochet sunflower pillow pattern will instantly brighten up your home! It’s a removable crochet pillowcase with easy-to-follow instructions and an included chart to guide you every step of the way.
Before we begin, I would like to thank you for visiting Jo to the World Creations, a site dedicated to helping you give the gift of crochet.
More free patterns (that make incredible crochet gifts) are on the way! Sign up for my emails using the form below and never wonder “What should I make for…” again!
Free Email Series
GET 3 FREE PDF CROCHET PATTERNS
Subscribe to my emails and get a free printable PDF crochet pattern emailed to you every day for the next 3 days!
You’ll also receive new crochet patterns and helpful resources to help you make the best crochet gifts for everyone in your life.

Crochet Sunflower Pillow
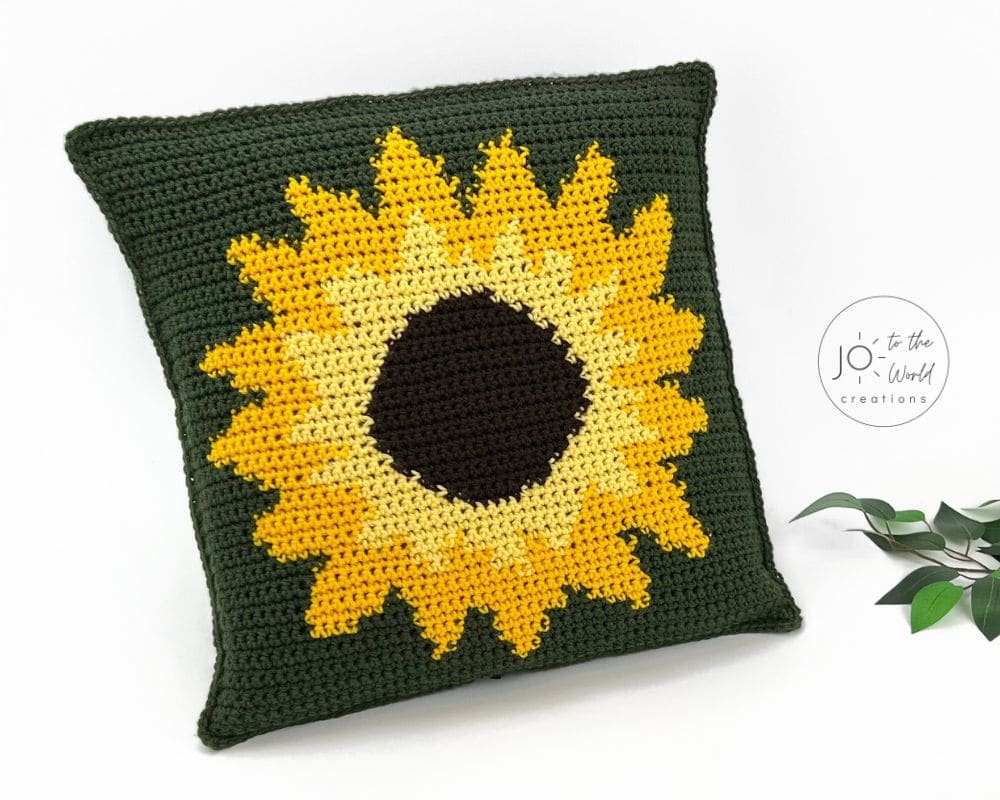
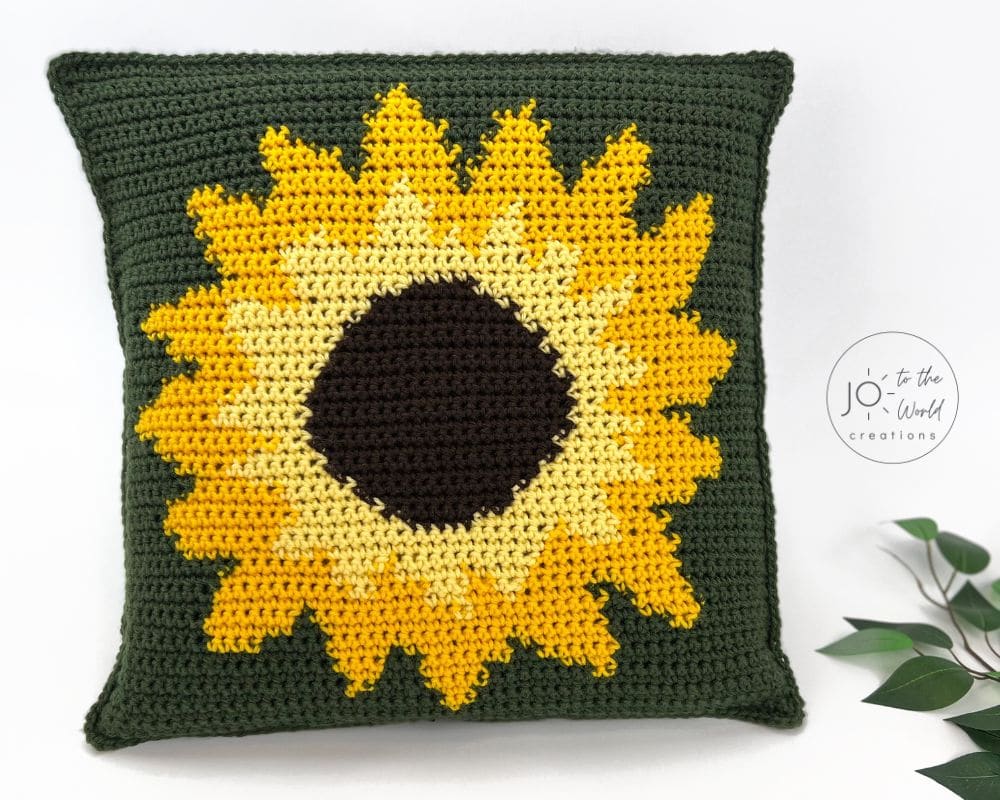
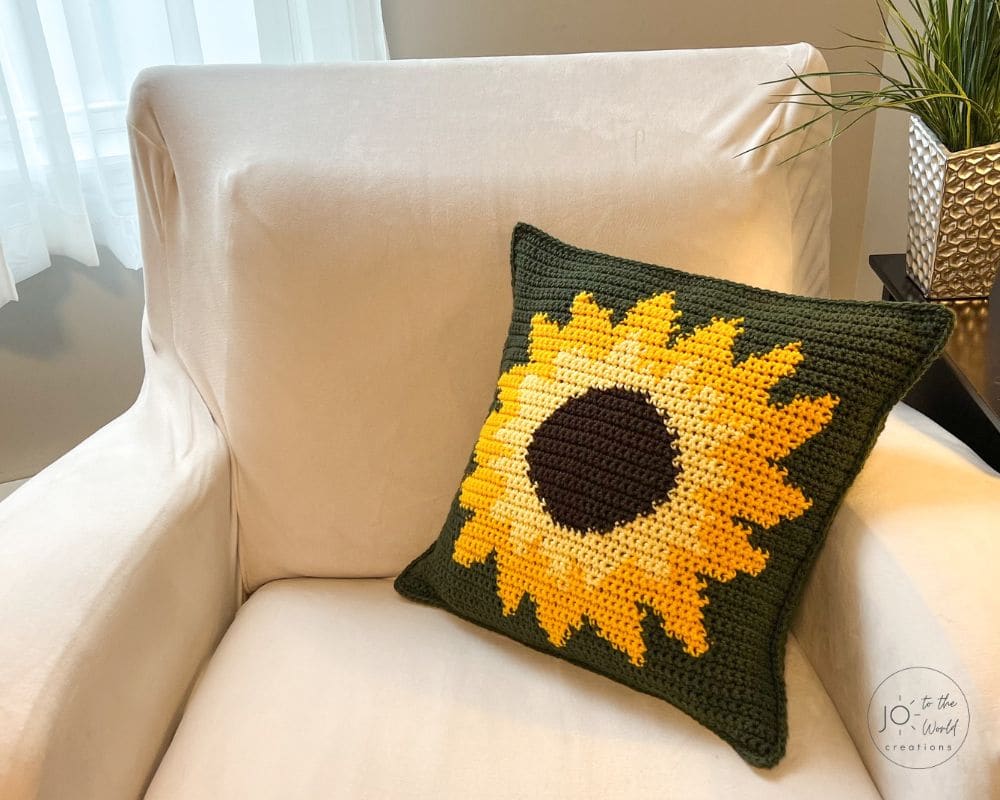
If you are looking for a sunflower crochet pattern, you’ll love making this Sunflower Pillow Crochet Pattern! The pattern creates a removable pillowcase, which covers a throw pillow and makes a wonderful decoration for your home or to give as a gift.
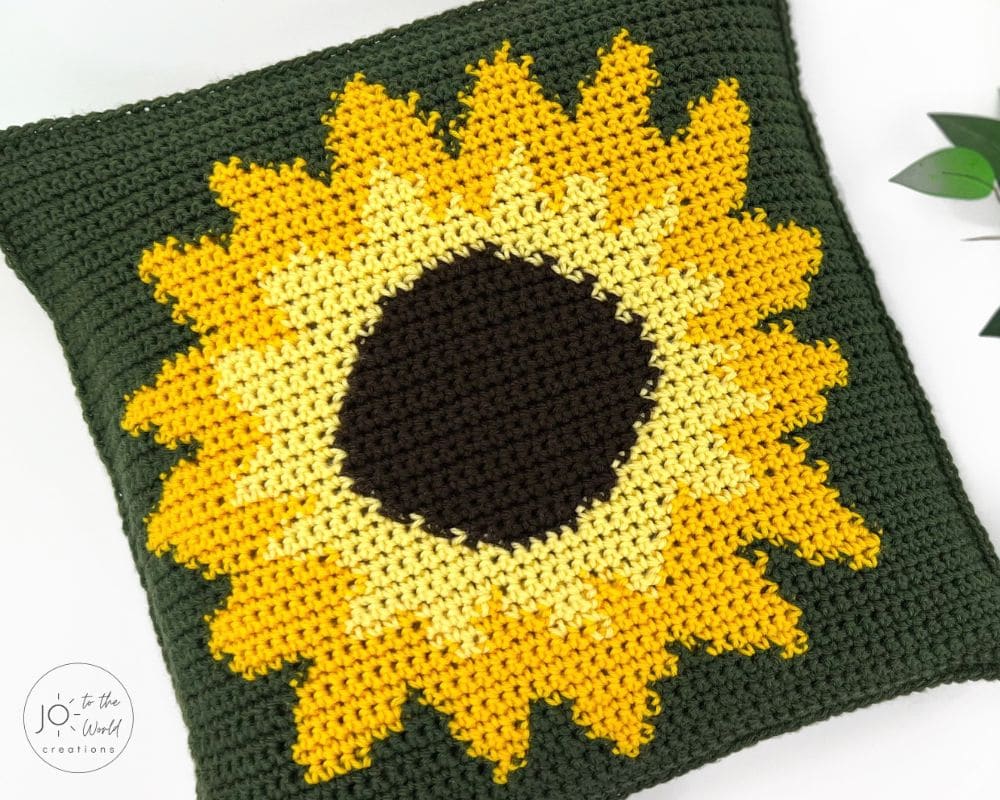
The free pattern (below) for this crochet sunflower pillow includes step-by-step, easy-to-follow written instructions, plus there is a detailed chart to help you follow along.
Use the Table of Contents below to jump to any section of this pattern or keep scrolling down for all the details and the written instructions.
Get the PDF!
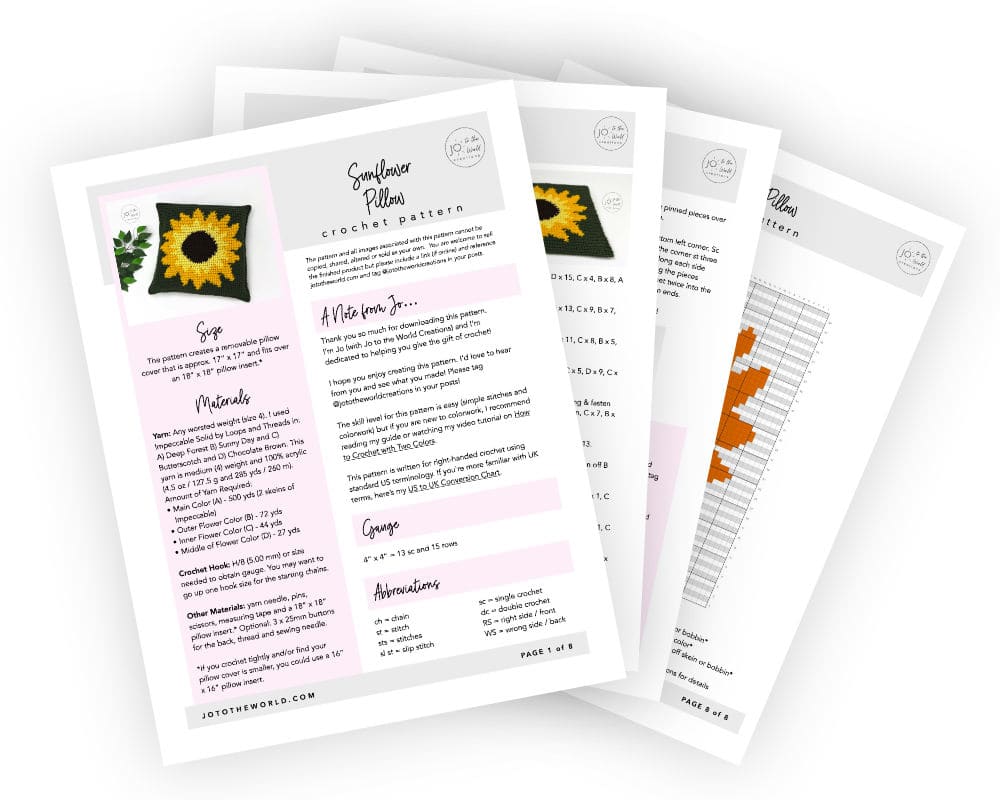
Purchase the printer-friendly, ad-free PDF of this pattern that you can instantly download! It includes everything from this free pattern but you can easily save, print and access it anytime!
All-Access Membership
For only $0.14 a day, you can get this pattern as a PDF and my entire library of 180+ print-ready, ad-free PDF crochet patterns!
Pattern Details (Size, Yarn & Hook)
Skill Level
Easy (Colorwork and simple stitches)
Size
The pattern creates a removable pillow cover that is approx. 17” x 17” and fits over an 18” x 18” pillow insert.*
*If you crochet tightly and/or find your pillow cover is smaller, you could use a 16” x 16” pillow insert.
Materials
Yarn: Any worsted weight (size 4). I used Impeccable Solid by Loops and Threads in: A) Deep Forest B) Sunny Day and C) Butterscotch and D) Chocolate Brown. This yarn is medium (4) weight and 100% acrylic (4.5 oz / 127.5 g and 285 yds / 260 m).
Amount of Yarn Required:
- Main Color (A) – 500 yds (2 skeins of Impeccable)
- Outer Flower Color (B) – 72 yds
- Inner Flower Color (C) – 44 yds
- Middle of Flower Color (D) – 27 yds
Crochet Hook: H/8 (5.00 mm) or size needed to obtain gauge. You may want to go up one hook size for the starting chains.
Other Materials: yarn needle, pins, scissors, measuring tape and a 18” x 18” pillow insert.* Optional: 3 x 25mm buttons for the back, thread and sewing needle.
*If you crochet tightly and/or find your pillow cover is smaller, you could use a 16” x 16” pillow insert.
Gauge
4” x 4” = 13 sc and 15 rows
Abbreviations
- ch = chain
- st = stitch
- sts = stitches
- sl st = slip stitch
- sc = single crochet
- dc = double crochet
- RS = right side / front
- WS = wrong side / back
Working with Multiple Colors
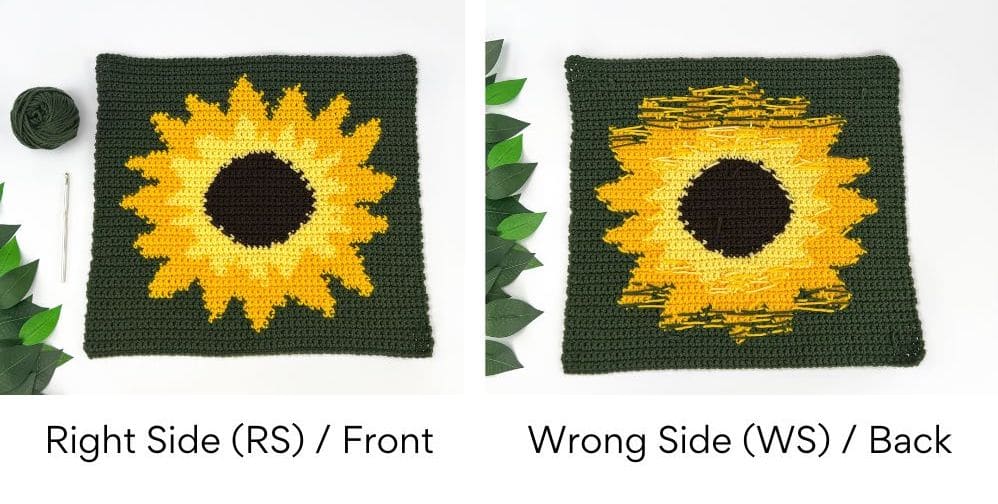
For this pattern, you will attach different colors to different sections of the pattern. You will add/pick up and use the different colors when you are working on them, carry them along the WS/back when necessary and drop them when not in use (you don’t carry the unused colors to the ends of the rows). The rows are worked from right to left and then left to right so the color will be close by when you need it again.
There are a few times throughout the pattern where the color isn’t close by so you need to carry it either on the row before or current row. These times are indicated in the written instructions and on the chart.
Ensure all strands are always kept along the wrong side.
Here is more information on how to crochet with two colors including a video tutorial.
Preparing Your Yarn
To help lessen the amount of yarn you will need to carry along the back (and ensure the unused colors are not shown on the front), you will use the main skeins of each color as well as bobbins throughout this pattern. (Bobbins are separated balls/strands of yarn from the main skein). Prepare bobbins in advance of starting the pattern.
How to Prepare Your Bobbins
You can use any kind of bobbin or you can make your own with any object you can wrap your yarn around (i.e. a glue stick or an empty toilet paper roll).
Here is a great tutorial showing you exactly how to make a bobbin from a paper towel roll.
Amount of Yarn Needed for Each Bobbin
- Main Color (A) Bobbin – 30 yds
- Outer Flower (B) Bobbin -18 yds
- Inner Flower (C) Bobbin – 14 yds
Amount of Yarn Needed for the Main Skeins
(Note that you don’t need to separate this amount of yarn from the main skein, it’s just for reference)
- Main Color (A) Main Skein – 95 yds for front panel (375 yds are needed for the back 2 panels)
- Outer Flower (B) Main Skein – 54 yds
- Inner Flower (C) Main Skein – 30 yds
- Middle of Flower (D) Main Skein – 27 yds
Pattern Notes
- Each row has 56 stitches.
- Ch 1 and turn after every row.
- Ch 1 does not count as a stitch.
- Always work in the 1st st (the st attached to ch).
- Catch your float every 4-6 stitches (learn how to catch/trap floats here).
- Stretch your pillow wide after each row.
- Ensure all strands are always kept on the wrong side of the work.
- Add/switch color when you have two loops of the old color on the sc stitch BEFORE the new color stitch.
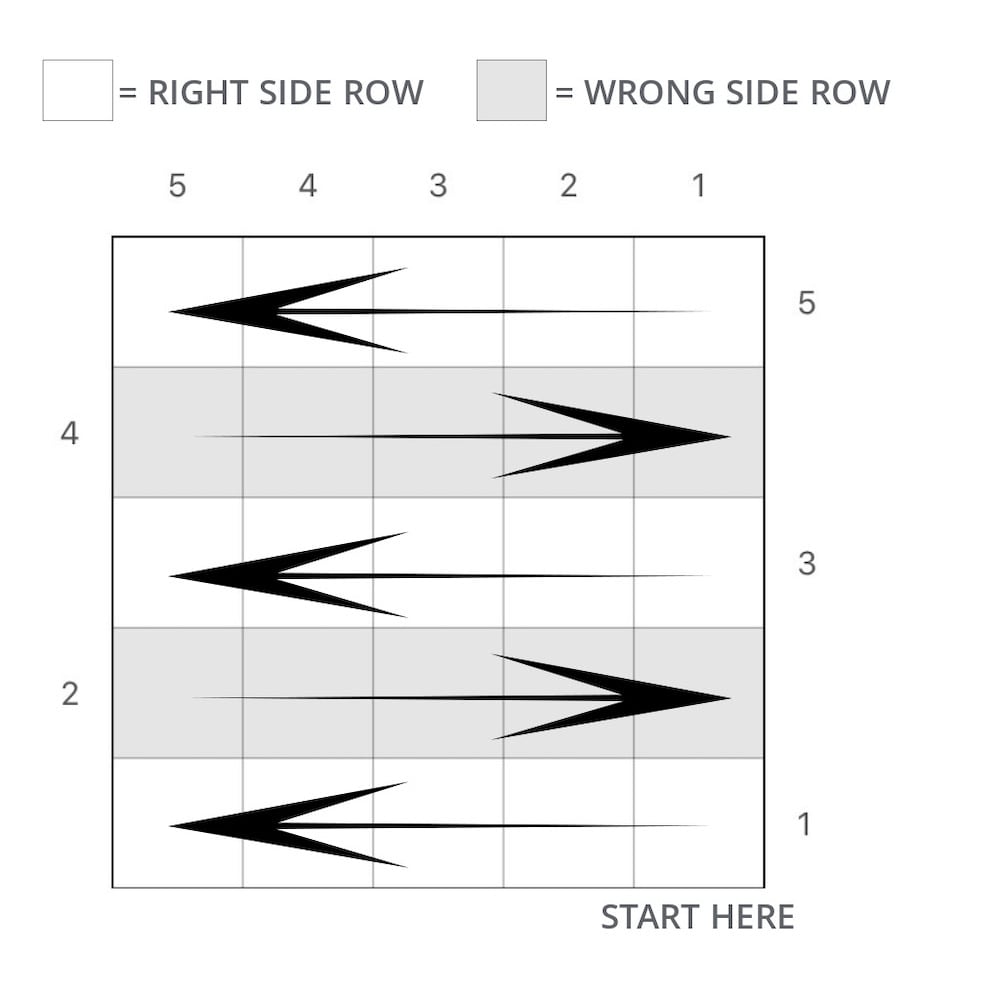
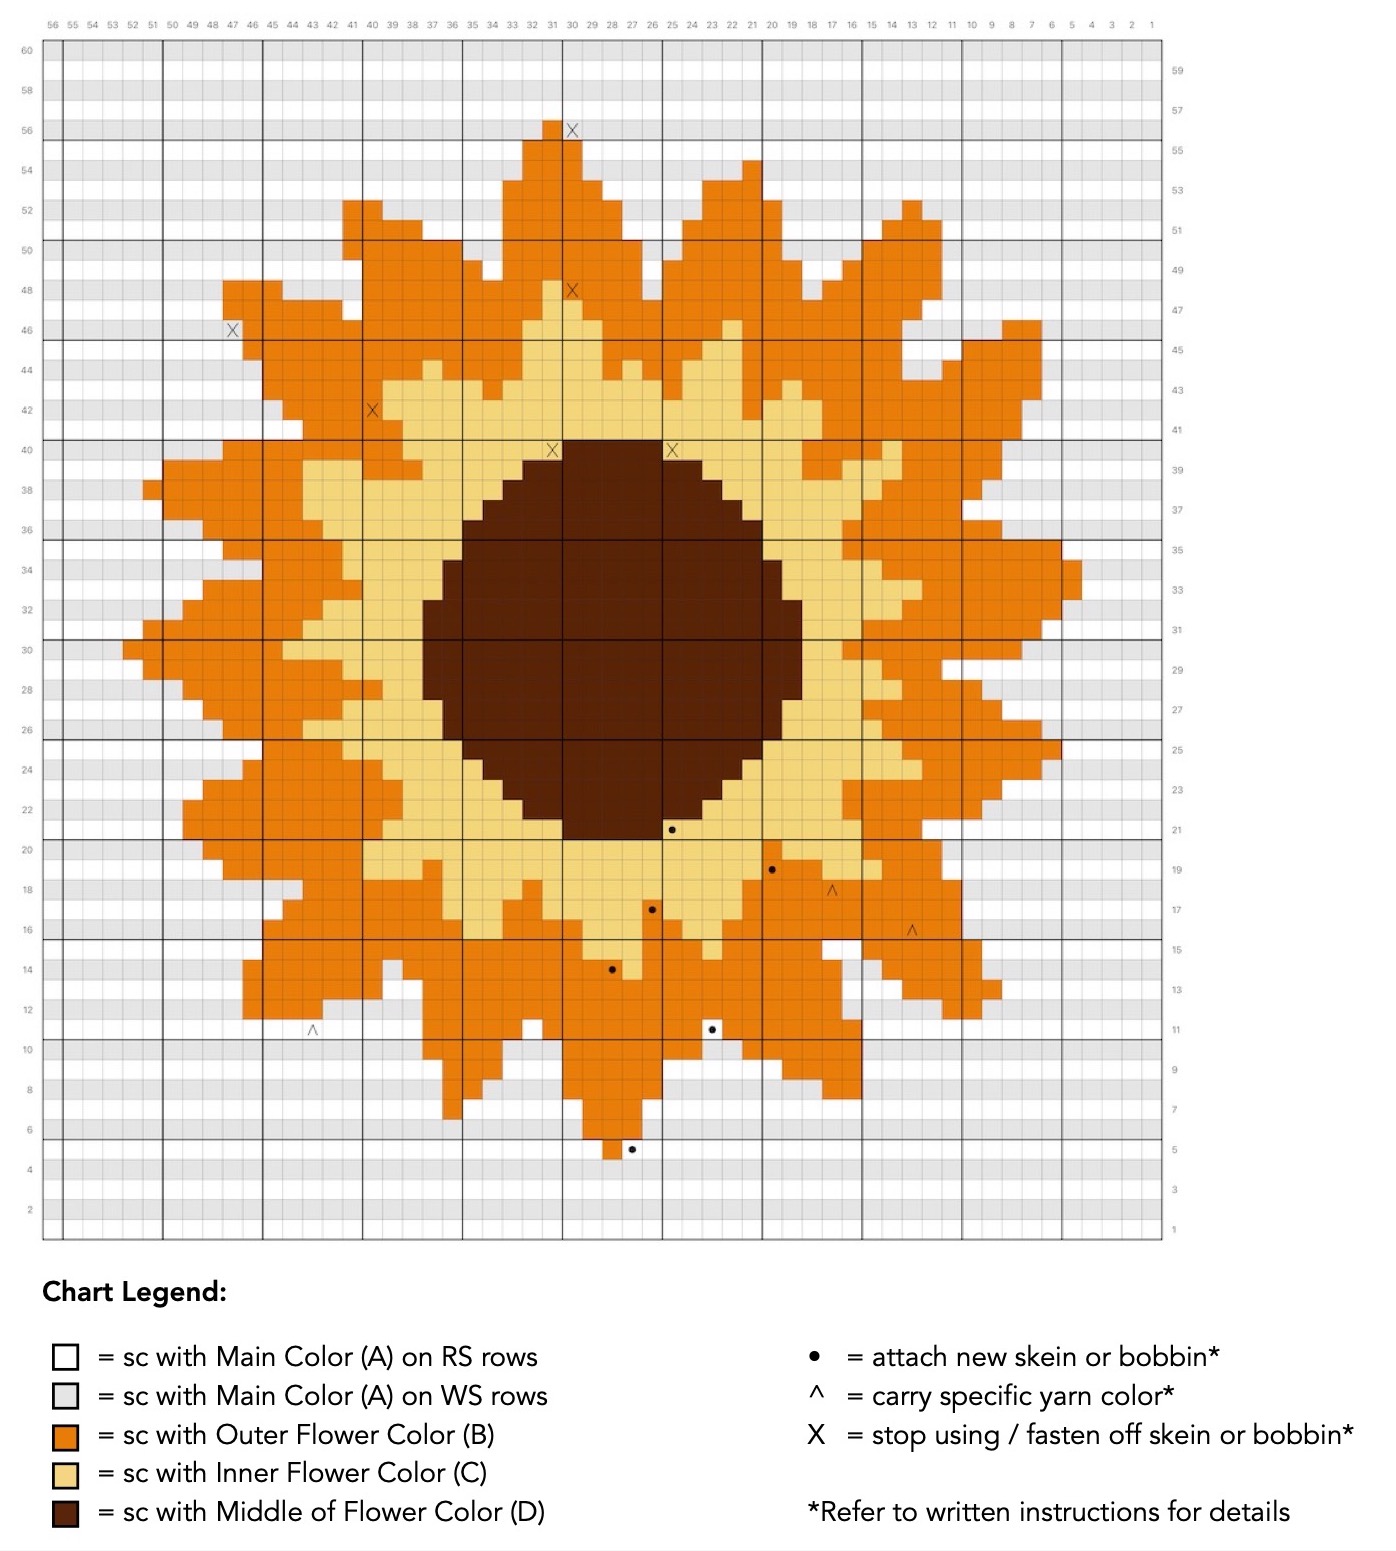
- Read the chart from right to left when working on right side rows and left to right when working on the wrong side. The chart is lightly shaded on wrong sides to help you remember. (The written instructions lists everything in the correct order).
How to Follow the Chart:
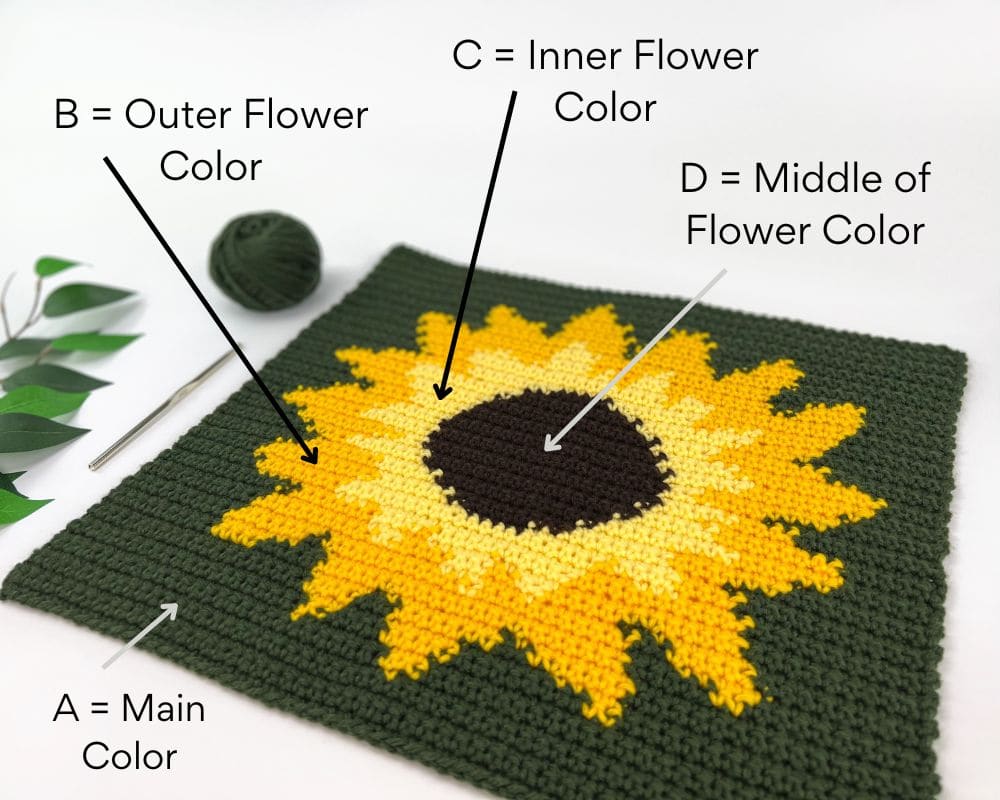
Color Legend
- A = Main Color (background)
- B = Outer Flower Color
- C = Inner Flower Color
- D = Middle of Flower Color
Just a Reminder!
This pattern is also available as a PDF, which includes everything listed here but as a printer-friendly, ad-free PDF that you can instantly download, save, print, make notes on and keep forever.
Get ALL my PDF Patterns!
Only $0.14 a day!
Join the All-Access Membership and instantly download the printable version of this pattern and ALL my 180+ easy-to-follow PDF crochet patterns.
How to Crochet the Sunflower Pillow (Pattern Instructions)
Front of Pillow
If you crochet tightly, you may want to go up a hook size for the starting chains (only) to ensure you can work more easily into the back ridge loop on Row 1.
Start: With A (Main Color), chain 57.
(Continue using A until instructed to change colors).
Row 1 (RS): Sc into the back ridge loop of the 2nd ch from hook. Sc in each back ridge loop across. Reminders: each row has 56 sts (chains never count as sts). Ch 1 and turn after each row.
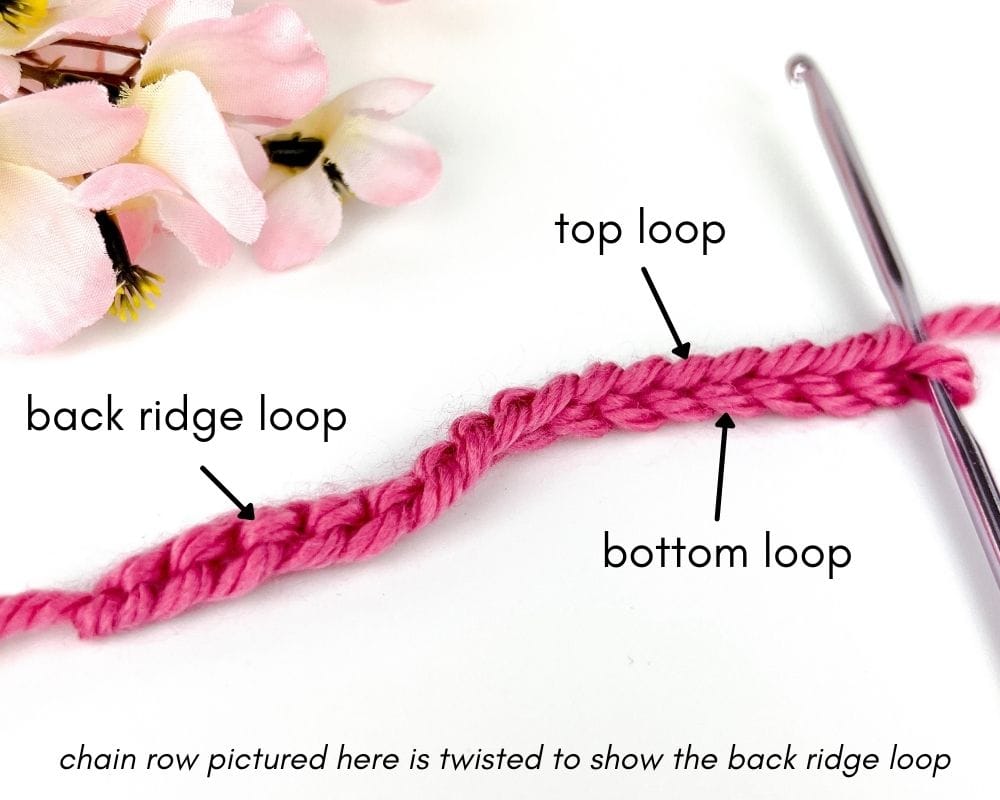
(Work in both loops from now on.)
Row 2 (WS): Sc in each st across.
Rows 3 & 4: Repeat Row 2.
Note About Colorwork Instructions:
In the next row, you will begin changing colors. Every stitch is a single crochet (sc). The pattern does not say to sc because it gets too jumbled. Instead it says something like (just an example): A x 16, B x 10, A x 30. This example means: using A (Main Color), sc for 15 sts, add B (Outer Flower Color) yarn on the last (the 14th) st. Using B, sc for 9 sts (remember to catch your float every 4 – 6 sts, on the last (the 9th) st, change back to A. With A, sc for 30 sts.
Row 5 (RS): A x 27, attach Outer Flower Color (B) Main Skein – B x 1, A x 28.
Row 6 (WS): A x 27, B x 3, A x 26.
Row 7 (RS): A x 26, B x 3, A x 6, B x 1, A x 20.
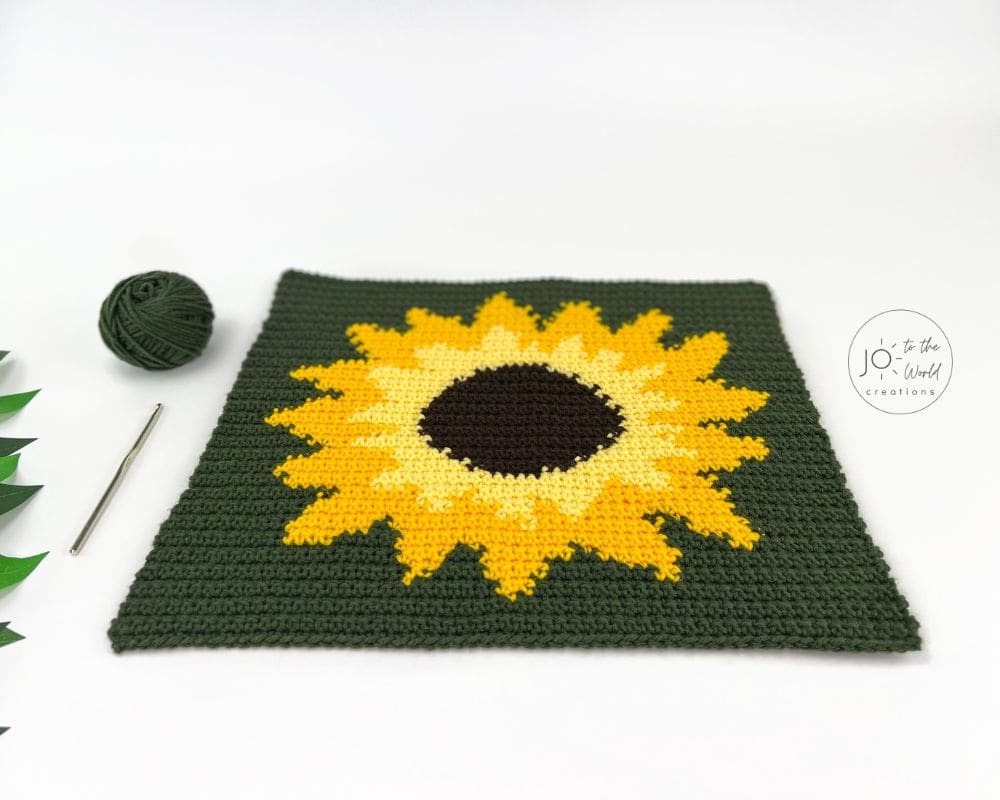
Row 8 (WS): A x 20, B x 2, A x 4, B x 5, A x 8, B x 2, A x 15.
Row 9 (RS): A x 15, B x 4, A x 6, B x 5, A x 3, B x 3, A x 20.
Row 10 (WS): A x 19, B x 4, A x 3, B x 7, A x 2, B x 6, A x 15.
Row 11 (RS): A x 15 (once finished, leave A where it is, don’t carry), B x 7, attach Main Color (A) Bobbin – A x 1, B x 8, A x 1, B x 5, A x 19* (Note: after about 5 sts with A, catch B – meaning after approx. 5 sts are completed with A, trap/catch B on the 6th st on the WS so that B is nearby the next time you need it).
Note: the instructions don’t state whether to use the main skein or bobbin for any color. Use the closest strand.
Row 12 (WS): A x 10, B x 4, A x 5, B x 21, A x 5, B x 2, A x 9.
Row 13 (RS): A x 8, B x 5, A x 3, B x 21, A x 2, B x 7, A x 10.
Row 14 (WS): A x 10, B x 7, A x 1, B x 11, attach Inner Flower Color (C) Main Skein – C x 1, B x 10, A x 2, B x 5, A x 9.
Row 15 (RS): A x 9, B x 6, A x 2, B x 5, C x 1, B x 3, C x 3, B x 16, A x 11.
Row 16 (WS): A x 11, B x 10, C x 2, B x 4, C x 3, B x 2, C x 2, B x 12* (Note: after about 9 sts with B, catch A), A x 10.
Row 17 (RS): A x 10, B x 11 (once finished, leave B where it is, don’t carry), C x 4, attach Outer Flower Color (B) Bobbin – B x 1, C x 5, B x 2, C x 3, B x 8, A x 12.
Row 18 (WS): A x 13, B x 7, C x 4, B x 1, C x 10, B x 11* (Note: after about 4 sts with B, catch C), A x 10.
Row 19 (RS): A x 11, B x 3, C x 3 (once finished, leave C where it is, don’t carry), B x 3, attach Inner Flower Color (C) Bobbin – C x 16, B x 1, C x 3, B x 7, A x 9.
Row 20 (RS): A x 8, B x 8, C x 20, B x 1, C x 4, B x 4, A x 11.
Row 21 (WS): A x 12, B x 3, C x 10, attach Middle of Flower Color (D) Main Skein – D x 5, C x 9, B x 10, A x 7.
Row 22 (WS): A x 7, B x 11, C x 6, D x 9, C x 7, B x 7, A x 9.
Row 23 (RS): A x 8, B x 8, C x 6, D x 11, C x 5, B x 10, A x 8.
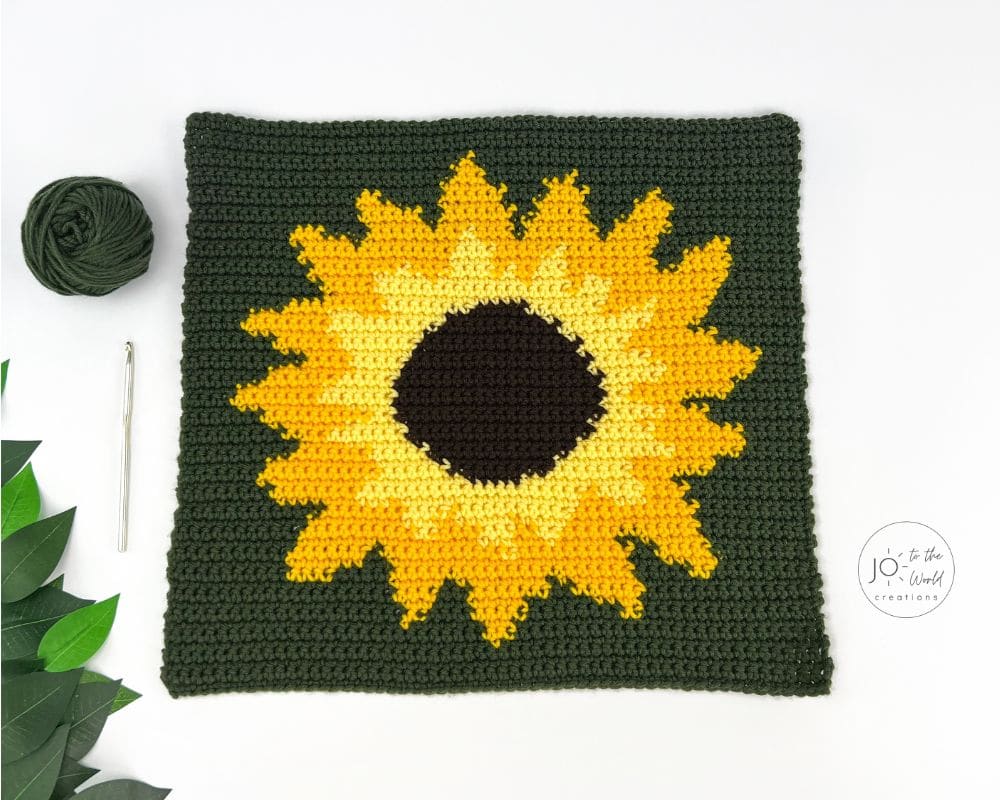
Row 24 (WS): A x 10, B x 7, C x 5, D x 13, C x 9, B x 6, A x 6.
Row 25 (RS): A x 5, B x 8, C x 7, D x 15, C x 6, B x 4, A x 11.
Row 26 (WS): A x 9, B x 4, C x 7, D x 17, C x 5, B x 8, A x 6.
Row 27 (RS): A x 8, B x 7, C x 4, D x 17, C x 5, B x 7, A x 8.
Row 28 (WS): A x 7, B x 10, C x 2, D x 19, C x 5, B x 4, A x 9.
Row 29 (RS): A x 11, B x 3, C x 4, D x 19, C x 4, B x 10, A x 5.
Row 30 (WS): A x 4, B x 8, C x 7, D x 19, C x 2, B x 9, A x 7.
Row 31 (RS): A x 6, B x 9, C x 3, D x 19, C x 6, B x 8, A x 5.
Row 32 (WS): A x 7, B x 7, C x 5, D x 19, C x 5, B x 8, A x 5.
Row 33 (RS): A x 4, B x 8, C x 7, D x 17, C x 4, B x 8, A x 8.
Row 34 (WS): A x 11, B x 4, C x 5, D x 17, C x 5, B x 10, A x 4.
Row 35 (RS): A x 5, B x 11, C x 4, D x 15, C x 6, B x 6, A x 9.
Row 36 (WS): A x 8, B x 6, C x 7, D x 15, C x 4, B x 8, A x 8.
Row 37 (RS): A x 10, B x 5, C x 6, D x 13, C x 9, B x 7, A x 6.
Row 38 (WS): A x 5, B x 8, C x 10, D x 11, C x 8, B x 5, A x 9.
Row 39 (RS): A x 8, B x 5, C x 3, B x 2, C x 5, D x 9, C x 5, B x 3, C x 3, B x 7, A x 6.
Row 40 (WS): A x 9, B x 9, C x 8 – stop using & fasten off C Bobbin, D x 5 – fasten off D Main Skein, C x 7, B x 4, C x 1, B x 5, A x 8.
Row 41 (RS): A x 7, B x 10, C x 21, B x 5, A x 13.
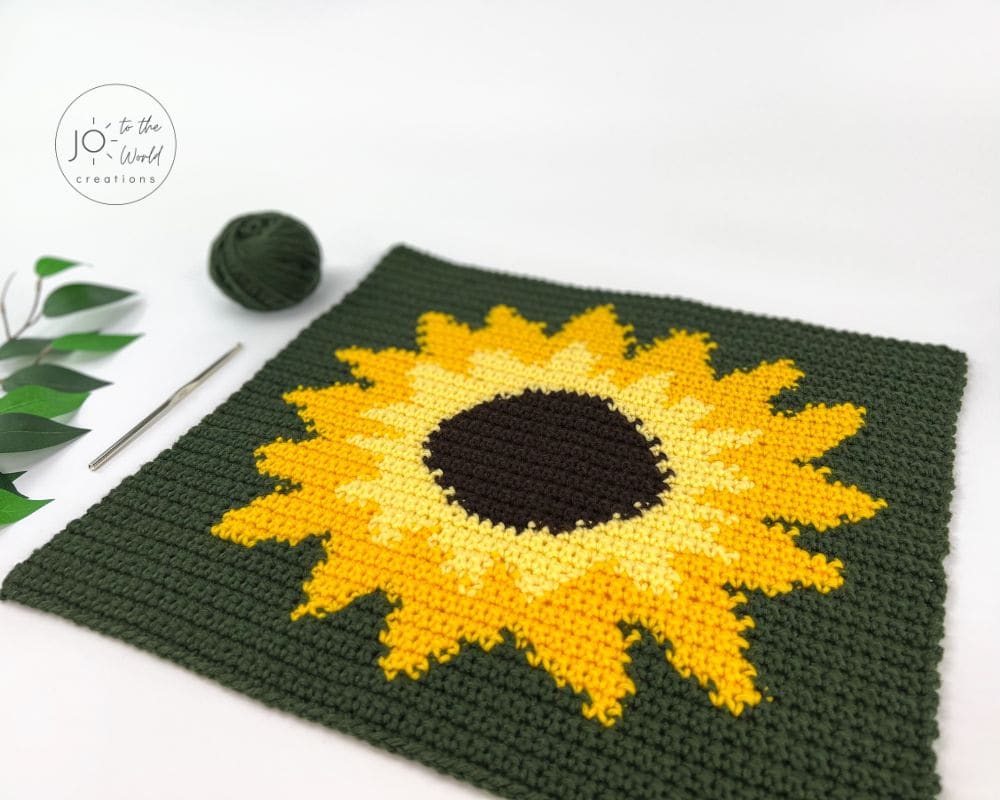
Row 42 (WS): A x 12, B x 5 – stop using & fasten off B Bobbin, C x 18, B x 1, C x 3, B x 10, A x 7.
Row 43 (RS): A x 6, B x 12, C x 1, B x 2, C x 3, B x 1, C x 8, B x 1, C x 5, B x 6, A x 11.
Row 44 (WS): A x 11, B x 8, C x 1, B x 4, C x 4, B x 1, C x 1, B x 2, C x 3, B x 8, A x 2, B x 5, A x 6.
Row 45 (RS): A x 6, B x 4, A x 3, B x 8, C x 2, B x 5, C x 4, B x 14, A x 10.
Row 46 (WS): A x 10 – stop using & fasten off A bobbin, B x 14, C x 4, B x 6, C x 1, B x 8, A x 5, B x 2, A x 6.
Row 47 (RS): A x 12, B x 17, C x 2, B x 9, A x 1, B x 6, A x 9.
Row 48 (WS): A x 9, B x 3, A x 4, B x 9, C x 1 – fasten off C Main Skein, B x 4, A x 1, B x 7, A x 1, B x 6, A x 11.
Row 49 (RS): A x 11, B x 5, A x 2, B x 7, A x 1, B x 7, A x 1, B x 6, A x 16.
Row 50 (WS): A x 15, B x 6, A x 2, B x 7, A x 2, B x 5, A x 4, B x 4, A x 11.
Row 51 (RS): A x 11, B x 3, A x 5, B x 5, A x 3, B x 6, A x 4, B x 4, A x 15.
Row 52 (WS): A x 15, B x 2, A x 6, B x 6, A x 4, B x 4, A x 6, B x 1, A x 12.
Row 53 (RS): A x 20, B x 3, A x 5, B x 5, A x 23.
Row 54 (WS): A x 24, B x 3, A x 8, B x 1, A x 20.
Row 55 (RS): A x 29, B x 3, A x 24.
Row 56 (WS): A x 25, B x 1 – fasten off B Main Skein, A x 30.
Rows 57 – 60: A x 56.
After Row 60, fasten off and weave in all loose ends.
Pattern Chart
Back of Pillow
Note: The completed front is Piece A.
Piece B – Bottom of Back:
Start: With Main Color (A), chain 57.
Row 1 (RS): Sc into the back ridge loop of the 2nd ch from hook. Sc in each back ridge loop across. (56 sts – chains never count as sts).
(Work in both loops from now on.)
Row 2 (WS): Ch 1 and turn. Sc in the 1st st (the st attached to the chain). Sc in each st across. (56 sts).
Rows 3 – 50: Repeat Row 2.
After Row 50, Piece B should measure approx.
12.5” h x 17” w.
Fasten off and weave in all loose ends.
Piece C – Top of Back
Follow instructions for Piece B from Start – Row 2.
Rows 3 – 26: Repeat Row 2 (for Piece B).
Row 27 (RS): Ch 2. Dc in the 1st st (the st attached to the chain). Dc in each st across. (56 sts).
After Row 27, Piece C should measure approx. 7” h x 17” w.
Fasten off and weave in all loose ends.
Pillow Assembly
Place Piece A (the front) face down, with the WS facing up (the top of the flower at the top).
Place Piece B (the bottom of the back) on top of A, with the RS facing up, with the last row you completed on the bottom, in line with the bottom of A. The chain row of B will be above the centre of A.
Place C (the top of the back), with the RS facing up, on top of B. Piece C will slightly overlap Piece B.
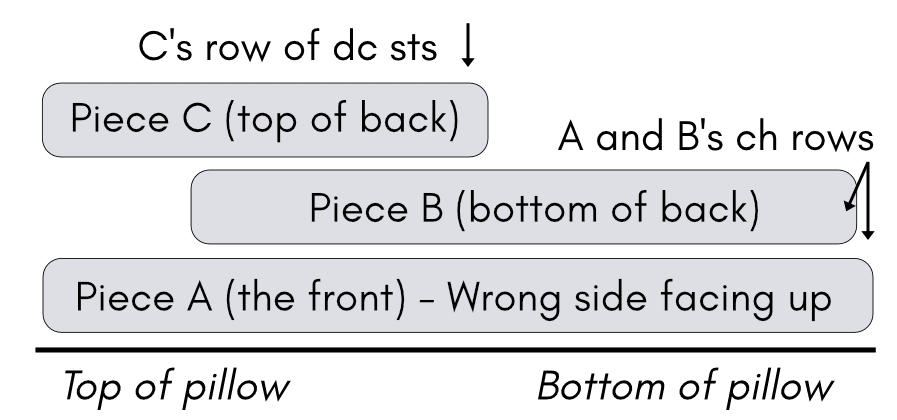
Pin the three pieces in place. Flip the pinned pieces over so the sunflower is now facing up/you.
With the main color, attach yarn to bottom left corner. Sc into each st along the bottom. Sc into the corner st three times. Repeat around pillow cover: sc along each side and 3 sc in each corner, single crocheting the pieces together. At the final corner, single crochet twice into the final corner stitch. Fasten off and weave in ends.
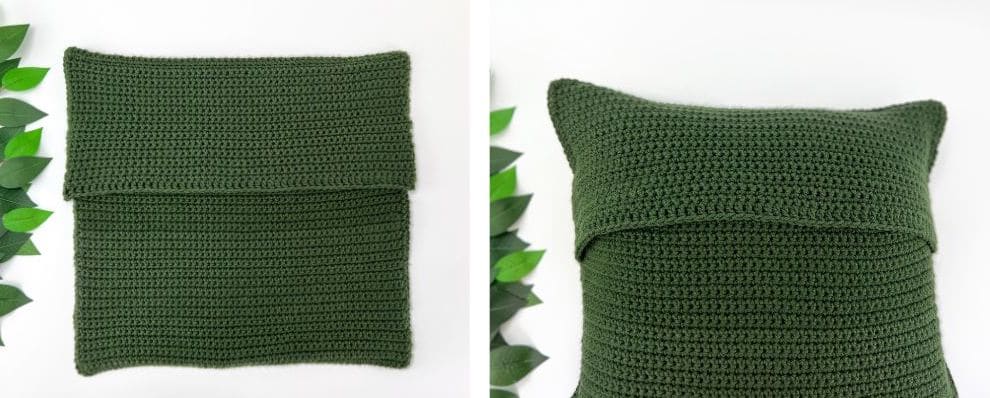
While not pictured here, you could sew on buttons to the top of Piece B and have them go through the dc sts made on Piece C. It would make it more secure and look lovely!
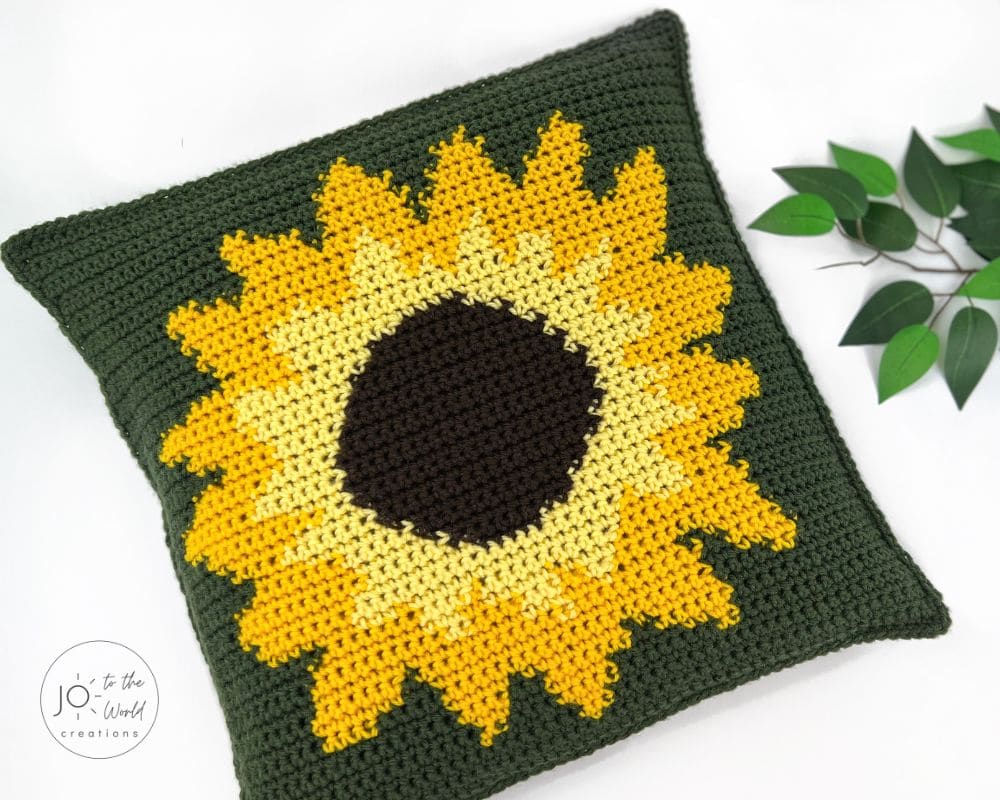
And now you have a new sunflower pillow!
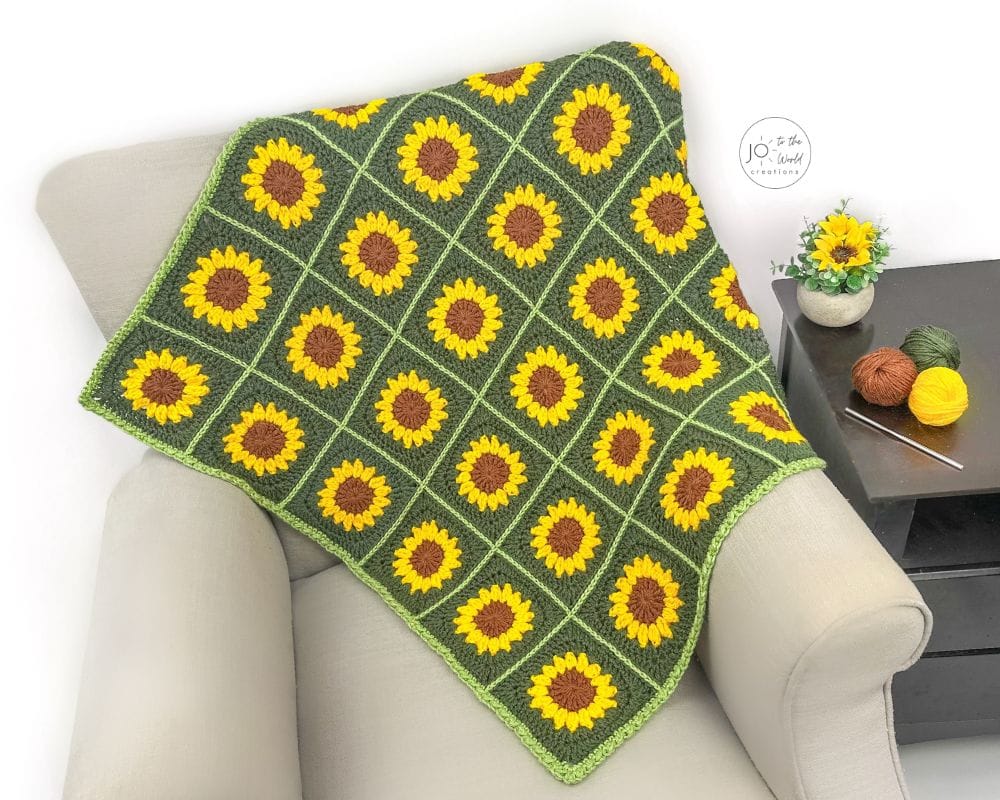
Make a stunning sunflower blanket to go with your new pillow! View this Sunflower Granny Square Blanket – Free Crochet Pattern.
More Crochet Pillow Patterns
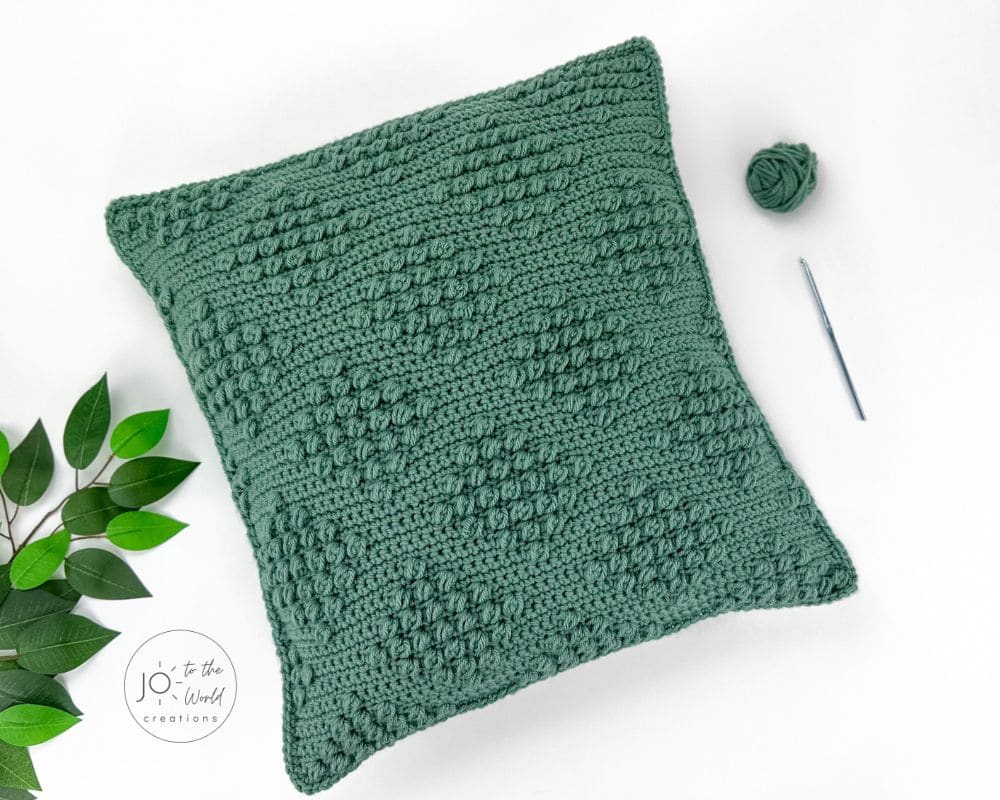
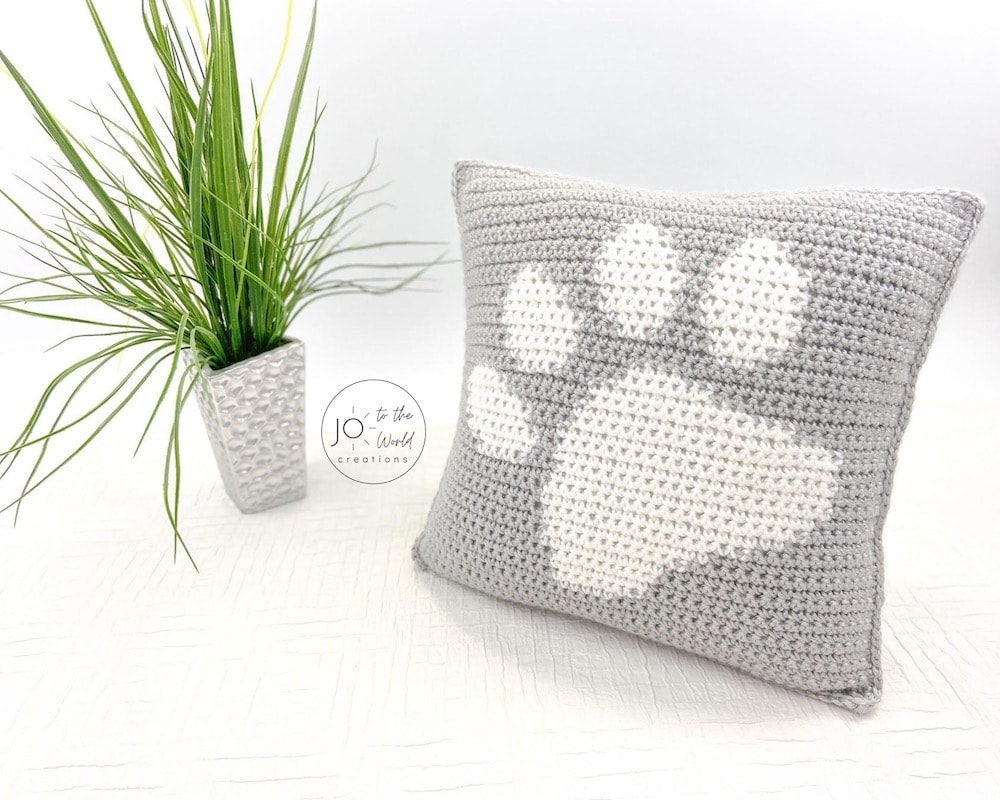
View more crochet pillow patterns

I’m Jo, the designer behind Jo to the World Creations, and I’m dedicated to helping you make the perfect crochet gift! I love designing and sharing free crochet patterns that you can make for every gift occasion.
About →Let’s Connect
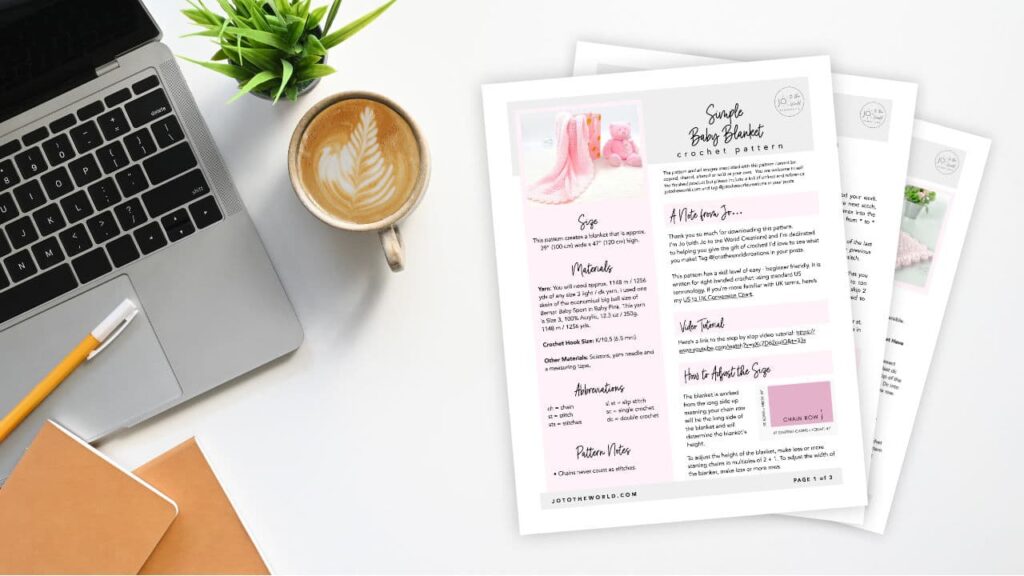
Download. Print. Keep.
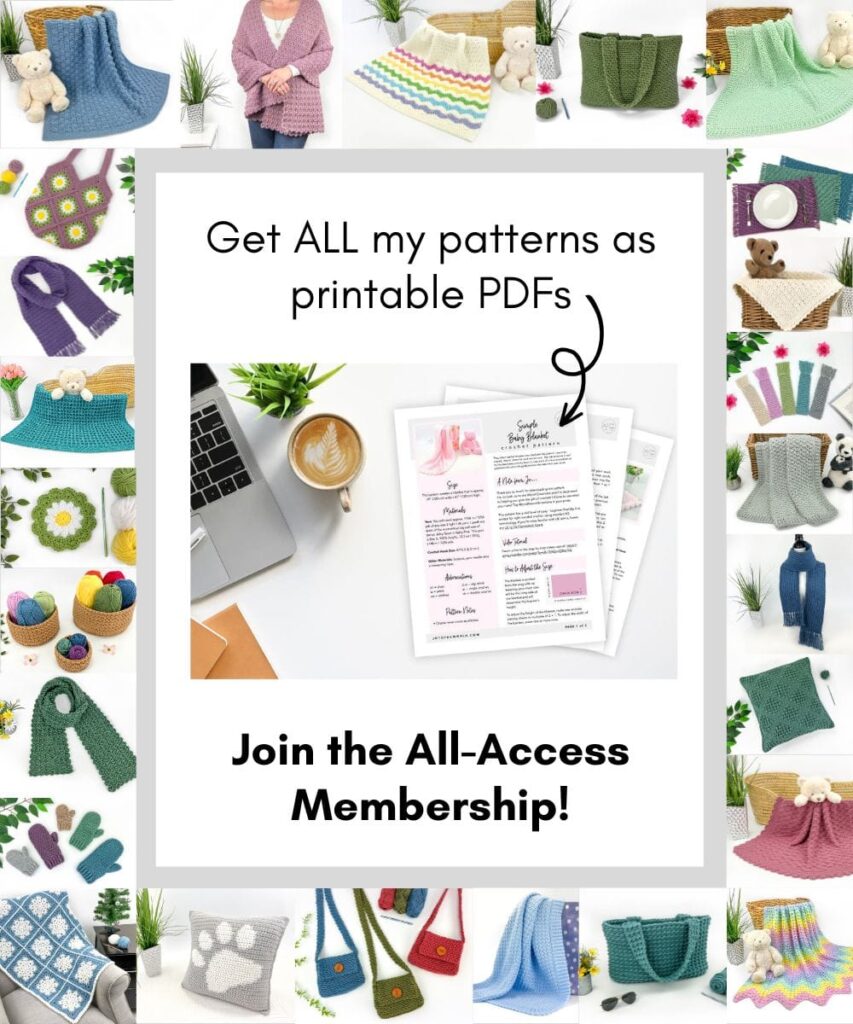
Get Instant Access to ALL Printable Patterns
Make your crocheting more enjoyable, relaxing and productive with printable PDF patterns.
- 180+ premium crochet patterns.
- Download, save and print from any device.
- No ads or popups!
Not sure yet? Take a look at the Pattern Library and see all the patterns you can download once you’re a member.
Save with Pattern Bundles
For a limited time, I’ve grouped some of my most popular crochet patterns and I’m offering them as pattern bundles where you can get the printable versions for one low, discounted price. Check out these incredible Crochet Pattern Bundles.
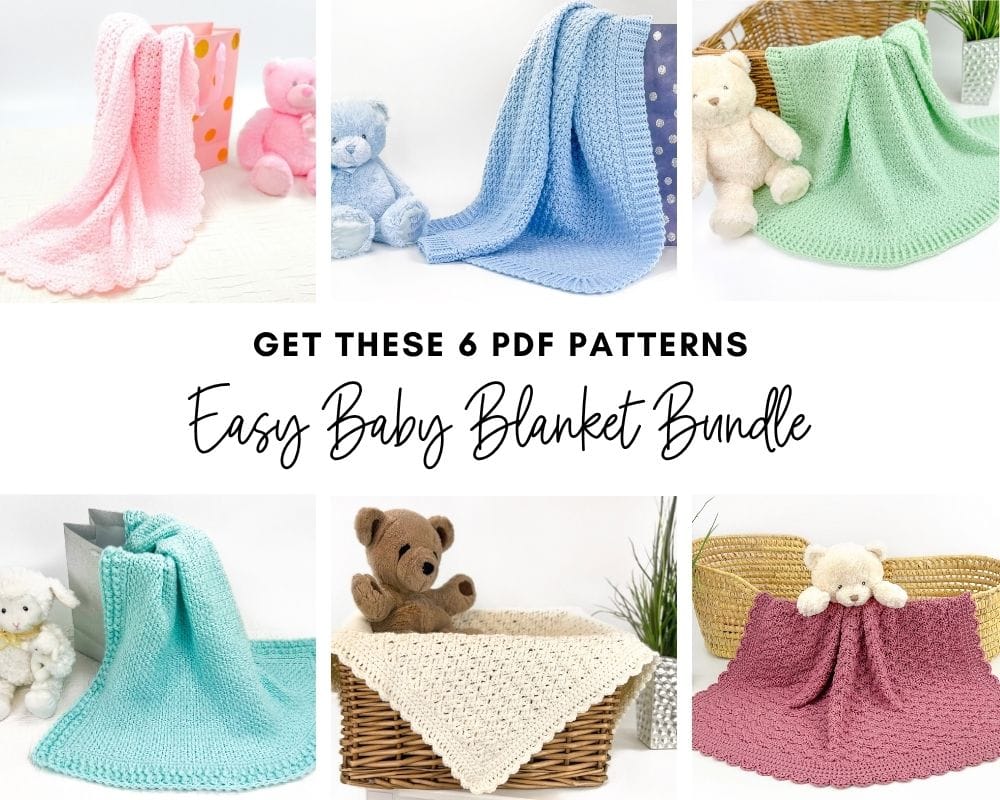
Easy Baby Blanket Bundle
With this Easy Baby Blanket Bundle, you’ll get SIX easy crochet baby blankets as printable downloads. Each pattern includes step-by-step instructions and a full video tutorial.
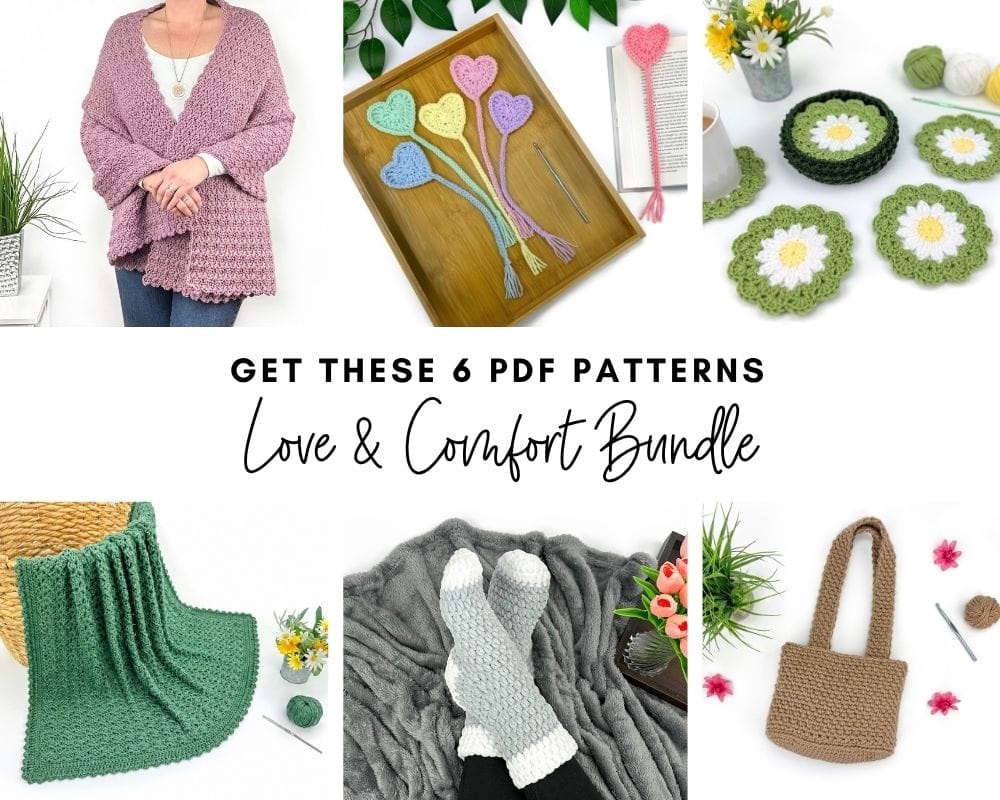
Love and Comfort Bundle
The Love and Comfort Bundle includes SIX meaningful patterns designed to comfort a loved one, brighten someone’s day or simply remind someone they’re loved.
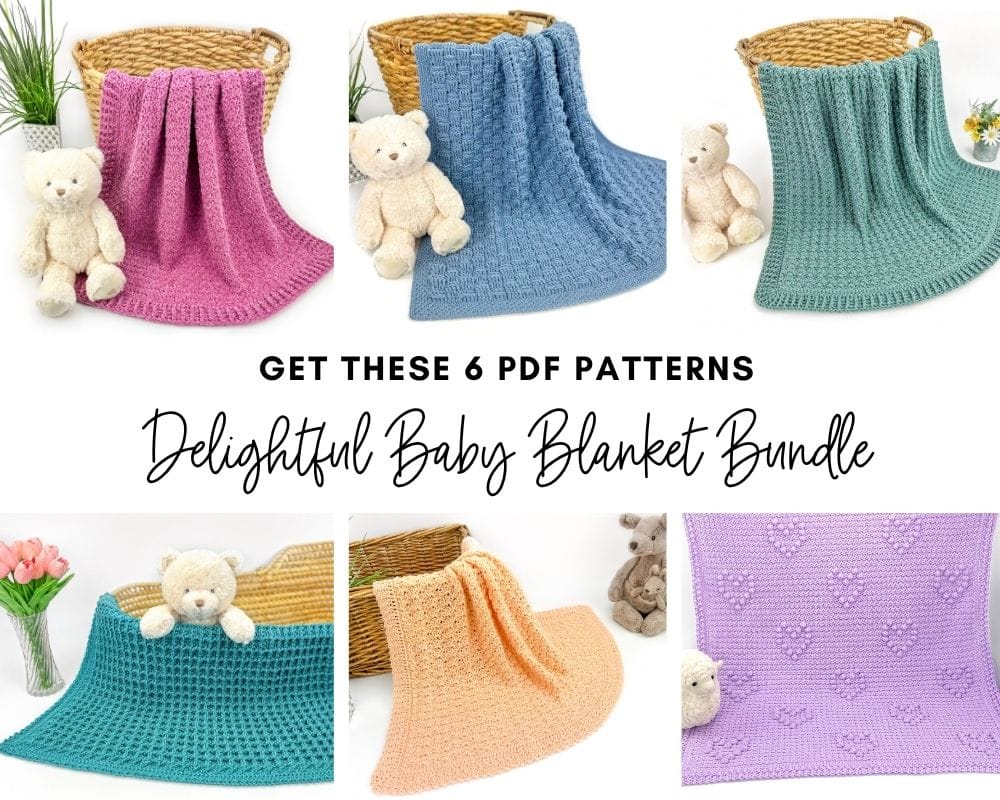
Delightful baby blanket Bundle
All your favorite baby blanket patterns in one bundle! This collection features SIX blankets (all with video tutorials) that are a delight to crochet and will be cherished forever.
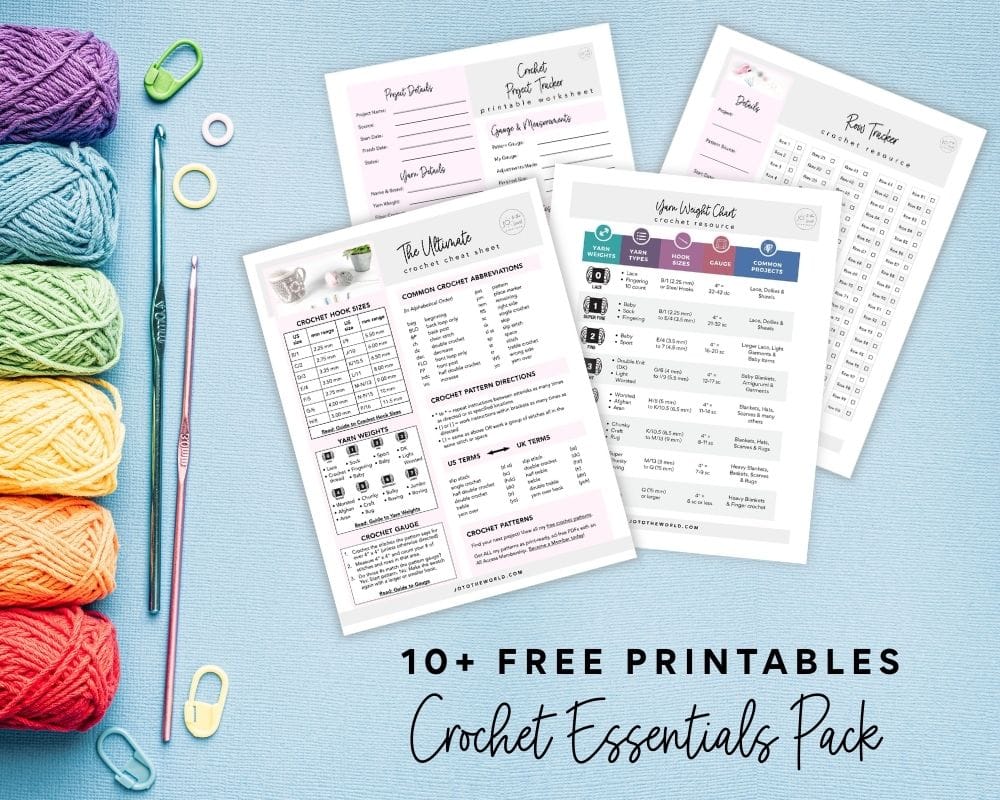
Free Crochet Printables
Subscribe to my emails and get 3 free printable crochet patterns as well as 10+ free printable crochet cheat sheets, guides and progress trackers.
Plus, you’ll receive free patterns for crochet gifts delivered right to your inbox!
Featured Crochet Patterns
Pattern Collections
Free Patterns for Crochet Gifts
Never miss a pattern! Get all my secrets to making incredible crochet gifts as well as new free crochet patterns and exclusive deals when you sign up for my newsletter (it’s free!).