
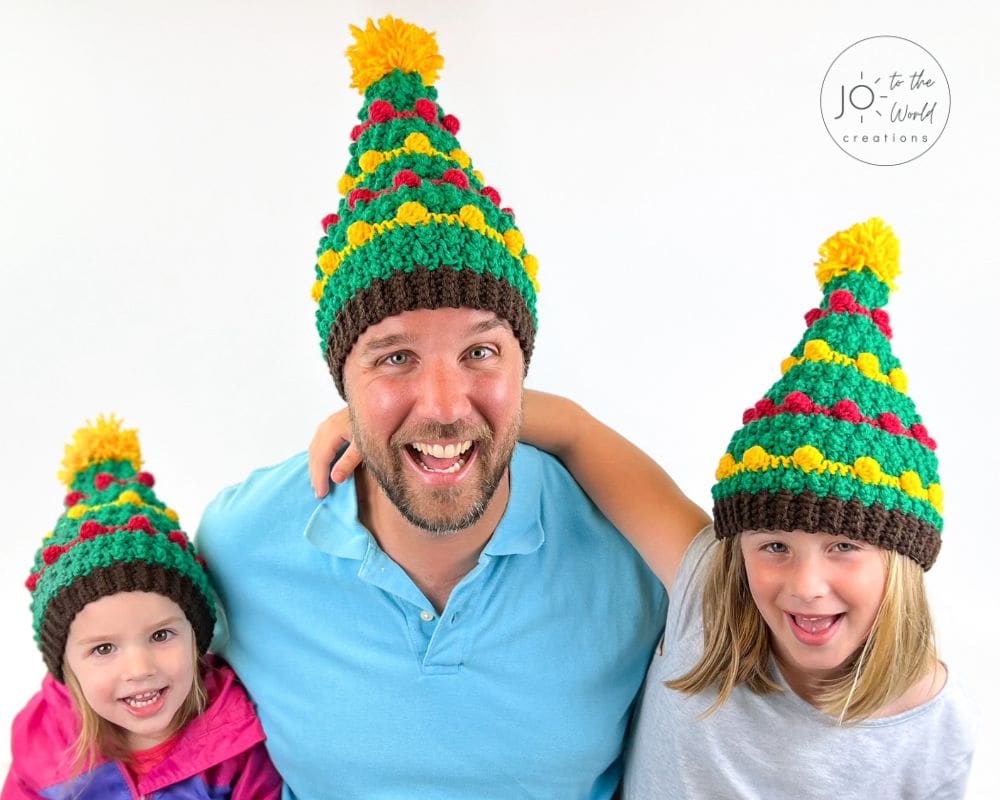
Christmas Tree Hat – Free Crochet Pattern
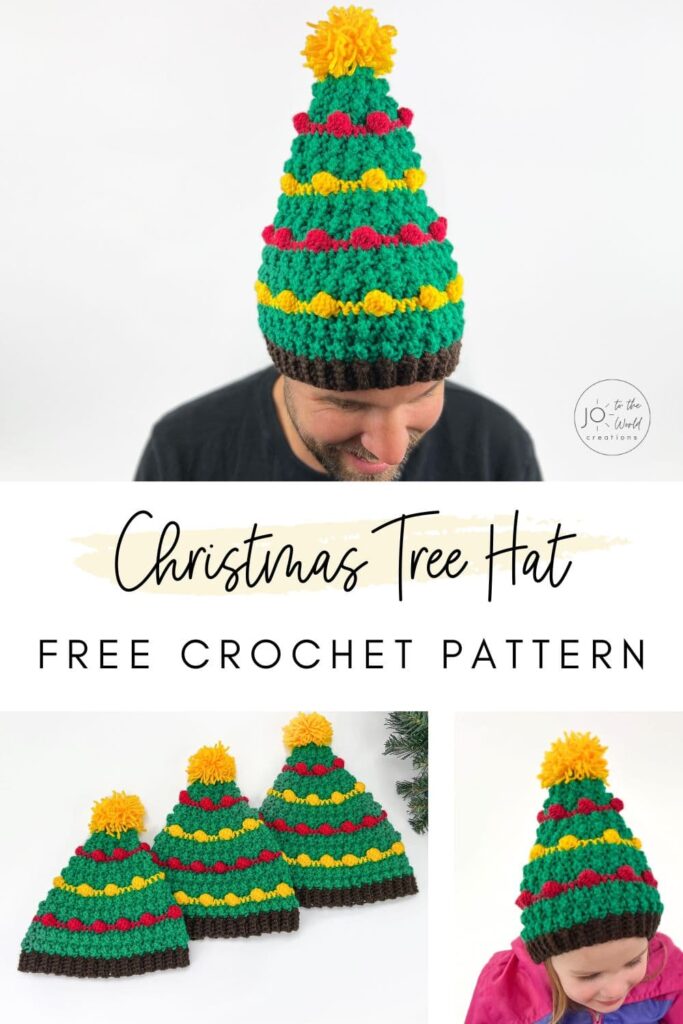
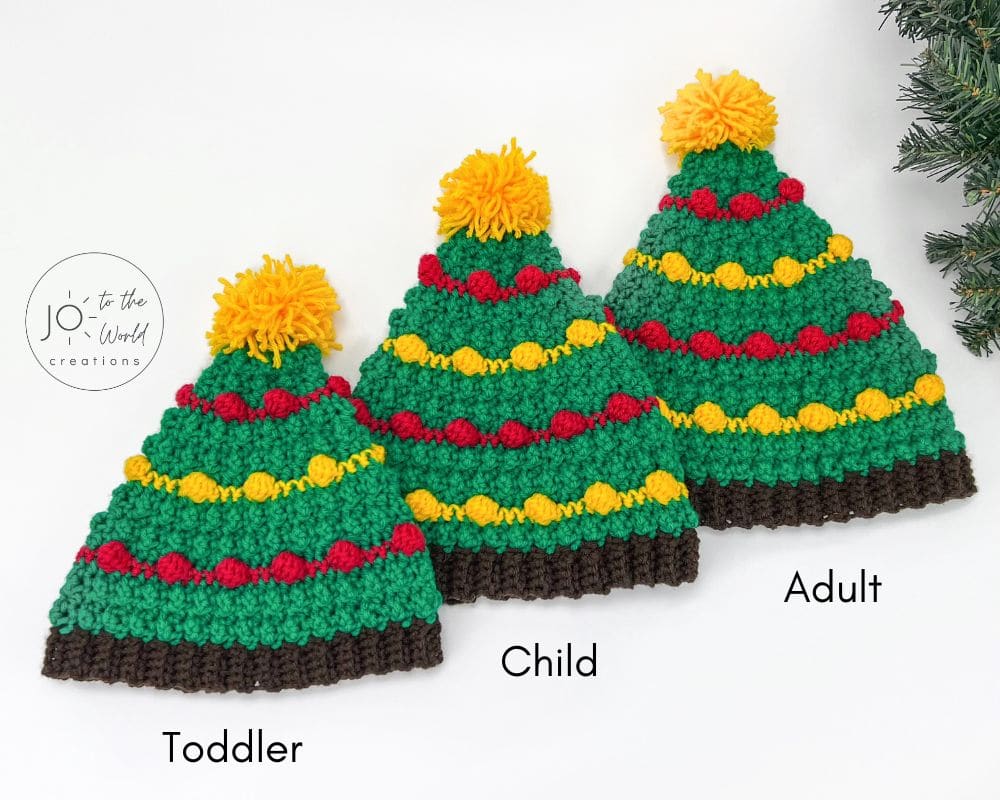
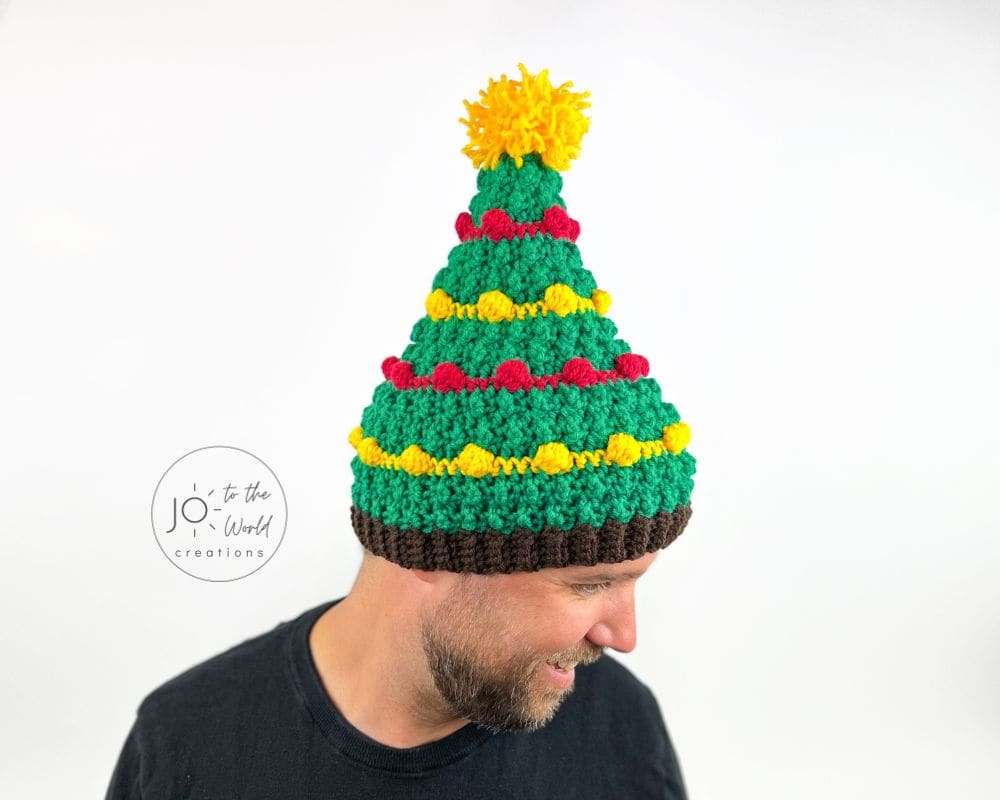
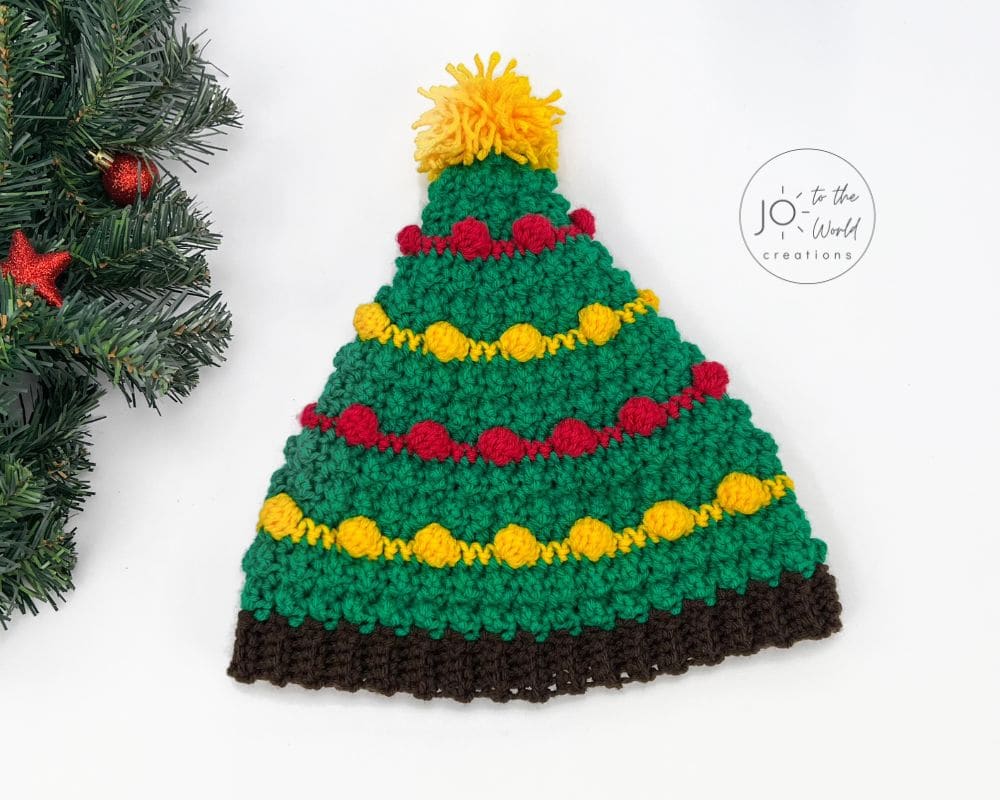
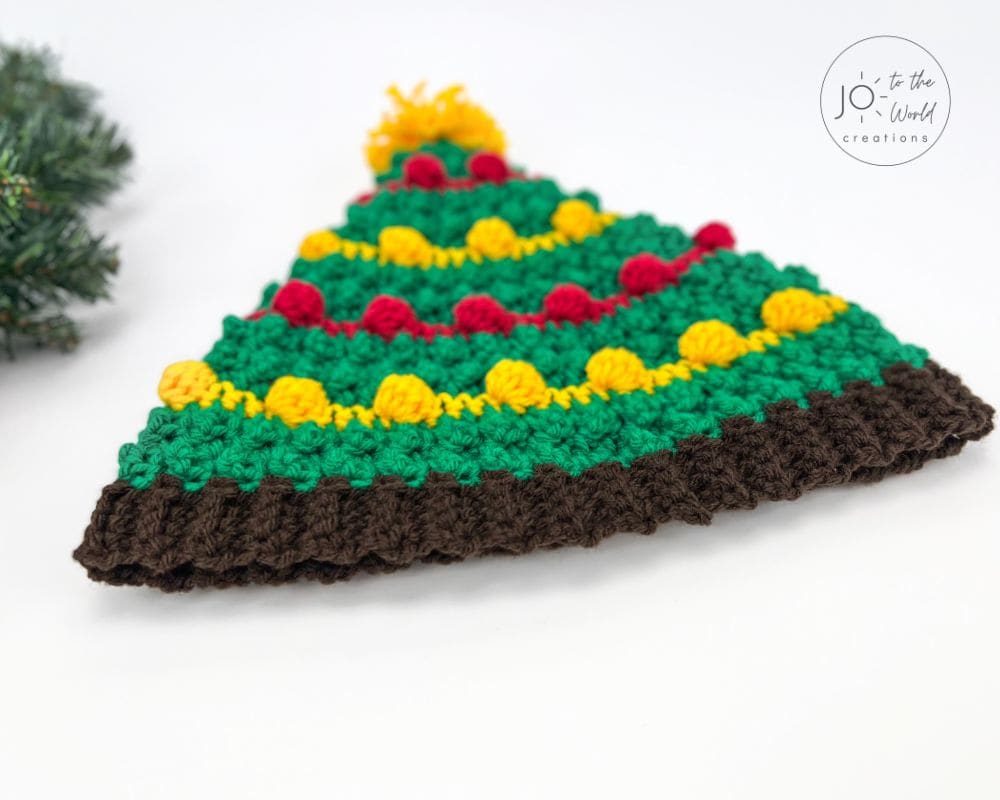
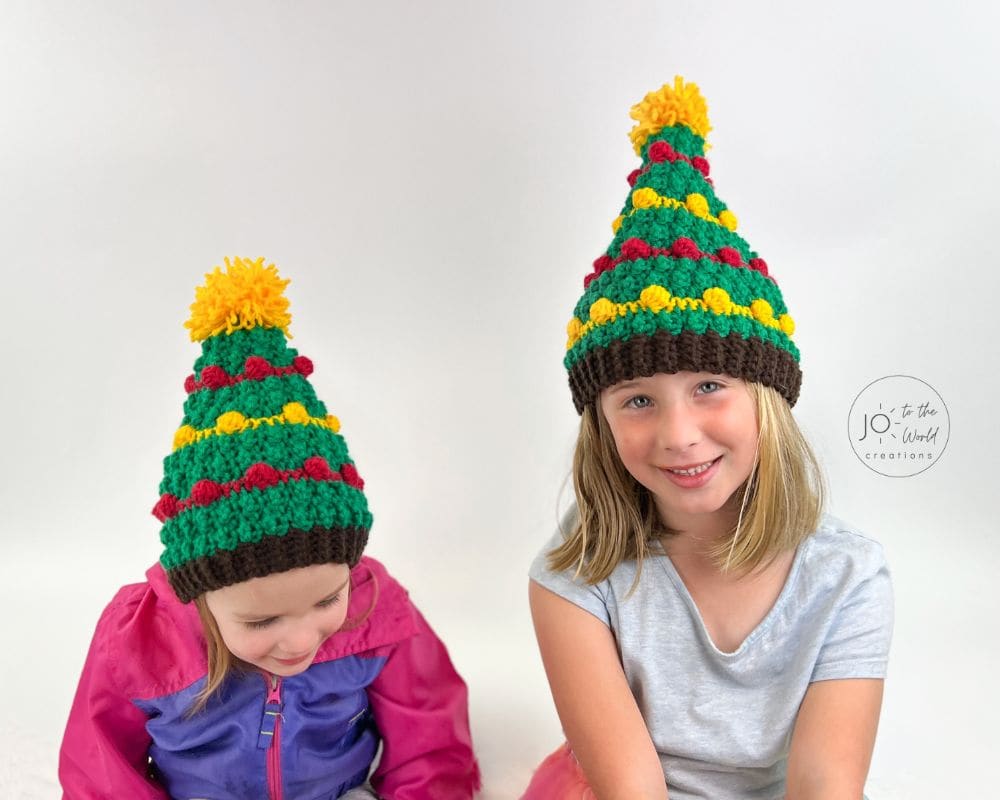
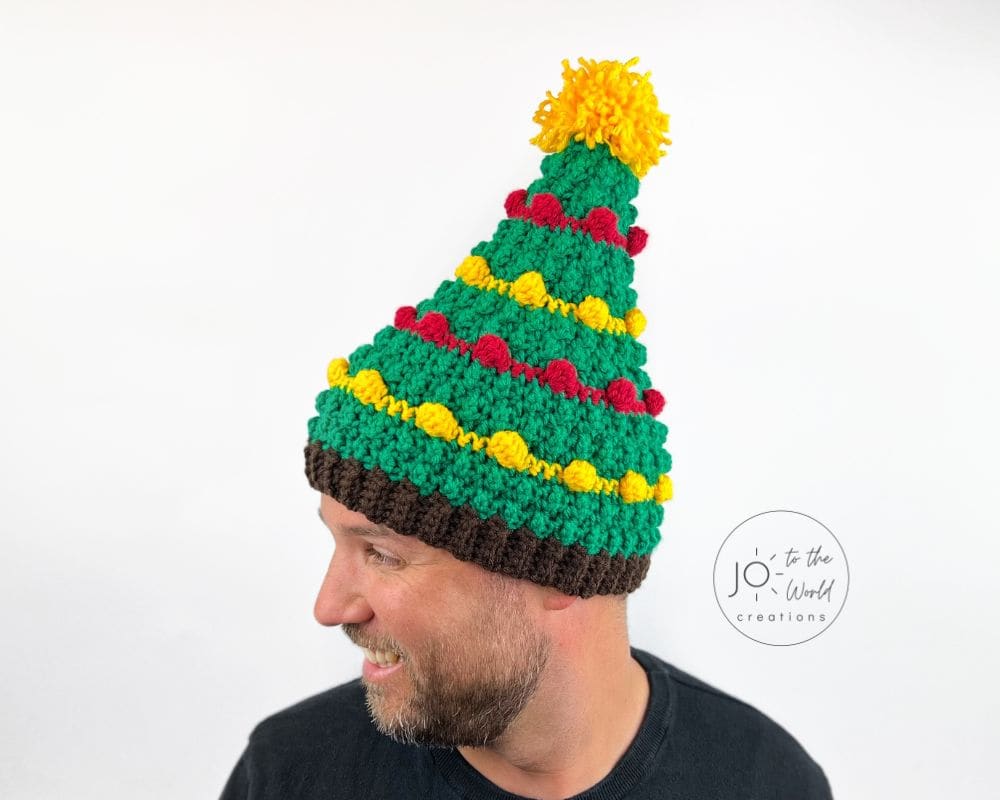
Here’s a free pattern for a crochet Christmas tree hat for the whole family! This Christmas tree hat crochet pattern comes in three sizes: toddler, child & adult – perfect for Christmas cards or Christmas gifts!
Before we begin, I would like to thank you for visiting Jo to the World Creations, a site dedicated to helping you give the gift of crochet.
More free patterns (that make incredible crochet gifts) are on the way! Sign up for my emails using the form below and never wonder “What should I make for…” again!
Free Email Series
GET 3 FREE PDF CROCHET PATTERNS
Subscribe to my emails and get a free printable PDF crochet pattern emailed to you every day for the next 3 days!
You’ll also receive new crochet patterns and helpful resources to help you make the best crochet gifts for everyone in your life.

Crochet Christmas Tree Hat
If you are searching for a crochet Christmas Tree Hat Pattern (free), you have come to the right place! With easy-to-follow instructions for three different sizes, you can make this crochet Christmas tree hat pattern for all your family members this Christmas season as there are instructions for toddler, child and adult sizes.
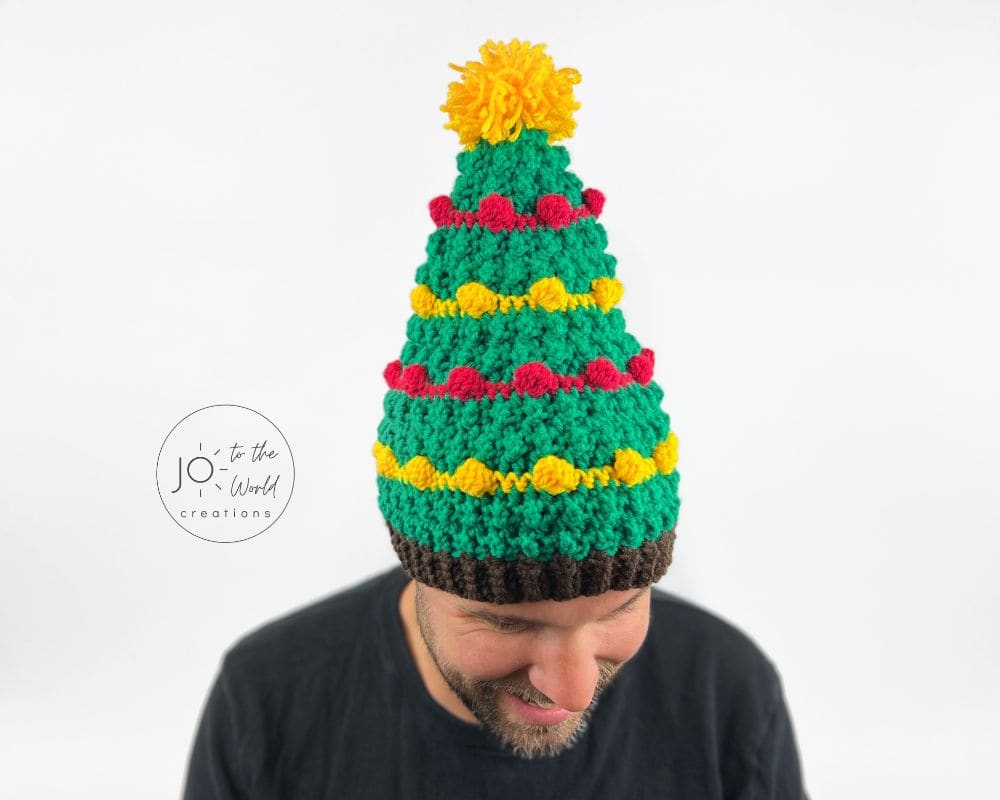
As you can see with all my free crochet Christmas patterns, I absolutely love crocheting for Christmas. From crochet Christmas gifts to decorations, there is something so special about crocheting by the light of the Christmas tree and getting in the Christmas spirit.
I wanted to design a Christmas hat that would be practical, gender-neutral and keep everyone’s heads warm during our very cold winters. Since our holiday officially begins when we get our tree, I thought a Christmas tree hat would be a great fun Christmas hat. They have now become a staple in our Christmas decoration box.
The moment my husband saw this Christmas Tree Crochet Hat he said, we all have to wear these in our annual Christmas card photo!
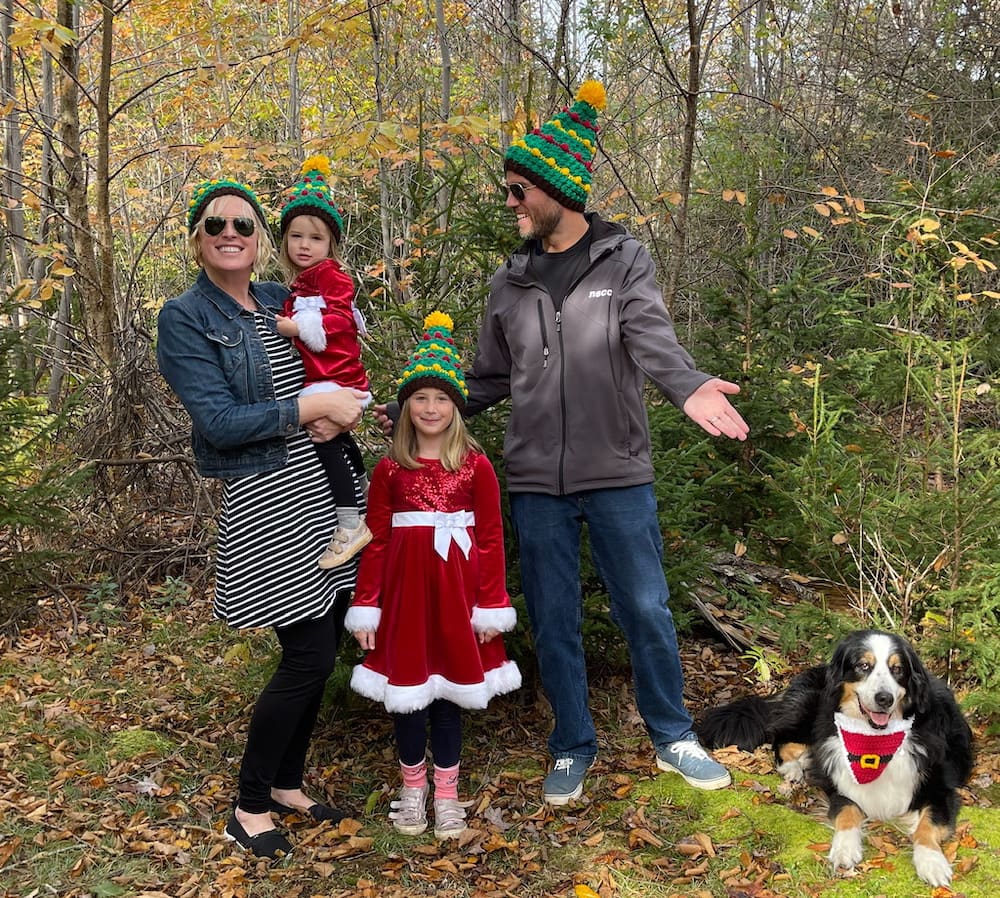
You’ll be sure to bring Christmas cheer whenever you wear these Christmas tree-inspired hats!
This free Christmas Tree Hat Crochet Pattern is easy to follow and includes step-by-step instructions for each size. It works up quite quickly. The textured “tree” is created by alternating between single and triple/treble crochet stitches. Every other round is made with all half double crochet stitches.
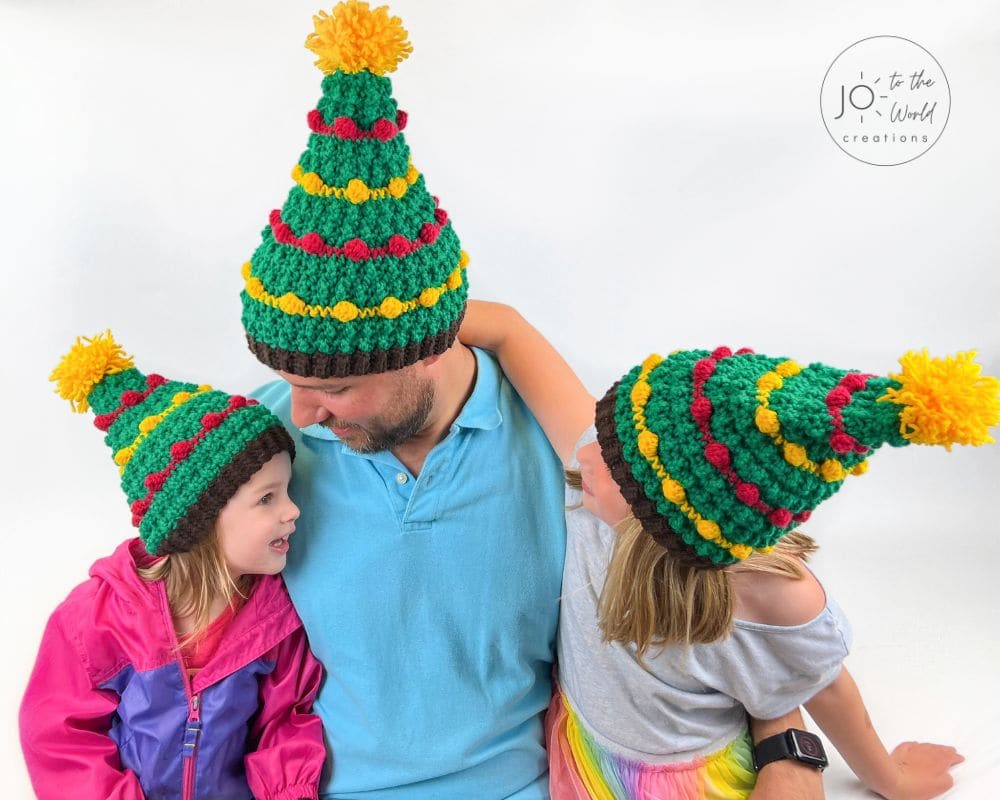
You can use any size 4 (medium), 100% acrylic yarn – it’s best if it has some stretch to it. You can use any method to create a pom pom for the star on the top or follow the instructions in the pattern, which links to a video tutorial if you are new to making pom poms.
The Christmas Tree Crochet Hat Pattern includes detailed instructions and a photo tutorial for the hat ribbing. If you have never added hat ribbing to a crochet hat before, it’s a fantastic way to finish a hat. The hat ribbing is nice and stretchy, allowing for some flexibility with sizes and also keeps that hat securely on a head. Plus for this free crochet Christmas tree hat pattern, I think it’s perfect for the Christmas tree stump!
Use the Table of Contents below to jump to any section of this pattern or keep scrolling down for all the details and the written instructions.
Get the PDF!
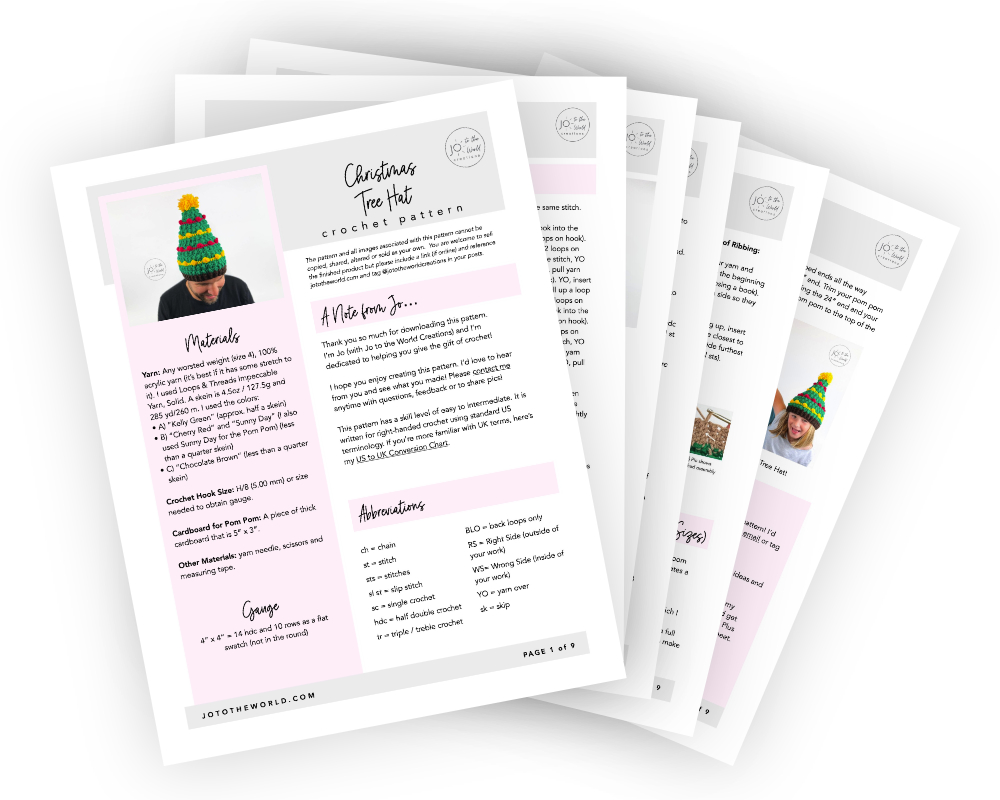
Purchase the printer-friendly, ad-free PDF of this Christmas Tree Beanie Crochet Pattern that you can instantly download! It includes everything from this free pattern but you can easily save, print and access it anytime!
All-Access Membership
For only $0.14 a day, you can get this pattern as a PDF and my entire library of 180+ print-ready, ad-free PDF crochet patterns!
Pattern Details
Skill Level
Easy to Intermediate – the pattern includes Bobbles and hat ribbing which may be new to beginners but the pattern includes step-by-step instructions and lots of pictures so you can easily follow along.
Sizes
The pattern comes in three sizes: Toddler (2-4 years), Child (4+ years) & Adult.
Each size hat measures (when pressed flat and not including pom pom):
- Toddler: w: 9.5” x h: 10”
- Child: w: 10” x h: 11.5”
- Adult: w: 11” x h: 12”
Gauge
4” x 4” = 14 hdc and 10 rows as a flat swatch (not in the round)
Materials
Yarn: Any worsted weight (size 4), 100% acrylic yarn (it’s best if it has some stretch to it). I used Loops & Threads Impeccable Yarn, Solid. A skein is 4.5oz / 127.5g and 285 yd/260 m. I used the colors:
A) “Kelly Green” (approx. half a skein)
B) “Cherry Red” and “Sunny Day” (I also used Sunny Day for the Pom Pom) (less than a quarter skein)
C) “Chocolate Brown” (less than a quarter skein)
Crochet Hook Size: H/8 (5.00 mm) or size needed to obtain gauge.
Cardboard for Pom Pom: A piece of thick cardboard that is 5″ x 3″.
Other Materials: yarn needle, scissors and measuring tape.
Abbreviations
ch = chain
st = stitch
sts = stitches
sl st = slip stitch
sc = single crochet
hdc = half double crochet
tr = triple/treble crochet
BLO = back loops only
RS = Right Side (outside of your work)
WS= Wrong Side (inside of your work)
YO = yarn over
sk = skip
Terminology
This Christmas Tree Hat Crochet Pattern is written for right-handed crochet using standard US terminology. If you’re more familiar with UK terms, here’s my US to UK Conversion Chart.
Measuring
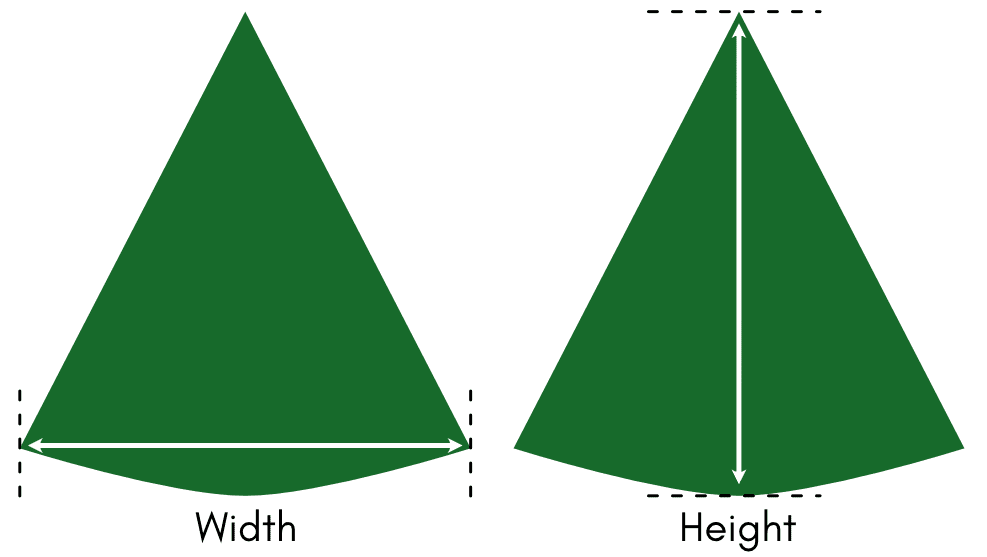
When taking measurements throughout this pattern, press your work down flat. Measure the width from the furthest ends. Measure the height from the tip of the top down to the lowest part of the bottom.
Special Stitches
Bobble: A bobble is a dc5tog into the same stitch.
Here is how to do it: YO, insert your hook into the next stitch, YO and pull up a loop (3 loops on hook). YO, pull yarn through 2 loops on hook (2 loops on hook). YO, insert your hook into the same stitch, YO and pull up a loop (4 loops on hook). YO, pull yarn through 2 loops on hook (3 loops on hook). YO, insert your hook into the same stitch, YO and pull up a loop (5 loops on hook). YO, pull yarn through 2 loops on hook (4 loops on hook). YO, insert your hook into the same stitch, YO and pull up a loop (6 loops on hook). YO, pull yarn through 2 loops on hook (5 loops on hook). YO, insert your hook into the same stitch, YO and pull up a loop (7 loops on hook). YO, pull yarn through 2 loops on hook (6 loops on hook). YO, pull yarn through all 6 loops on hook.
The next stitch after a bobble is always a sc. When making your sc in the next stitch, push the bobble stitch to the front (away from you) and crochet tightly as you make the next sc.
Triple/Treble Crochet Stitch (tr): YO twice, insert hook into next st. YO and pull up a loop (4 loops on hook). YO, pull yarn through 2 loops on hook (3 loops on hook). YO, pull yarn through 2 loops on hook (2 loops on hook). YO, pull yarn through last 2 loops on hook.
Color Legend
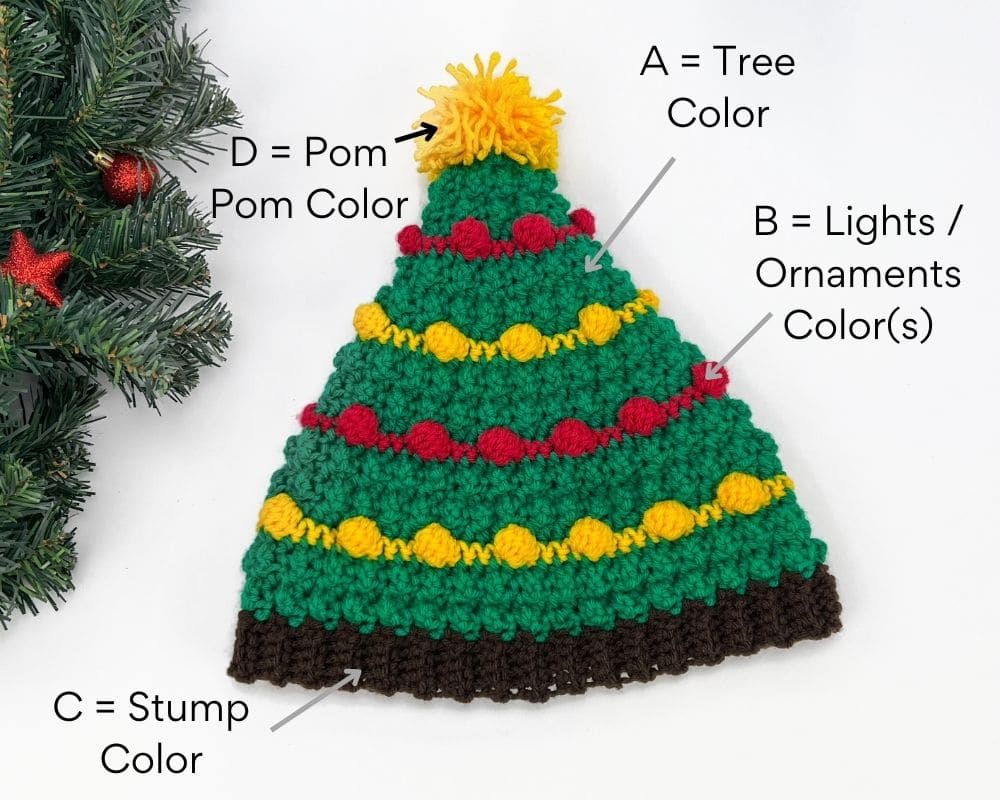
The Lights/Ornaments (B) are labeled as one color but you can use any number of colors for B (I used two colors and alternated each time the pattern called for using B).
Changing Colors
Change colors when instructed by placing the new color on your hook and pulling the new color through the loop of your current color.
Right & Wrong Sides
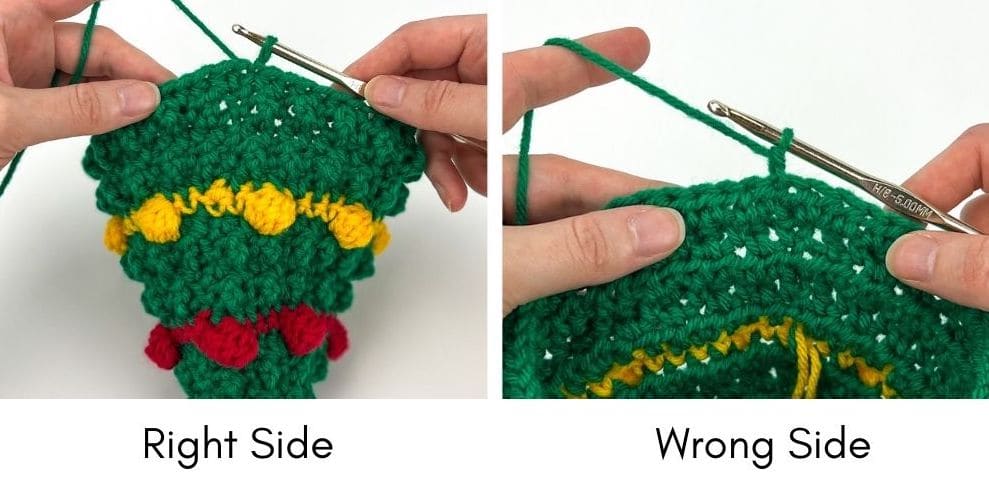
For this pattern, you will chain 1 and turn after each round. On Right Side (RS) rounds, the outside of your work will be facing you. On Wrong Side (WS) Rounds, the inside of your work will be facing you. Which side you are working on becomes more obvious as your hat grows but for the first few rounds, it can be tricky. Always ensure you have turned before beginning a round.
Pattern Notes
- The pattern is worked from the top down, in the round. You will ch 1 and turn after each round.
- Always work into the first st of the round (the st attached to the chain). This st can be quite tight but still work into it. If the instructions for the first st of the round say “next st,” work into the first st (the st attached to the chain).
- Because you are chaining 1 and turning after each round, it can be difficult to tell which is the last st of the round. Ensure you count your stitches to determine which is the last st.
Just a Reminder!
This pattern is also available as a PDF, which includes everything listed here but as a printer-friendly, ad-free PDF that you can instantly download, save, print, make notes on and keep forever.
Get ALL my PDF Patterns!
Only $0.14 a day!
Join the All-Access Membership and instantly download the printable version of this pattern and ALL my 180+ easy-to-follow PDF crochet patterns.
Pattern Instructions
All Sizes (Toddler, Child & Adult)
Start: With A (Christmas Tree Color), make a Magic Ring/Circle. Continue using A until instructed to change colors.
Round 1 (RS): Make 10 hdc into the Magic Ring. Pull end of Magic Ring tight to close. (10 sts). Sl st into top of 1st hdc to join.
Round 2 (WS): Ch 1 and turn. *Sc in next st. Tr in next st.* Repeat from * to * around. (10 sts). Sl st into top of 1st sc to join.
Round 3 (RS): Ch 1 and turn. 2 hdc in each st around. (20 sts). Sl st into top of 1st hdc to join.
Round 4 (WS): Ch 1 and turn. *Sc in next st. Tr in next st.* Repeat from * to * around. (20 sts). Sl st into top of 1st sc to join.
Round 5 (RS): Ch 1 and turn. Hdc in each st around. (20 sts). Sl st into top of 1st hdc to join.
Round 6 (WS): Ch 1 and turn. *Sc in next st. Tr in next st.* Repeat from * to * around. (20 sts). Sl st into top of 1st sc to join.
Round 7 (RS): Ch 1 and turn. *2 hdc in next st. 1 hdc in next st.* Repeat from * to * around. (30 sts). Sl st into top of 1st hdc to join.
Measurements: After Round 7, work should measure approx. w: 3.5” x h: 2.5”.
Round 8 (WS): Change Colors. Add B (Lights/Ornaments Color. Reminder that you can use the same color each time the pattern calls for B or alternate colors). You can leave A hanging as long as it’s on the inside of your work. With B, ch 1 and turn. Sc in next st. *Bobble in next st. 1 sc in next 4 sts.* Repeat from * to * around (a total of 5 times) until there are 4 sts left. Bobble in next st. 1 sc in next 3 sts. (30 sts made including 6 bobbles). Sl st into top of 1st sc to join.
Round 9 (RS): Change Colors. Add A and fasten off B. With A, ch 1 and turn. Hdc in each st around. (30 sts). Sl st into top of 1st hdc to join. Continue using A until instructed to change colors.
Round 10 (WS): Ch 1 and turn. *Sc in next st. Tr in next st.* Repeat from * to * around. (30 sts). Sl st into top of 1st sc to join.
Round 11 (RS): Ch 1 and turn. *2 hdc in next st. 1 hdc in next 2 sts.* Repeat from * to * around. (40 sts). Sl st into top of 1st hdc to join.
Round 12 (WS): Ch 1 and turn. *Sc in next st. Tr in next st.* Repeat from * to * around. (40 sts). Sl st into top of 1st sc to join.
Round 13 (RS): Ch 1 and turn. Hdc in each st around. (40 sts). Sl st into top of 1st hdc to join.
Measurements: After Round 13, work should measure approx. w: 5.5” x h: 5”
Round 14 (WS): Change Colors. Add B. You can leave A hanging as long as it’s on the inside of your work. With B, ch 1 and turn. 1 sc in next 2 sts. *Bobble in next st. 1 sc in next 4 sts.* Repeat from * to * around (a total of 7 times) until there are 3 sts left. Bobble in next st. 1 sc in next 2 sts. (40 sts made including 8 bobbles). Sl st into top of 1st sc to join.
Round 15 (RS): Change Colors. Add A and fasten off B. With A, ch 1 and turn. *2 hdc in next st. 1 hdc in next 3 sts. * Repeat from * to * around. (50 sts). Sl st into top of 1st hdc to join. Continue using A until instructed to change colors.
Round 16 (WS): Ch 1 and turn. *Sc in next st. Tr in next st.* Repeat from * to * around. (50 sts). Sl st into top of 1st sc to join.
Round 17 (RS): Ch 1 and turn. Hdc in each st around. (50 sts). Sl st into top of 1st hdc to join.
Round 18 (WS): Ch 1 and turn. *Sc in next st. Tr in next st.* Repeat from * to * around. (50 sts). Sl st into top of 1st sc to join.
Round 19 (RS): Ch 1 and turn. *2 hdc in next st. 1 hdc in next 4 sts. * Repeat from * to * around. (60 sts). Sl st into top of 1st hdc to join.
Measurements: After Round 19, work should measure approx. w: 8” x h: 7”
Round 20 (WS): Change Colors. Add B. You can leave A hanging as long as it’s on the inside of your work. With B, ch 1 and turn. 1 sc in next 3 sts. *Bobble in next st. 1 sc in next 4 sts.* Repeat from * to * around (a total of 11 times) until there are 2 sts left. Bobble in next st. 1 sc in last st. (60 sts made including 12 bobbles). Sl st into top of 1st sc to join.
Round 21 (RS): Change Colors. Add A and fasten off B. With A, ch 1 and turn. Hdc in each st around. (60 sts). Sl st into top of 1st hdc to join. Continue using A until instructed to change colors.
Round 22 (WS): Ch 1 and turn. *Sc in next st. Tr in next st.* Repeat from * to * around. (60 sts). Sl st into top of 1st sc to join.
At this point, the pattern has specific instructions for each size. Follow the instructions starting at Round 23 for the size you’d like to make.
Toddler Size Rounds 23 – 24
Toddler – Round 23 (RS): Ch 1 and turn. Hdc in each st around. (60 sts). Sl st into top of 1st hdc to join.
Toddler – Round 24 (WS): Ch 1 and turn. *Sc in next st. Tr in next st.* Repeat from * to * around. (60 sts). Sl st into top of 1st sc to join.
Do not fasten off. Begin Hat Ribbing.
Measurements: After Round 24, work should measure approx. w: 9” x h: 9”
Child Size Rounds 23 – 28
Child – Round 23 (RS): Ch 1 and turn. *2 hdc in next st. 1 hdc in next 14 sts. * Repeat from * to * around. (64 sts). Sl st into top of 1st hdc to join.
Child – Round 24 (WS): Ch 1 and turn. *Sc in next st. Tr in next st.* Repeat from * to * around. (64 sts). Sl st into top of 1st sc to join.
Child – Round 25 (RS): Ch 1 and turn. Hdc in each st around. (64 sts). Sl st into top of 1st hdc to join.
Measurements: After Round 25, work (when pressed flat) should measure approx. w: 9.5” x h: 9”
Child – Round 26 (WS): Change Colors. Add B. You can leave A hanging as long as it’s on the inside of your work. With B, ch 1 and turn. 1 sc in next st. *Bobble in next st. 1 sc in next 4 sts.* Repeat from * to * around (a total of 12 times) until there are 3 sts left. Bobble in next st. 1 sc in next 2 sts. (64 sts made including 13 bobbles). Sl st into top of 1st sc to join.
Child – Round 27 (RS): Change Colors. Add A and fasten off B. With A, ch 1 and turn. Hdc in each st around. (64 sts). Sl st into top of 1st hdc to join. Continue using A until instructed to change colors.
Child – Round 28 (WS): Ch 1 and turn. *Sc in next st. Tr in next st.* Repeat from * to * around. (64 sts). Sl st into top of 1st sc to join.
Do not fasten off. Begin Hat Ribbing.
Measurements: After Round 28, work (when pressed flat) should measure approx. w: 10” x h: 10”
Adult Size Rounds 23 – 30
Adult – Round 23 (RS): Ch 1 and turn. *2 hdc in next st. 1 hdc in next 5 sts. * Repeat from * to * around. (70 sts). Sl st into top of 1st hdc to join.
Adult – Round 24 (WS): Ch 1 and turn. *Sc in next st. Tr in next st.* Repeat from * to * around. (70 sts). Sl st into top of 1st sc to join.
Adult – Round 25 (RS): Ch 1 and turn. Hdc in each st around. (70 sts). Sl st into top of 1st hdc to join.
Measurements: After Round 25, work should measure approx. w: 10” x h: 9”
Adult – Round 26 (WS): Change Colors. Add B. You can leave A hanging as long as it’s on the inside of your work. With B, ch 1 and turn. 1 sc in next st. *Bobble in next st. 1 sc in next 4 sts.* Repeat from * to * around (a total of 13 times) until there are 4 sts left. Bobble in next st. 1 sc in next 3 sts. (70 sts made including 14 bobbles). Sl st into top of 1st sc to join.
Adult – Round 27 (RS): Change Colors. Add A and fasten off B. With A, ch 1 and turn. Hdc in each st around. (70 sts). Sl st into top of 1st hdc to join. Continue using A until instructed to change colors.
Adult – Round 28 (WS): Repeat Round 24.
Adult – Round 29 (RS): Repeat Round 25.
Adult – Round 30 (WS): Repeat Round 24. Do not fasten off. Begin Hat Ribbing.
Measurements: After Round 30, work should measure approx. w: 11” x h: 10.5”
Hat Ribbing – All Sizes
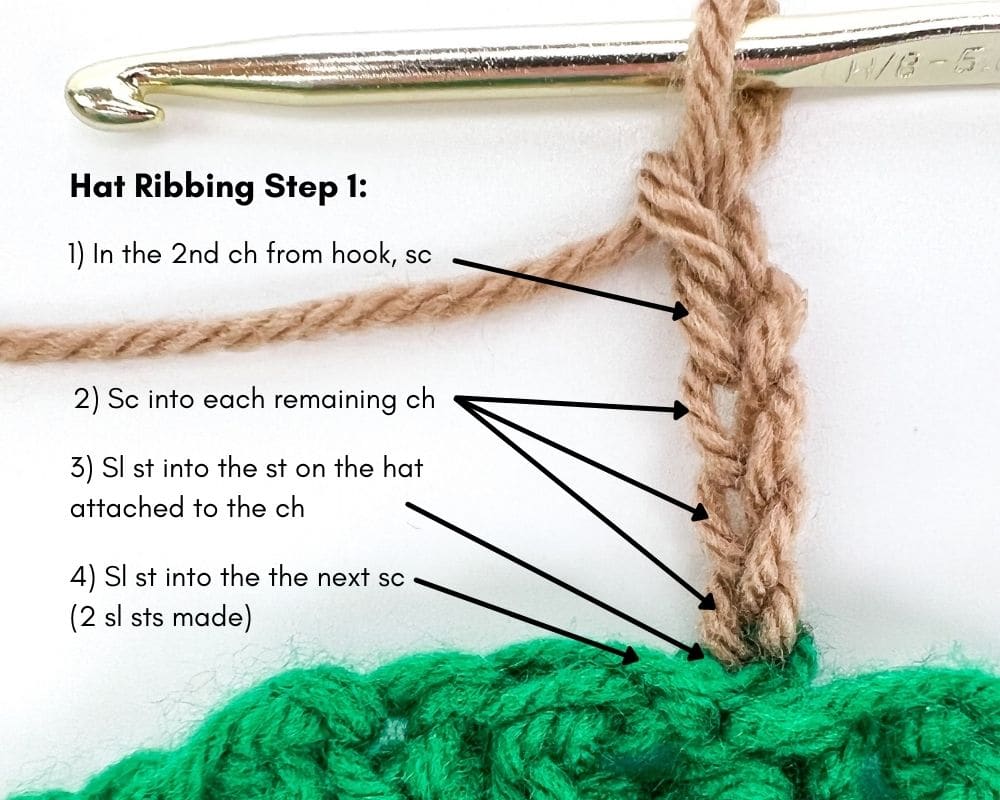
The ribbing is 1.25” from the edge of the hat. To make the ribbing smaller or larger, decrease or increase the number of chains on Step 1.
Step 1: Attach C (Tree Stump Color). Fasten off A. Ch 5 (or your desired number of chains) and turn (RS/Outside of work will be facing you). In the 2nd ch from hook, sc in the top loop of the chain. Sc into each remaining chain (into the top loop). You will have created 4 sc sts in total. Sl st into the 1st st on the hat (the st attached to the chain). Sl st into the next st on the hat. (2 sl sts made).
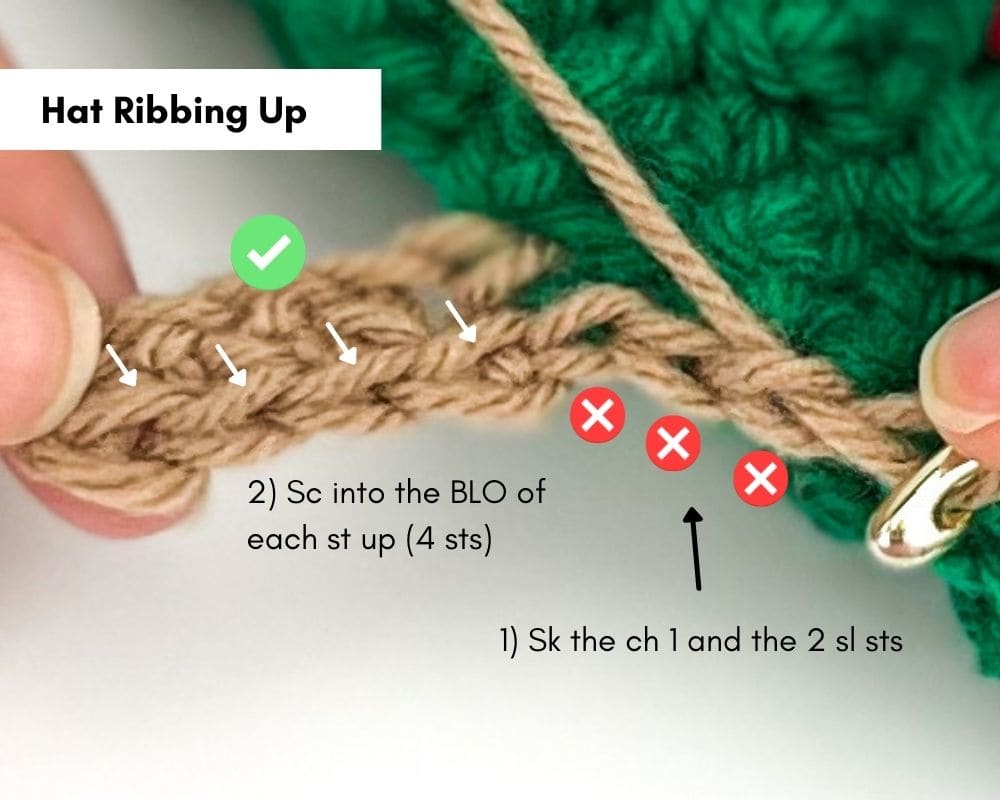
Ribbing Up: Ch 1 and turn. Sk the ch 1 and the 2 slip stitches. In the 1st st, sc into the back loops only (BLO) which are the loops furthest away from you. Sc into the BLO of each st up. (4 sc sts in total).
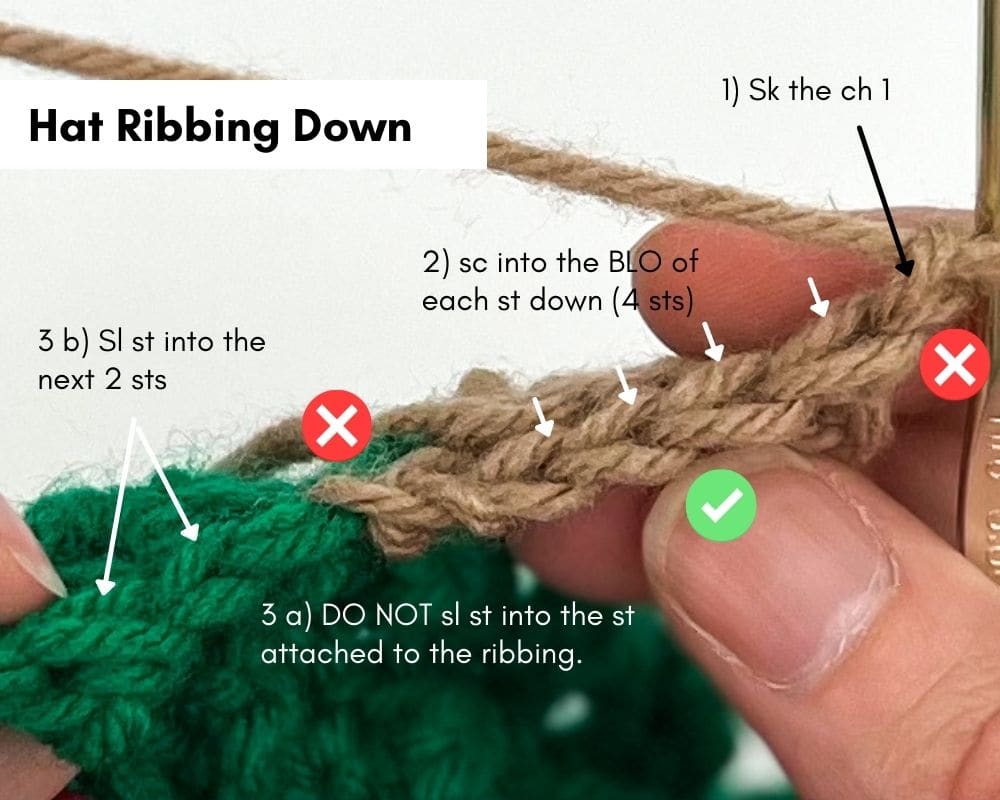
Ribbing Down: Ch 1 and turn. Sk the ch 1. Sc into the BLO of each st down. (The last st can be tricky to see as it can get quite tight. Always count your sts). (4 sts in total). Sl st into the next st on the hat – ensure it’s the next st, not the st attached to the ribbing. Sl st into the next st on the hat (2 sl sts made).
Work Ribbing Around: Repeat Ribbing Up and Ribbing Down all the way around. You will finish by slip stitching into the last 2 sts.
Assembling The Beginning and End of Ribbing:
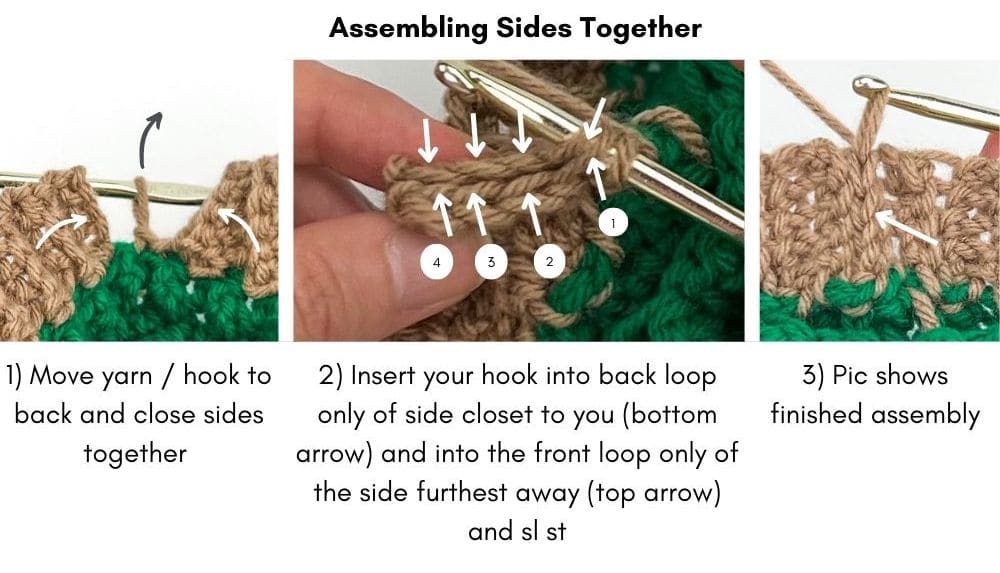
After your very last 2nd sl st, move your yarn and hook to the back of your work and pull the beginning and end sides together (like you are closing a book). From the back, line up the 4 sc on each side so they are even with each other.
Starting with the 1st of 4 scs and working up, insert your hook into the back loop only of side closest to you and into the front loop only on the side furthest away and sl st. Repeat all the way up (4 sl sts).
Fasten off and weave in all loose ends.
Pom Pom Instructions (All Sizes)
You can use your favorite method to create a pom pom or follow the directions below, which creates a 3″ x 3″ (approximate) pom pom.
Pom Pom Making Method
I used the rectangular cardboard method in which I wrap my yarn around a rectangular piece of cardboard that has a slit in. The Craft Train has a full step-by-step photo tutorial and video on how to make a DIY pom pom using cardboard.
Pom Pom Making Set Up
Cut a piece of cardboard (the thicker the better) that is 5″ long and 3″ high.
On the side, at approximately 1.5″ high, cut a slit that is 3″ long. The slit should be approximately 0.25″ wide.
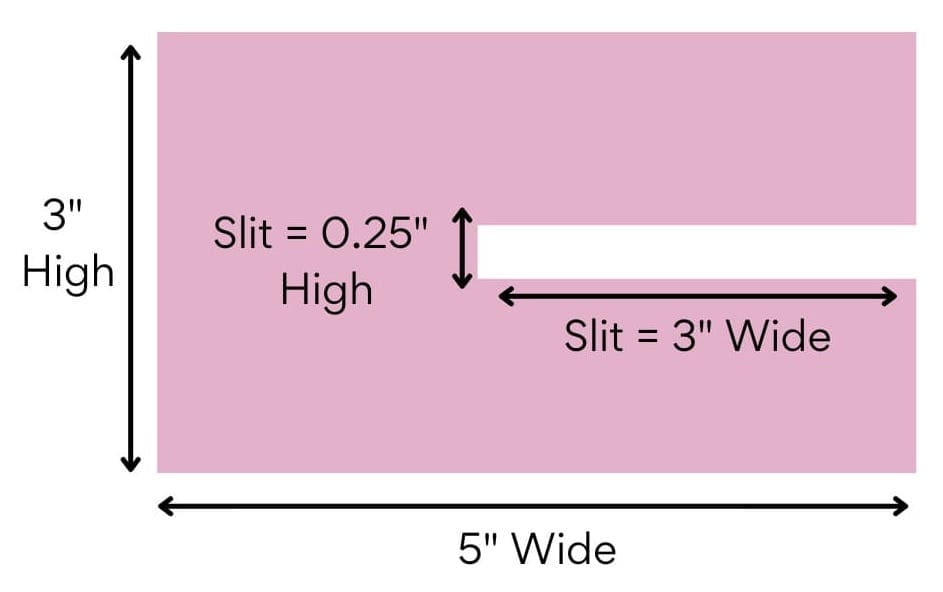
Pom Pom Making Instructions
With the slit of the cardboard on your right side, leave a 12” tail and wrap D (Pom Pom Color) yarn vertically around the top and bottom of the cardboard piece, being careful not to wrap past where the slit ends (as you will need that opening after your yarn in wrapped).
Wrap yarn around cardboard approximately 60 times.
After wrapping, cut yarn leaving a 24″ end. Use the tail to wrap around the wrapped yarn horizontally a few times going through the slit opening. Using both tails, tie tightly.
Slide the pom pom off the cardboard and turn it over. Using both tails, tie tightly again on the opposite side.
Using scissors, cut the looped ends all the way around. Do not cut the 24″ end. Trim your pom pom around to make it even. Using the 24″ end and your yarn needle, attach the pom pom to the top of the hat. Weave in loose ends.
And now you have a new Christmas Tree Hat! I hope you enjoyed making this crochet Christmas tree hat pattern! I’d love to see what you made! Tag @jototheworldcreations in your posts.
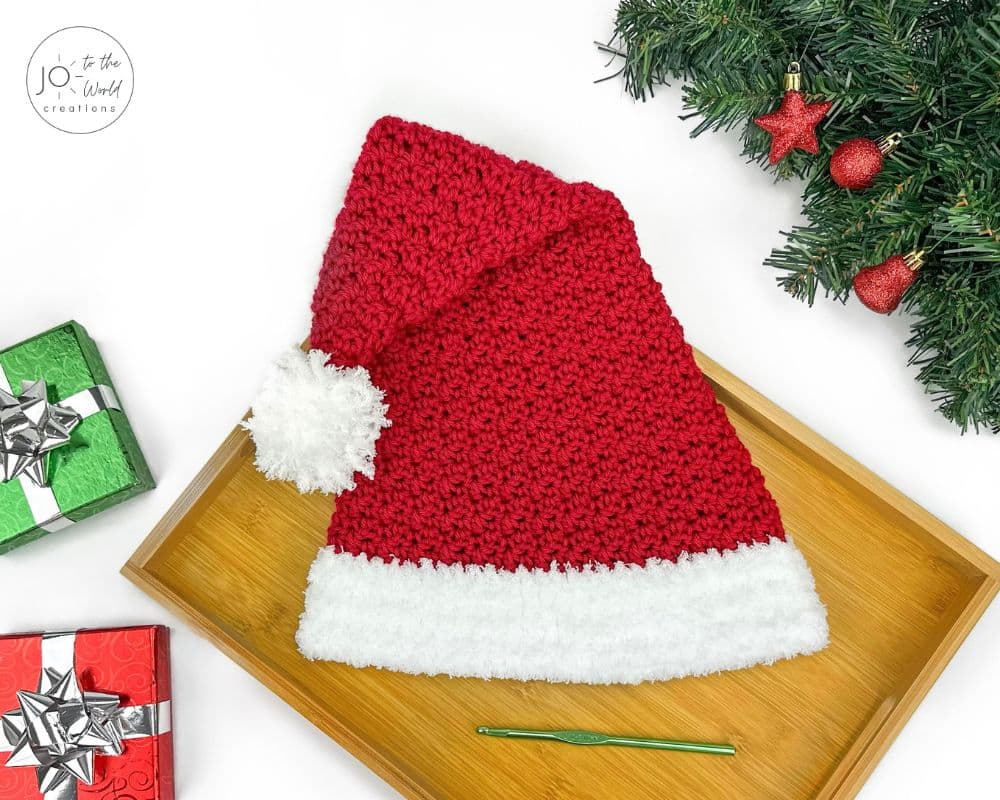
You may also like this Easy Crochet Santa Hat Pattern!
More Crochet Christmas Tree Patterns
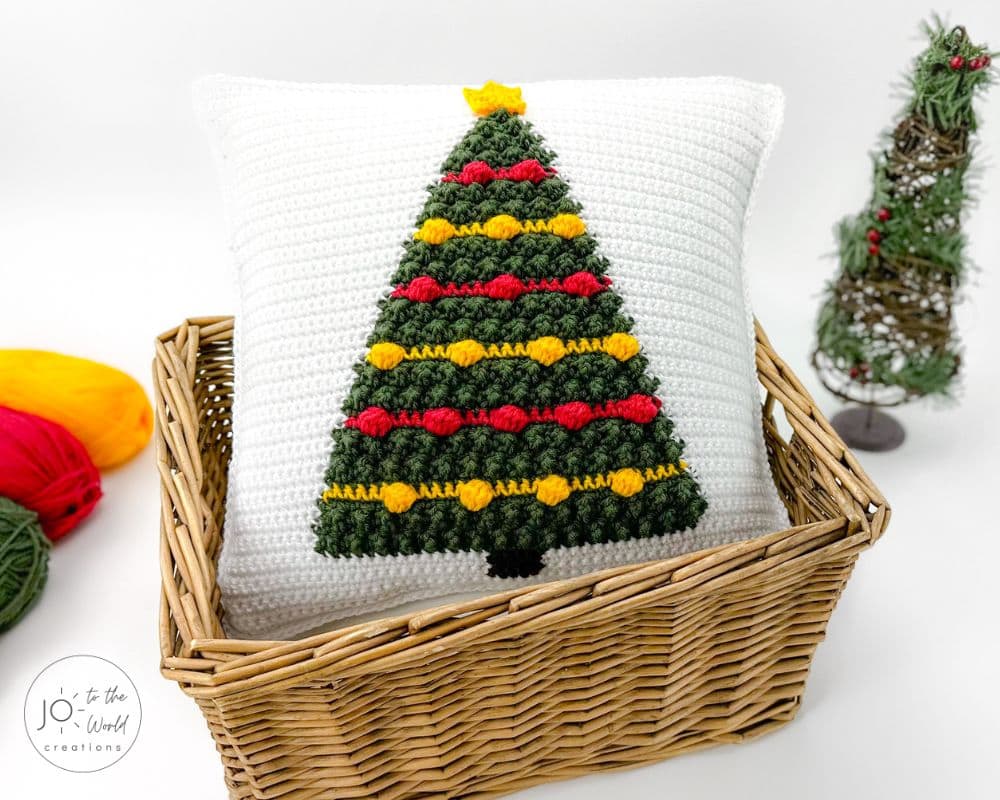
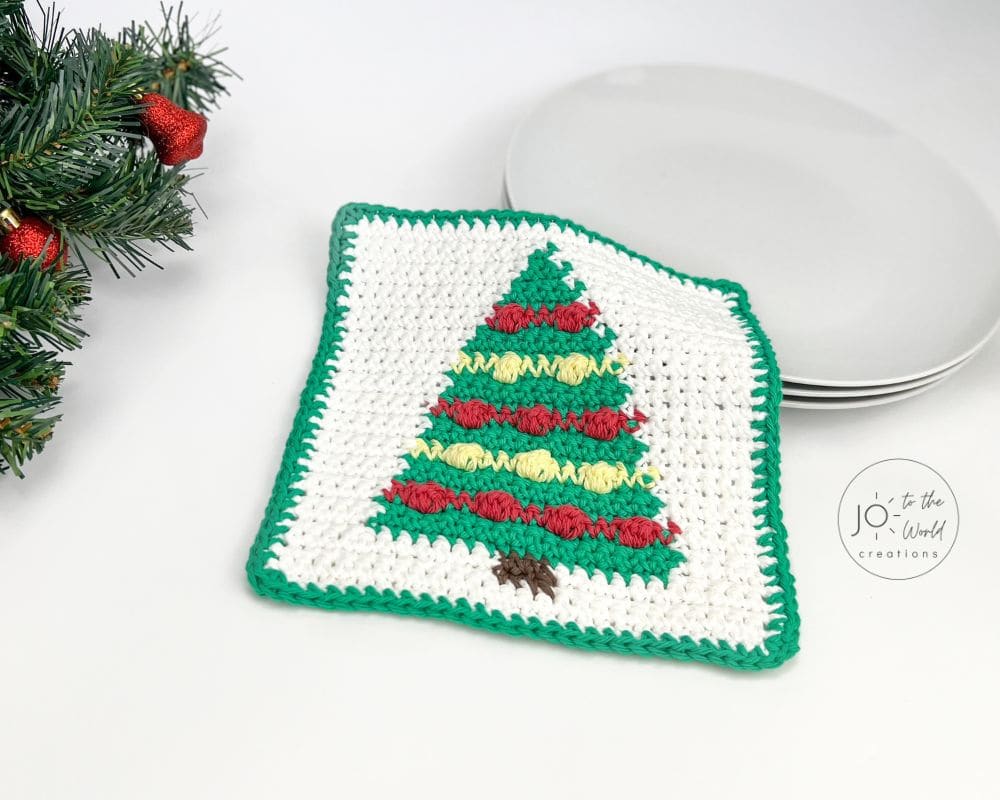


I’m Jo, the designer behind Jo to the World Creations, and I’m dedicated to helping you make the perfect crochet gift! I love designing and sharing free crochet patterns that you can make for every gift occasion.
About →Let’s Connect
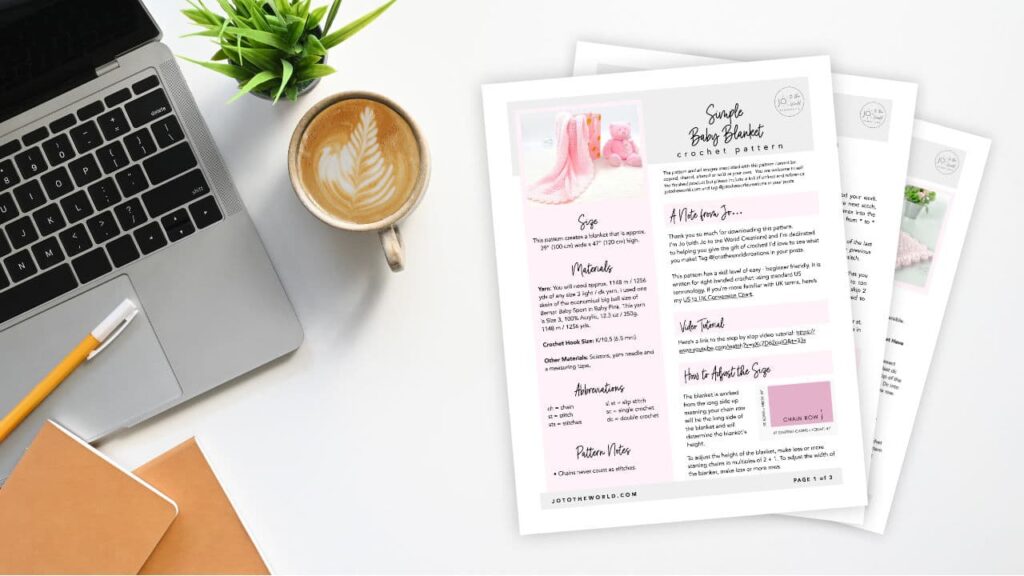
Download. Print. Keep.
Get Instant Access to ALL Printable Patterns
Make your crocheting more enjoyable, relaxing and productive with printable PDF patterns.
- 180+ premium crochet patterns.
- Download, save and print from any device.
- No ads or popups!
Not sure yet? Take a look at the Pattern Library and see all the patterns you can download once you’re a member.
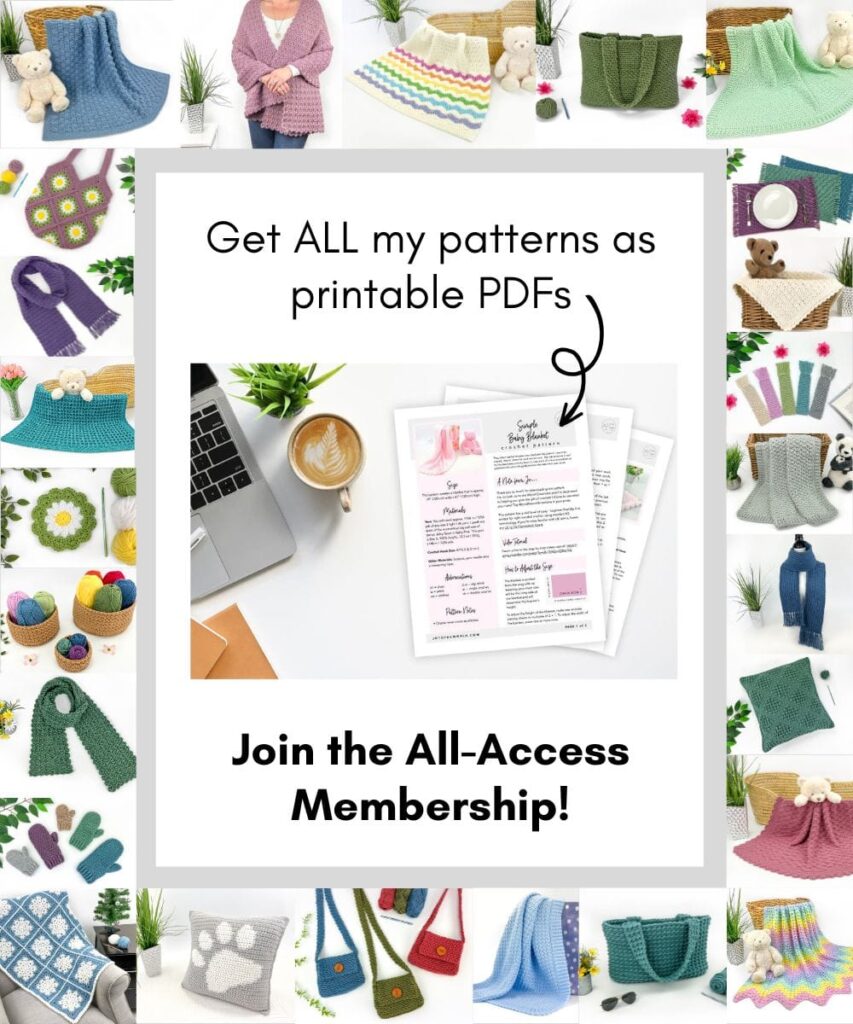
Save with Pattern Bundles
For a limited time, I’ve grouped some of my most popular crochet patterns and I’m offering them as pattern bundles where you can get the printable versions for one low, discounted price. Check out these incredible Crochet Pattern Bundles.
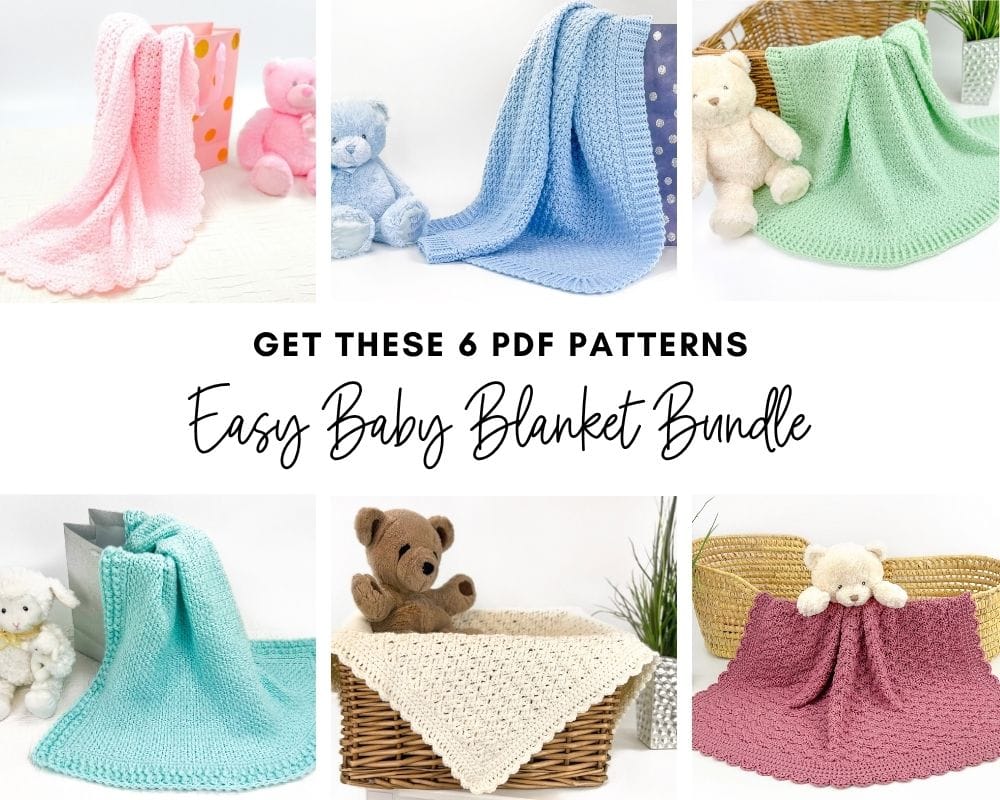
Easy Baby Blanket Bundle
With this Easy Baby Blanket Bundle, you’ll get SIX easy crochet baby blankets as printable downloads. Each pattern includes step-by-step instructions and a full video tutorial.
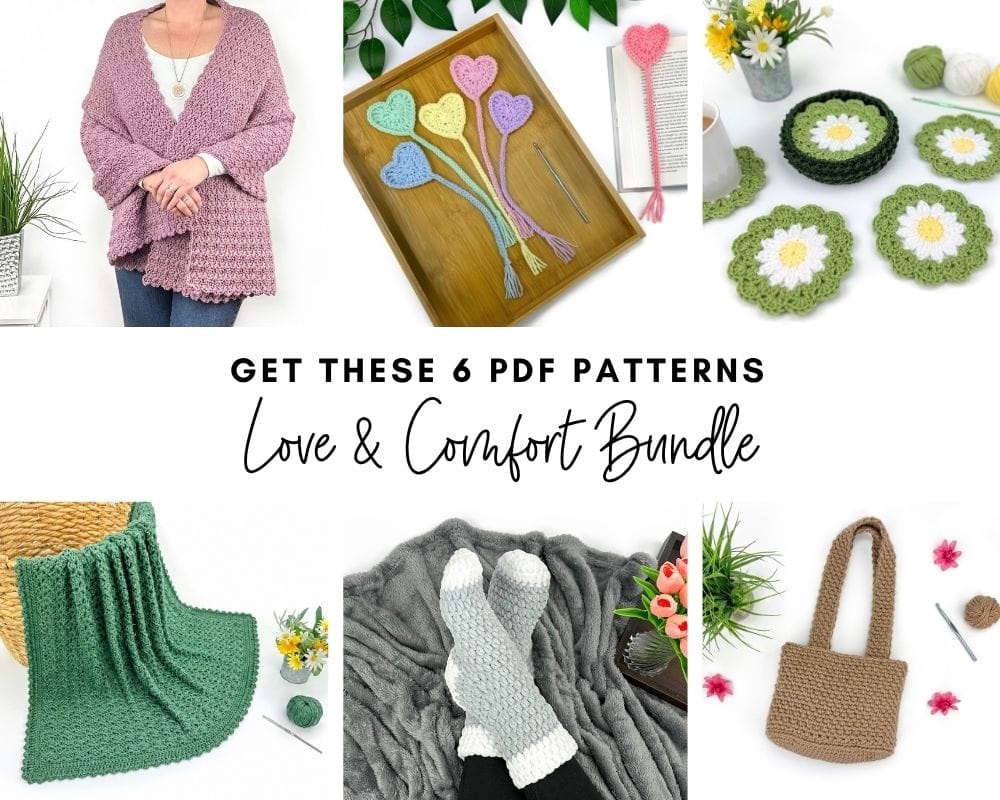
Love and Comfort Bundle
The Love and Comfort Bundle includes SIX meaningful patterns designed to comfort a loved one, brighten someone’s day or simply remind someone they’re loved.
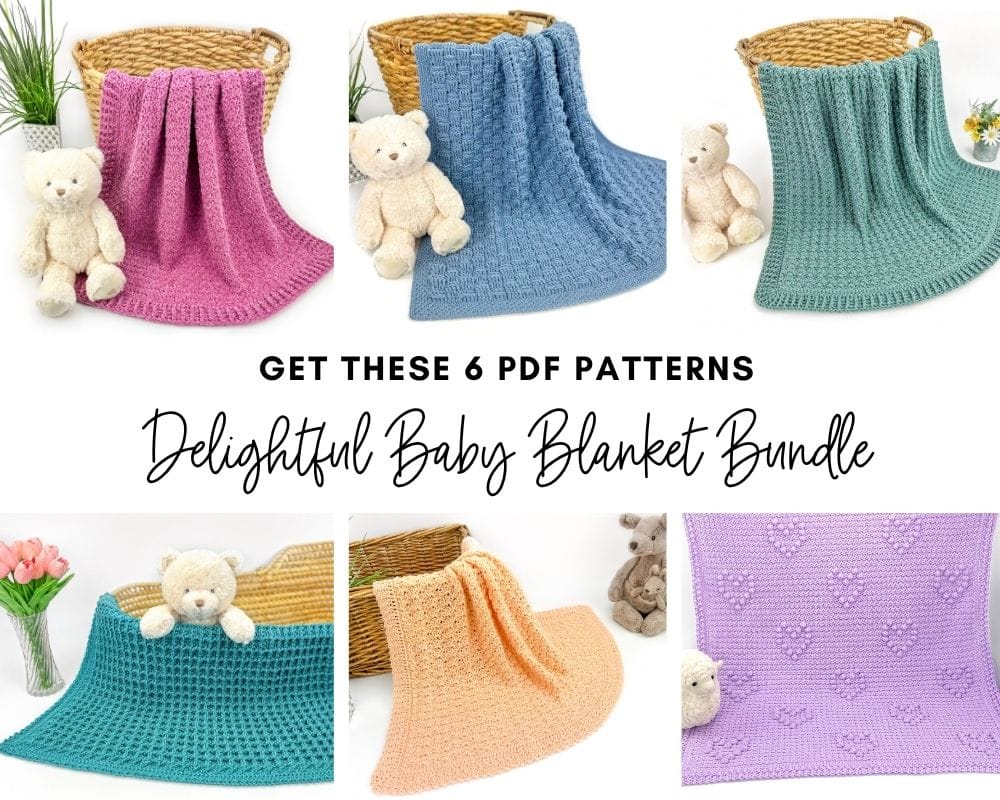
Delightful baby blanket Bundle
All your favorite baby blanket patterns in one bundle! This collection features SIX blankets (all with video tutorials) that are a delight to crochet and will be cherished forever.
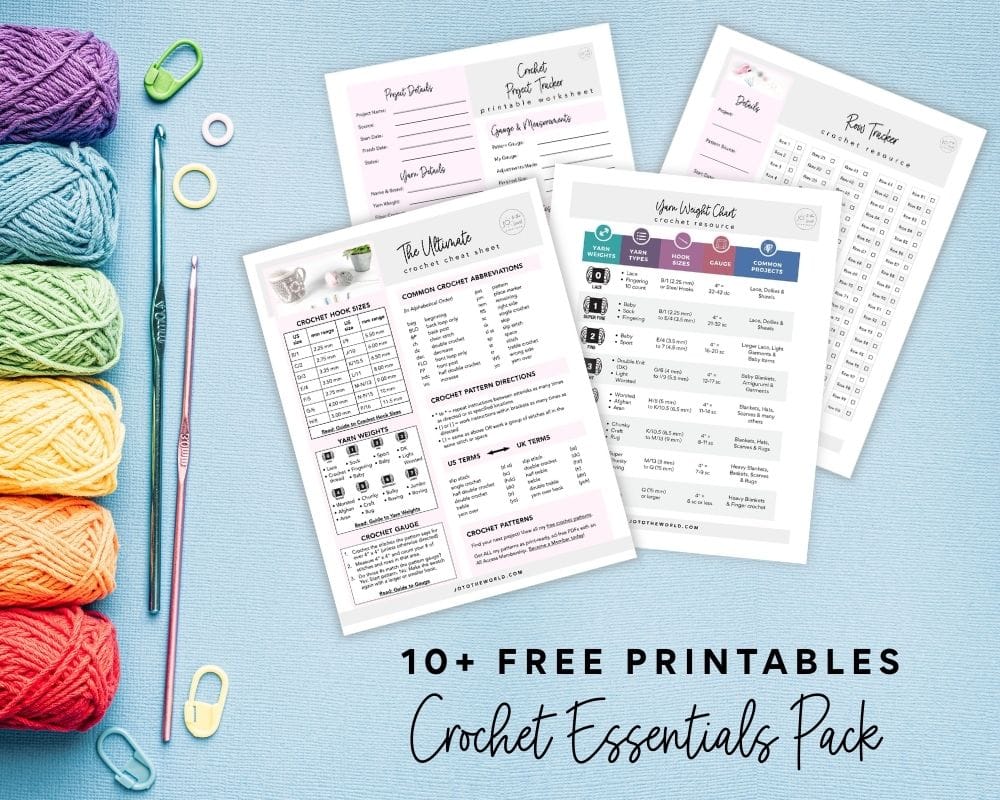
Free Crochet Printables
Subscribe to my emails and get 3 free printable crochet patterns as well as 10+ free printable crochet cheat sheets, guides and progress trackers.
Plus, you’ll receive free patterns for crochet gifts delivered right to your inbox!
Featured Crochet Patterns
Pattern Collections
Free Patterns for Crochet Gifts
Never miss a pattern! Get all my secrets to making incredible crochet gifts as well as new free crochet patterns and exclusive deals when you sign up for my newsletter (it’s free!).